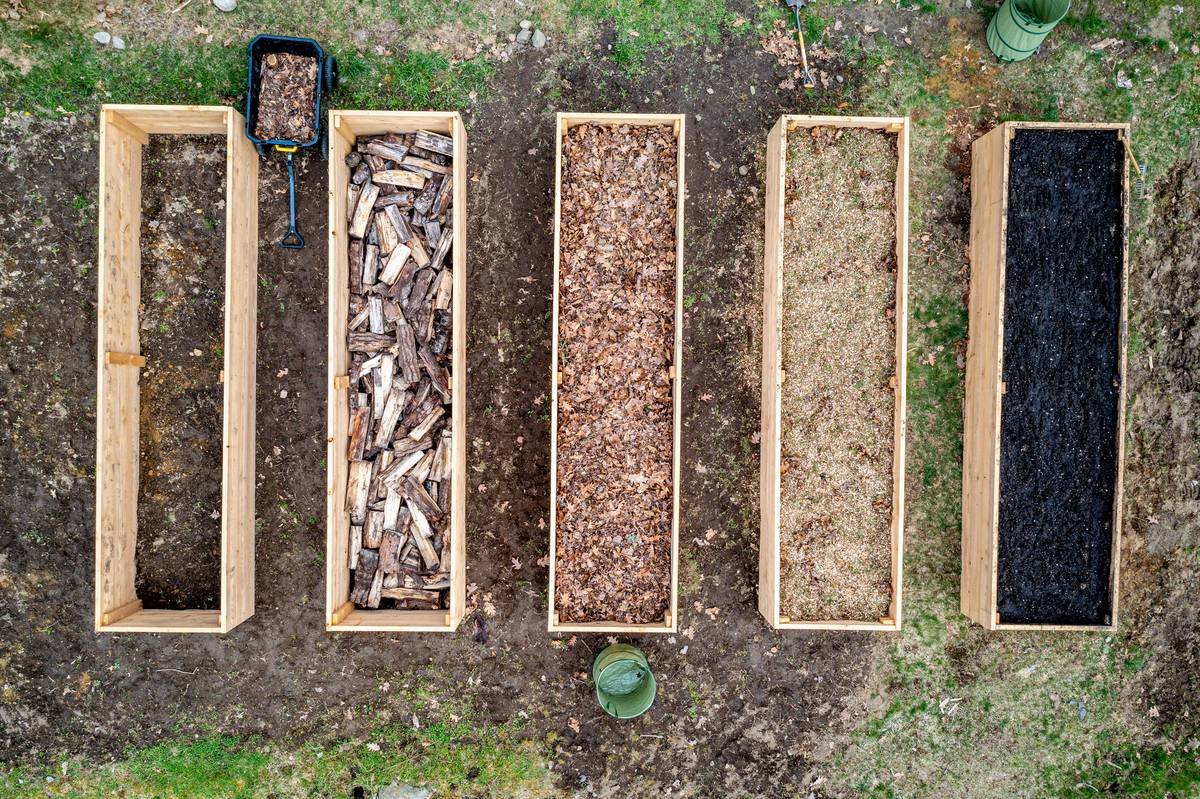
Knowing exactly when to apply mulch can transform your garden from a high-maintenance chore into a thriving oasis. Mulch acts as a protective shield for your soil, locking in moisture, suppressing weeds, and balancing ground temperatures through extreme weather.
Applying mulch at the wrong time can trap cold temperatures in the soil or suffocate emerging shoots. Timing your mulch application with the natural rhythm of the seasons ensures your plants reap every single benefit.
Understanding the Role of Mulch in Your Garden
Mulch is far more than just a decorative top layer for your flower beds. It serves as an organic barrier that protects the delicate biology living beneath the soil surface.
When rain pours down, bare soil often erodes, compacts, and loses valuable nutrients. A protective blanket of mulch softens the blow of heavy rainfall and allows water to slowly filter into the root zone.
During hot weather, mulch prevents moisture from evaporating into the air. This significantly cuts down on how often you need to run the hose or sprinkler system.
The Best Months to Apply Mulch
Gardeners generally find that the best months to spread mulch fall within two distinct windows: mid to late spring (April through May) and mid-autumn (October through November).
Spring mulching supports waking perennials and keeps aggressive spring weeds from taking over your beds.
Autumn mulching prepares root systems for freezing temperatures and cushions the soil before the arrival of harsh winter weather.
Mulching Your Beds in Early Spring
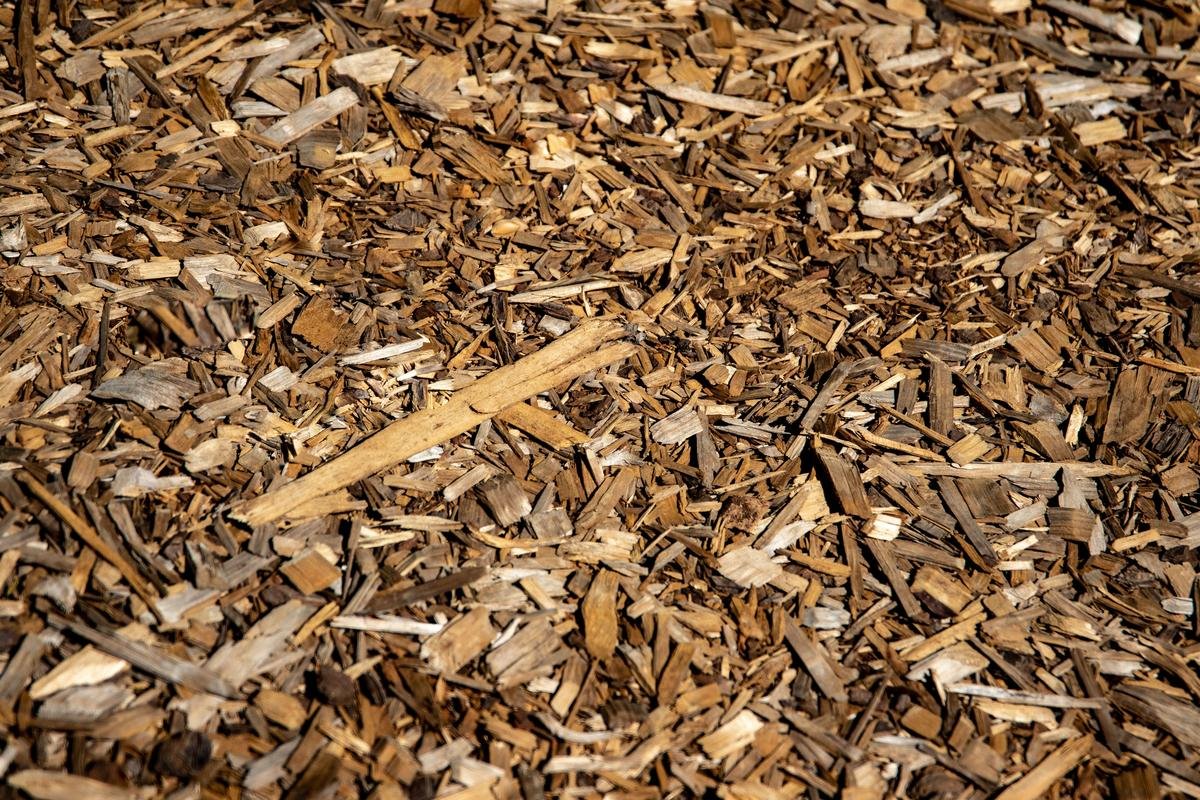
Spring is an exciting time in the garden, but patience is key when it comes to mulching.
You should wait until the sun has had a chance to warm up the soil after winter. Spreading a thick layer of mulch over frozen or cold soil in late winter will trap the cold underneath and delay root growth.
Once your perennials have started sending up new shoots and the soil feels warm to the touch, spread your mulch. This traps residual warmth, locks in spring rains, and blocks sunlight from germinating dormant weed seeds.
Why Fall Mulching Is Crucial
Autumn is arguably the most critical season for applying mulch, especially in areas that experience heavy frosts.
As plants prepare for winter dormancy, their roots continue to stay active underground. Mulch acts like a thermal coat that buffers the ground against rapid freeze and thaw cycles.
These rapid temperature swings can cause soil to heave, pushing delicate plant crowns and roots up out of the ground. Applying a fresh layer of mulch in the fall after the first light frost keeps soil temperatures stable and keeps root systems firmly anchored.
Can You Mulch During the Summer
If you missed the spring window, you can certainly add mulch during early summer.
Summer mulching is primarily focused on moisture conservation and heat reduction. High soil temperatures can stress shallow-rooted shrubs, flowers, and vegetables.
Before spreading mulch in summer, make sure to thoroughly water your garden beds. Laying dry mulch over dry ground can actually prevent light summer showers from penetrating down to thirsty roots.
Why You Should Avoid Late Winter Mulching
Applying new mulch in the dead of winter is rarely beneficial and can sometimes cause harm.
Adding thick layers of mulch over frozen ground during January or February locks in the frost. When warmer spring days arrive, the soil stays cold much longer than it normally would.
This delay can stunt early blooming bulbs and cause root rot if snowmelt cannot drain through frozen ground beneath the heavy mulch layer.
Finding Discounted Mulch in Late Autumn
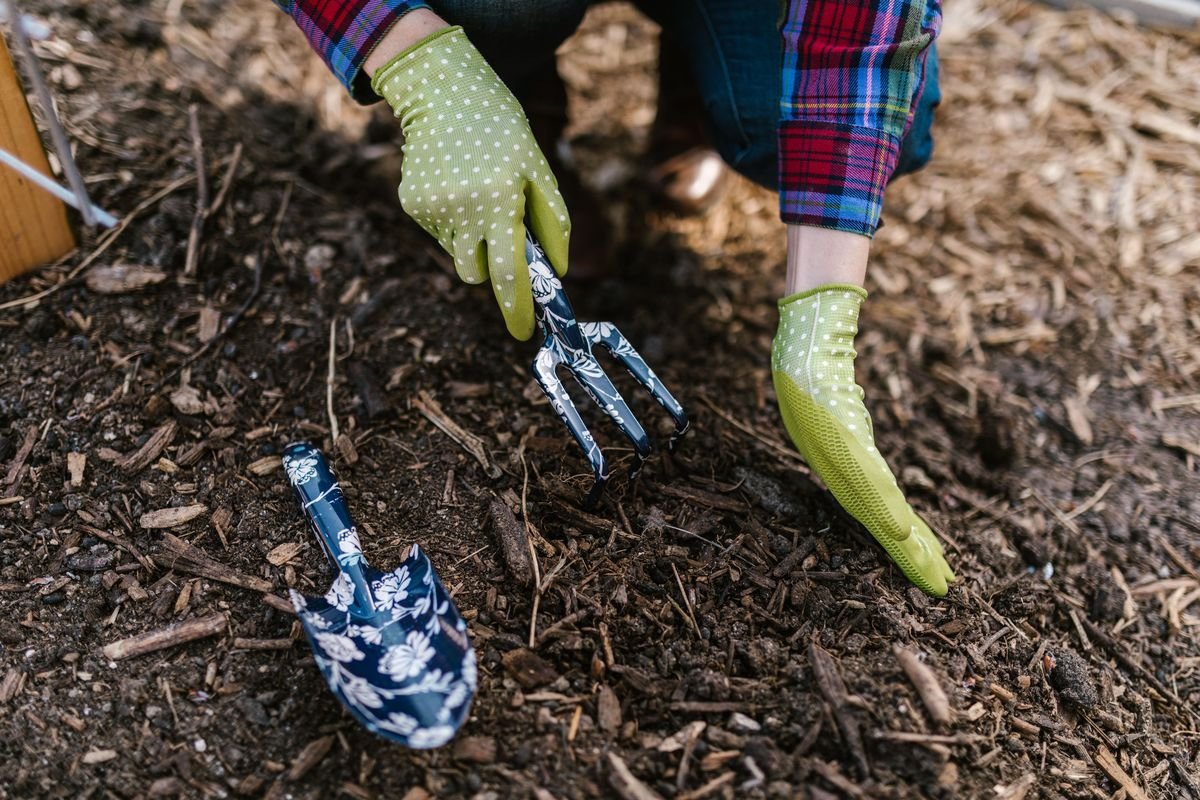
Gardening on a budget becomes much easier when you time your purchases with store clearance cycles.
Home improvement stores and garden centers regularly slash mulch prices in late autumn. Retailers need to clear outdoor garden space to make room for seasonal holiday items and winter equipment.
Stocking up on bagged wood chips, bark, or straw in October and November allows you to mulch your fall beds for a fraction of the usual cost. You can also store extra bags in a shed or garage for early spring use.
Choosing the Right Mulch Material
Selecting the right material depends entirely on what you are growing in each specific garden bed.
- Shredded Bark and Wood Chips: Excellent for perennial borders, trees, and established shrubs because they decompose slowly and look tidy.
- Straw or Pine Needles: Ideal for vegetable patches, berry patches, and strawberry beds where you need clean, lightweight coverage.
- Compost and Leaf Mold: Perfect for enriching tired garden soil while providing light weed protection around annual flowers.
- Inorganic Mulch (Gravel or Stone): Best suited for rock gardens, succulent beds, and high-wind zones where organic materials might blow away.
Common Mulching Mistakes to Avoid
Even experienced gardeners can make simple mistakes when spreading mulch.
The most frequent error is building ‘mulch volcanoes’ around tree trunks and woody stems. Piling mulch directly against bark traps excess moisture and invites fungal diseases, rot, and boring pests.
Another common error is applying mulch too thickly. A layer deeper than four inches can suffocate roots and prevent water from reaching the soil. Keep your mulch depth between two and three inches for the best balance of breathability and protection.
Step by Step Guide to Applying Mulch
Following a systematic approach ensures you get the maximum value out of your mulching efforts.
- Clear the Area: Pull existing weeds by the roots and rake away dead debris or fallen diseased leaves.
- Hydrate the Soil: Water the garden beds thoroughly so the soil underneath starts with plenty of moisture.
- Edge Your Beds: Create a clean edge along lawn borders to keep your mulch from spilling into the grass.
- Spread Evenly: Distribute mulch in a consistent two to three inch layer across the bed using a rake or gloved hands.
- Create Space Around Stems: Pull the mulch back two to three inches away from the base of woody plants, shrubs, and tree trunks.
Long Term Soil Benefits
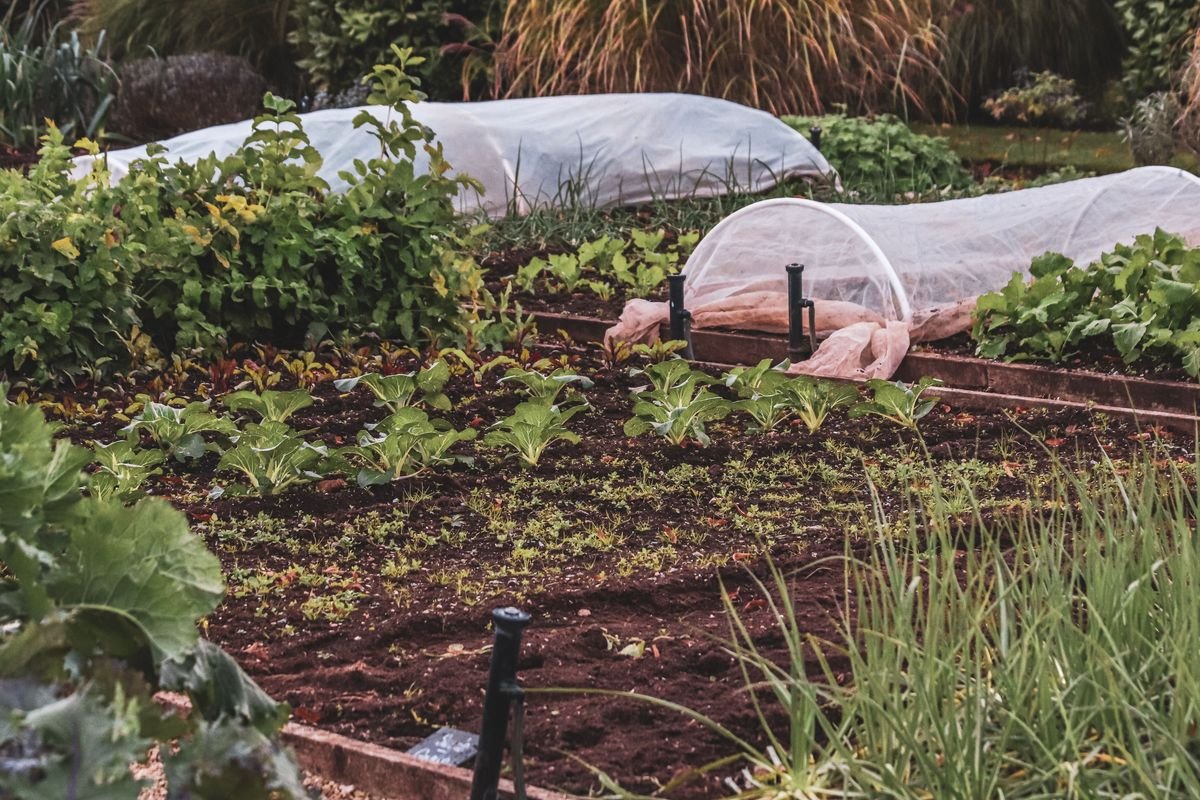
Over time, organic mulches slowly break down and incorporate into your native soil.
Beneficial soil microbes, earthworms, and fungi feed on the decomposing wood chips, straw, or leaves. This continuous biological activity improves soil structure, aeration, and fertility naturally.
By staying consistent with your seasonal mulch routine, you will notice richer, darker soil and healthier, more resilient plants year after year.
Is Your Garden Ready for Mulch?
Answer 4 quick questions to see your result