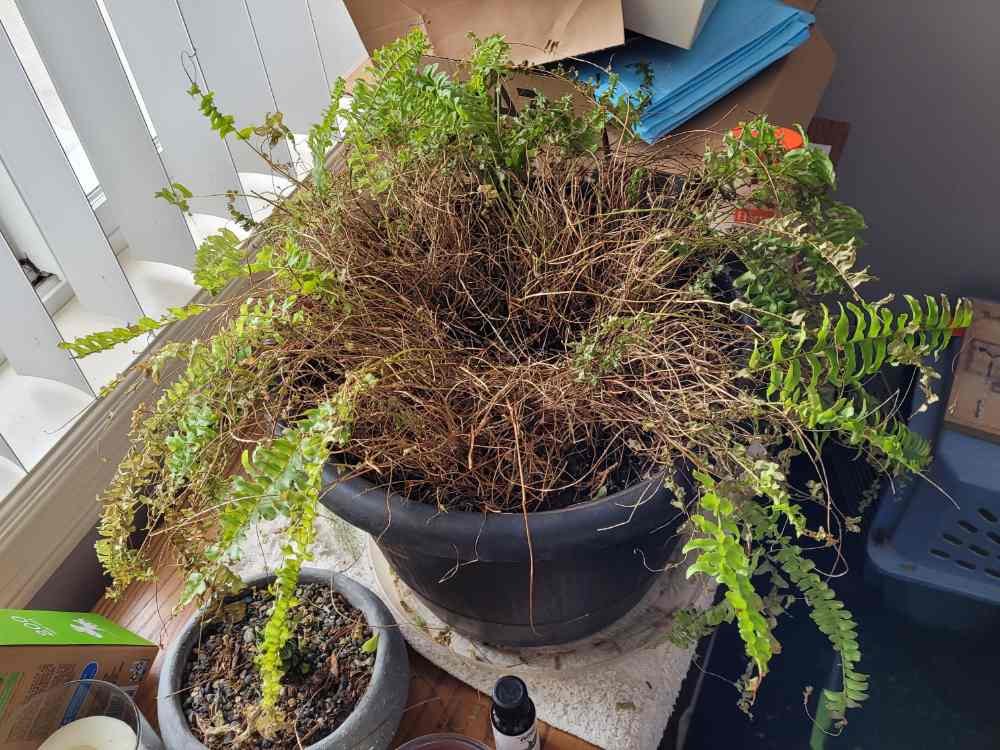
A Boston fern that sheds its leaves or turns crispy brown can make any indoor gardener feel defeated. These lush, feather-like houseplants bring classic elegance to any space, but they will quickly show distress when their environmental needs are neglected.
The good news is that Boston ferns are remarkably resilient plants. Even if your fern looks completely dried out or bare, active roots and healthy underground rhizomes can produce a full head of vibrant green fronds again with the right care.
How to Check If Your Fern Is Still Alive
Before you begin your revival efforts, you need to verify whether living tissue remains beneath the dried outer foliage.
Start by gently brushing aside the brittle fronds near the center of the plant. Look closely at the crown and the fibrous root ball beneath the surface. Healthy root tissue will feel firm, plump, and slightly flexible, while dead roots will crumble to powder or feel hollow.
You should also check the green color at the base of the stems. If you see tiny, curled fiddleheads or firm green nubbins near the soil level, your fern is actively trying to survive.
Even if all top foliage has turned brown, a firm crown and sound root system mean your plant can make a complete recovery.
Inspecting the Fronds and Foliage
Observing the exact appearance of the fronds provides valuable clues about what is bothering your Boston fern.
Different environmental stresses produce specific symptoms across the foliage. Paying close attention to the texture and color of the leaves will help you choose the correct treatment immediately.
- Crispy, dry fronds: This condition indicates severe underwatering, extremely low ambient humidity, or exposure to intense direct sunlight.
- Yellow, limp fronds: Pale or translucent yellow leaves usually point to overwatering, poor pot drainage, or early stages of root decay.
- Black or mushy stems: Dark, soft stem bases are a classic warning sign of advanced root rot caused by waterlogged soil.
- Pale, bleached foliage: Fronds that lose their deep green hue and appear washed out are often receiving too much direct light or lack essential nutrients.
- Widespread leaf shedding: Rapid loss of leaflets commonly occurs after sudden temperature shifts, cold drafts, or moving the plant to a new location.
Take note of which symptoms appear most prominently so you can apply the right solution.
Solving Underwatering and Crispy Fronds
Underwatering is the most frequent reason indoor Boston ferns turn into dry, shedding messes.
When peat-based potting soil dries out completely, it becomes hydrophobic. This means water will simply run down the inside walls of the pot and drain out the bottom without soaking into the root ball.
To rehydrate a bone-dry fern, give it a thorough bottom watering soak. Fill a large basin, bucket, or sink with several inches of lukewarm water. Place the entire pot into the water and let it sit for thirty to forty-five minutes until the top surface of the soil feels cool and damp.
Lift the pot out of the water basin and allow all excess water to drain freely from the bottom holes for fifteen minutes before returning it to its saucer.
Moving forward, check the moisture level every few days. Water whenever the top inch of soil feels dry to the touch, and never let the soil dry out completely.
Dealing with Overwatering and Root Rot
While Boston ferns love consistent moisture, they cannot tolerate sitting in stagnant, swampy soil.
Excessive water suffocates the root system by cutting off oxygen flow. Over time, opportunistic fungi attack the weakened roots, leading to root rot. If the soil smells sour or the lower stems feel slimy, root rot is likely present.
To save an overwatered fern, pull the plant out of its container and inspect the root ball. Healthy roots appear light brown or tan and feel firm. Rotten roots appear black, mushy, and slide off like wet strings when touched.
Use clean, sterilized scissors to trim away all black, rotting roots. Discard the old, soggy soil mix entirely and repot the fern into fresh, well-draining soil.
Always ensure that the pot you use contains functional drainage holes. Never leave standing water in the drip tray beneath the pot for more than thirty minutes.
Boosting Ambient Humidity Indoors
Boston ferns are native to warm, humid forests and swamps where the air remains consistently moist.
Standard indoor air, especially during winter when home heating systems are running, often drops below thirty percent relative humidity. Boston ferns thrive best in environments with fifty to eighty percent relative humidity.
When the surrounding air is too dry, the delicate leaflets lose moisture faster than the roots can draw it up, causing crispy tips and constant shedding.
- Set up a cool-mist humidifier: Placing a dedicated room humidifier near your fern is the most effective way to maintain proper moisture levels.
- Use a pebble tray: Fill a wide, shallow tray with clean pebbles and pour water halfway up the stones. Set your potted fern on top, making sure the pot base sits above the waterline.
- Group your houseplants together: Clustering plants creates a localized microclimate with higher humidity through natural transpiration.
- Relocate to the bathroom: If your bathroom has a window with bright natural light, the regular steam from showers creates an ideal habitat for ferns.
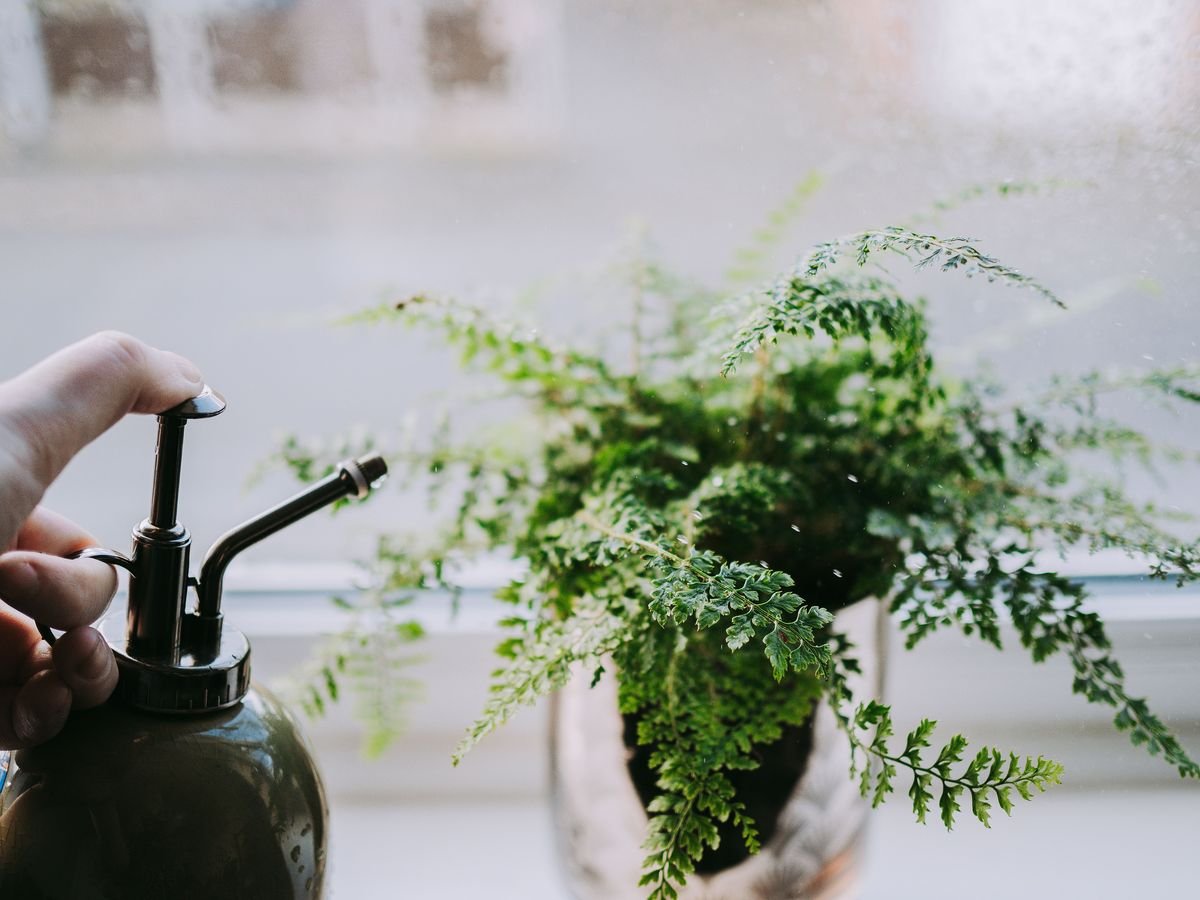
Avoid relying solely on hand misting. Misting provides only a temporary spike in humidity that evaporates within minutes, which is rarely enough to revive a struggling plant.
Finding the Right Light Balance
Lighting plays a critical role in your fern’s ability to photosynthesize and generate new growth.
Boston ferns require abundant, bright indirect sunlight throughout the day. Direct, unfiltered afternoon sun will scorch their fragile fronds, causing brown burn marks and bleached patches.
On the other hand, placing your fern in a dark corner will lead to weak, spindly stems and heavy leaflet drop. Without adequate light, the plant cannot process water efficiently, making it far more vulnerable to root rot.
An ideal spot is near an east-facing window where the plant can enjoy soft morning sun. If you place the fern near a south-facing or west-facing window, filter the harsh light using a sheer curtain.
If natural light is limited in your home, consider using a full-spectrum LED grow light placed twelve to eighteen inches above the foliage for ten to twelve hours per day.
How to Deal with Common Fern Pests
Pests can quickly overwhelm a weakened Boston fern, draining its sap and speeding up decline.
Inspect the undersides of the fronds and the inner base of the plant regularly for unwanted visitors.
- Spider mites: These microscopic pests thrive in dry air, leaving fine, dusty webbing between leaflets along with yellow speckled foliage.
- Scale insects: Scale bugs appear as small, immobile brown bumps attached to stems and frond ribs, secreting sticky honeydew.
- Mealybugs: These slow-moving pests resemble small tufts of white cotton gathered in the crevices where fronds meet the plant base.
- Fungus gnats: Tiny black flies hovering around the soil surface indicate overly wet potting mix, where their larvae feed on decaying matter and fine roots.
Treating pests on Boston ferns requires caution because their fronds are sensitive to harsh chemicals. Avoid heavy horticultural oils that can clog leaf pores.
Rinse the entire plant thoroughly in the shower with lukewarm water to dislodge pests. For stubborn infestations, apply a mild insecticidal soap spray or diluted neem oil, testing a small section first to ensure the fronds tolerate the formula.
Fixing Fertilizer Burn and Nutrient Deficiencies
Fertilizer mistakes are another common source of stress for Boston ferns.
These plants are light to moderate feeders. Applying strong chemical fertilizers can cause mineral salts to accumulate in the soil, burning the delicate root tips and causing the frond tips to turn brown and dry.
If you suspect fertilizer build-up, flush the soil thoroughly with clean, room-temperature water. Pour water through the pot for several minutes, allowing all excess salts to drain away through the bottom.
Only feed your Boston fern during its active growing season in spring and summer. Use a balanced, water-soluble houseplant fertilizer diluted to half or quarter strength once a month.
Never fertilize a sick, dehydrated, or dormant fern. Feeding a stressed plant can shock damaged roots and accelerate leaf loss.
Soil and Potting Adjustments
The quality and texture of your potting medium directly impacts root health.
Boston ferns need a potting medium that retains moisture without becoming dense, muddy, or compacted over time.
A great homemade soil mix for Boston ferns consists of equal parts standard indoor potting soil, peat moss or coco coir, and perlite. The peat moss maintains consistent moisture, while the perlite creates air pockets that prevent root rot.
Plastic and glazed ceramic pots work best for moisture-loving ferns because they help keep the soil evenly moist. Porous clay terracotta pots allow moisture to evaporate rapidly through their walls, which can cause the soil to dry out too quickly unless you water very frequently.
Pruning Dead and Damaged Foliage
Pruning is an essential step when reviving a struggling Boston fern.
Fronds that have turned completely brown, yellow, or brittle cannot heal. Leaving them on the plant drains energy that could otherwise be used to fuel healthy new growth.
Gather a pair of sharp pruning shears or household scissors, and wipe the blades with rubbing alcohol to prevent spreading pathogens.
Cut dead, yellowing, or damaged fronds off clean at the base of the plant, near the soil line. Avoid ripping or pulling fronds away by hand, as this can tear the crown and damage nearby roots.
You should also trim away any leafless, stringy runners that clutter the interior. Clearing out dead material improves air circulation around the crown, helping reduce fungal disease risks.
How to Repot a Struggling Fern
Sometimes reviving a Boston fern requires moving it into a fresh pot with new soil.
If roots are growing out of the bottom drainage holes, or if the soil has degraded into a hard mass, repotting is necessary.
- Water the fern thoroughly a day before repotting to reduce root shock.
- Gently squeeze the sides of the pot and slide the root ball out carefully.
- Loosen the outer roots with your fingers and shake off old, compacted soil.
- Choose a new container that is only one to two inches wider than the root ball, ensuring it has ample drainage holes.
- Add a layer of fresh potting mix to the bottom, position the fern centrally, and fill the sides with soil without packing it too tightly.
- Water the newly potted fern generously and place it in a humid, bright indirect light location.
Avoid placing the plant into a massive pot. Excess unused soil holds excess moisture for too long, which increases root rot risk.
Creating a Long Term Recovery Routine
Patience and consistency are the keys to bringing your Boston fern back to full health.
After making the necessary adjustments to watering, light, and humidity, your plant will need several weeks to adjust and stabilize.
Avoid moving the fern around your home constantly while it recovers. Shifting a plant between different microclimates creates ongoing stress and delays new growth.
Keep the soil evenly moist, maintain high ambient humidity, protect the plant from cold air drafts, and watch for fresh green fiddleheads unfurling from the center.
Within four to eight weeks of steady care, you should see noticeable improvement and a surge of healthy new fronds.
Why Boston Ferns Are Worth Saving
Rescuing a struggling Boston fern is one of the most rewarding experiences in indoor gardening.
These classic plants have graced homes for generations thanks to their lush, cascading form and exceptional air-purifying qualities.
Because of their underground rhizomes and vigorous root networks, Boston ferns can bounce back from severe neglect that would kill many other houseplants.
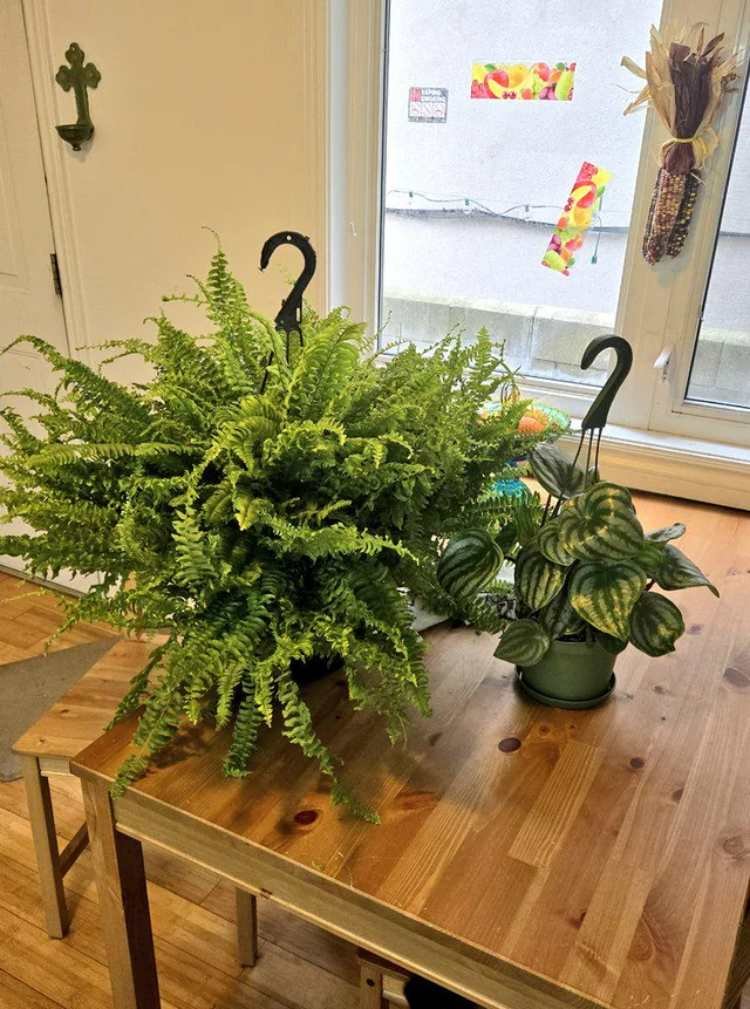
With attentive watering, good humidity, and bright filtered light, your revived fern will soon become a vibrant centerpiece in your indoor jungle.
Can Your Boston Fern Be Saved?
Answer 4 quick questions to see your result