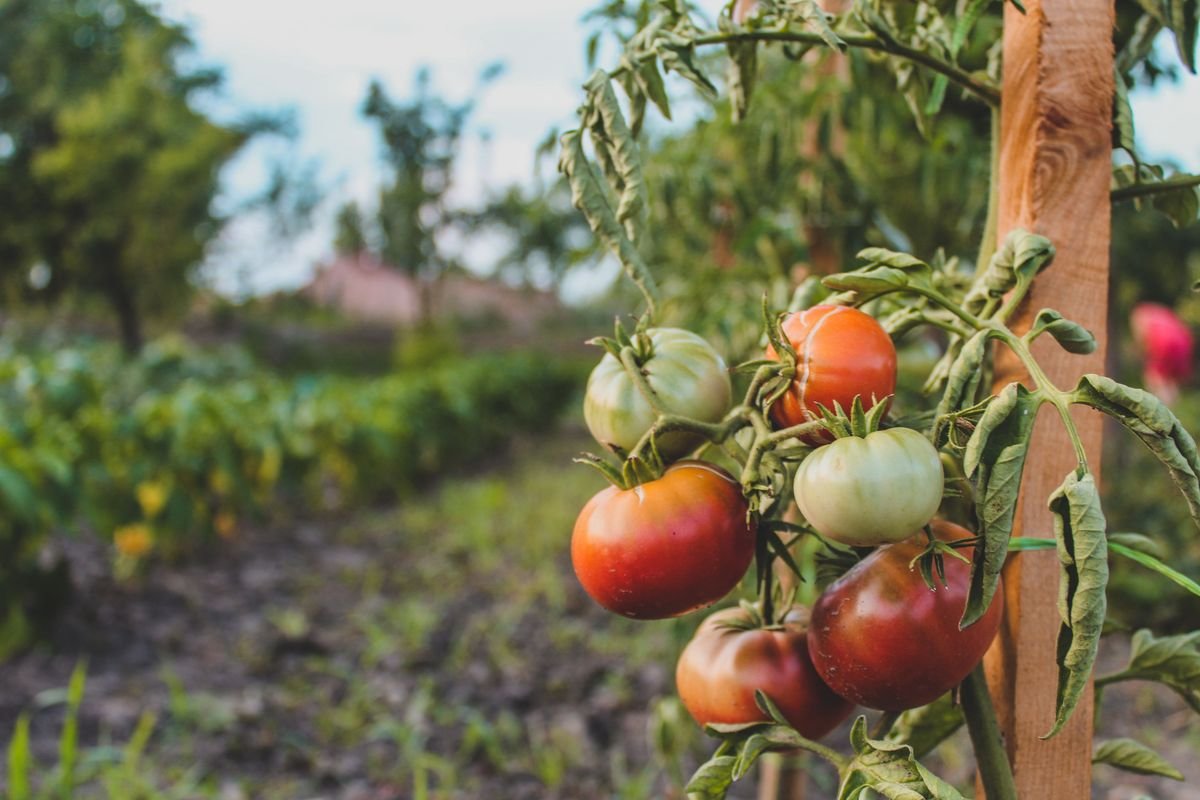
When the crisp autumn air settles over your garden, your lush tomato patch starts looking tired and worn down. The vibrant green leaves turn yellow, the stems get woody, and production slows to a near standstill. Most gardeners view this transition as a chore, simply tearing out the spent vines by the roots and dragging them to the trash bin.
Tossing your old tomato plants in the garbage is a missed opportunity for your garden ecosystem. Those weathered vines, sturdy stems, and lingering green fruits can serve plenty of practical purposes before winter truly arrives. With a few simple techniques, you can squeeze out one final harvest, enrich your garden soil, provide shelter for helpful wildlife, and set yourself up for a bountiful crop next year.
Recognizing When the Season Is Over
Tomato plants are tender warm-season crops that have zero tolerance for freezing temperatures. Even a light frost with temperatures dipping just below thirty-two degrees Fahrenheit can turn lush foliage into blackened mush overnight.
As autumn days grow shorter, the lower light levels and chilly night temperatures naturally signal the plant to shut down. You will notice slower growth, blossoms failing to set fruit, and leaves dropping from the bottom up.
Keeping an eye on your local ten-day weather forecast is crucial during late fall. When nighttime temperatures consistently hover in the low forties, it is time to take action rather than waiting for an unexpected freeze to ruin your crop.
Why Simply Tossing Vines Is a Waste
Every tomato plant spent months absorbing valuable nitrogen, potassium, phosphorus, and trace minerals from your garden beds. When you pull up those mature vines and haul them away in yard waste bags, you are permanently removing those stored nutrients from your local soil cycle.
Organic material is the lifeblood of healthy garden beds. Returning that organic matter to the earth improves soil structure, increases water retention, and feeds the underground food web of earthworms, beneficial fungi, and microbes.
Unless your plants are suffering from severe and persistent fungal diseases, throwing them away wastes organic material that you can easily repurpose.
Topping Plants for a Final Harvest Surge
About four to six weeks before your expected first fall frost date, you can use a pruning technique called topping to force your plants into a final productive burst. Tomato plants naturally want to keep growing new foliage and setting flowers until the frost kills them, but late-season flowers will never have enough time to develop into edible fruit.
Topping redirects the plant’s finite energy reserves away from vertical growth and directly into finishing the fruit already hanging on the vines.
To top your tomato plants effectively, follow these straightforward steps:
- Locate the main central leader stems on each indeterminate plant.
- Use clean, sharp pruning shears to snip off the growing tips just above the highest cluster of mature fruit.
- Trim away any tiny new flower clusters, as they will only siphon energy away from established fruit.
- Remove small suckers and unproductive side shoots growing between the leaf nodes.
- Thin out dense lower leaves to maximize sunlight exposure and improve airflow around ripening tomatoes.
Harvesting and Ripening Green Tomatoes Indoors
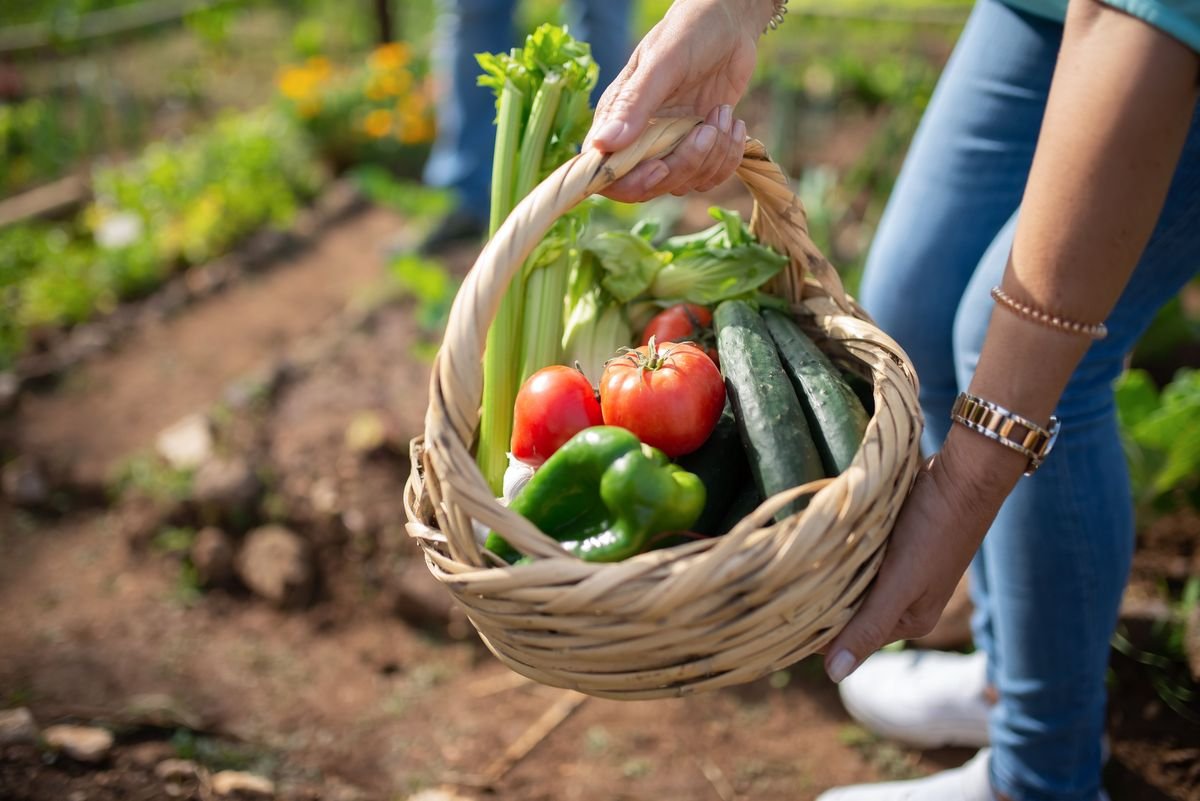
When frost threatens and you still have an abundance of unripened fruit hanging on the vines, you do not have to leave them to rot in the cold. Green tomatoes that have reached full size and show a slight glossy shine or a faint blush of color will ripen beautifully indoors.
Pick the fruit gently by snapping the stem just above the calyx to avoid puncturing the skin. Sort through your harvest and separate any bruised, split, or damaged tomatoes for immediate kitchen use in fried green tomatoes, chutneys, or relishes.
To ripen healthy green tomatoes inside your home, try one of these reliable methods:
- Place tomatoes in a single layer inside a shallow cardboard box lined with newspaper, keeping the fruits slightly separated so they do not touch.
- Add a ripe banana or apple to the box, which naturally emits ethylene gas to accelerate the ripening process.
- Store the box in a dark, moderately warm room with temperatures between sixty-five and seventy degrees Fahrenheit.
- Check the box every few days to pull out fully ripened red tomatoes and remove any fruits showing soft spots.
- Alternatively, pull the entire tomato plant up by its roots and hang it upside down in a protected garage or basement where the fruits can draw residual moisture from the stems as they change color.
Saving Seeds for Next Year
If you grew open-pollinated or heirloom tomato varieties this season, the end of the year is your chance to collect seeds for next spring. Heirloom seeds breed true to type, meaning the plants grown from those seeds will produce fruit identical to the parent plant.
Avoid saving seeds from hybrid varieties (often marked as F1 on seed packets) because their offspring will display unpredictable traits and inconsistent fruit quality.
Tomato seeds are enclosed in a protective gelatinous sac that contains natural germination inhibitors. To prepare the seeds for long-term storage, you must ferment them to break down this coating and eliminate seed-borne bacterial pathogens.
Slice open your ripest, most flavorful heirloom tomato and squeeze the seeds and surrounding jelly into a clean glass jar. Add a few tablespoons of water, cover the jar loosely with a paper towel, and place it on a warm countertop for three to four days.
A thin layer of white mold will form across the top of the liquid, signaling that the fermentation process is complete. Pour the jar contents into a fine-mesh sieve, rinse the seeds thoroughly under cold running water, and spread them across parchment paper or a paper plate to dry completely for two weeks before packing them into labeled envelopes.
Hot Composting Healthy Vines
Composting is one of the most natural ways to recycle old garden vegetation, but tomato foliage requires careful management. Tomato stems are tough and fibrous, meaning they take significantly longer to break down than soft salad greens or fallen tree leaves.
Before adding healthy tomato plants to your compost pile, use sharp loppers, garden shears, or a lawnmower to chop the vines into small pieces measuring two to three inches in length. Chopping exposes more surface area to decomposing bacteria and speeds up breakdown dramatically.
To ensure all seeds and potential pathogens are destroyed, you must practice active hot composting. A properly constructed hot pile requires a balanced carbon-to-nitrogen ratio, adequate moisture, and regular aeration.
The internal core temperature of your compost pile must reach between one hundred forty and one hundred sixty degrees Fahrenheit and stay there for several consecutive days. Use a long-stemmed compost thermometer to monitor the internal heat before turning the pile to bring cooler outer materials into the hot center.
Dealing With Diseased Tomato Plants
Tomato plants are susceptible to numerous troublesome pathogens, including early blight, late blight, Septoria leaf spot, and verticillium wilt. If your plants suffered from any of these fungal or bacterial infections during the growing season, tossing them into a standard cold compost pile will only spread disease spores throughout your entire garden next year.
Cold compost piles rarely generate enough sustained heat to eradicate resilient fungal spores and resting structures. When you spread that finished compost over your spring vegetable beds, you risk re-infecting your new seedlings immediately.
For severely diseased foliage, the safest disposal option is municipal green waste collection if your city uses industrial-grade composting facilities that reach extreme temperatures. Alternatively, you can bag the infected vines and place them in the household trash, keeping those problematic spores far away from your garden soil.
The Trench Composting Technique
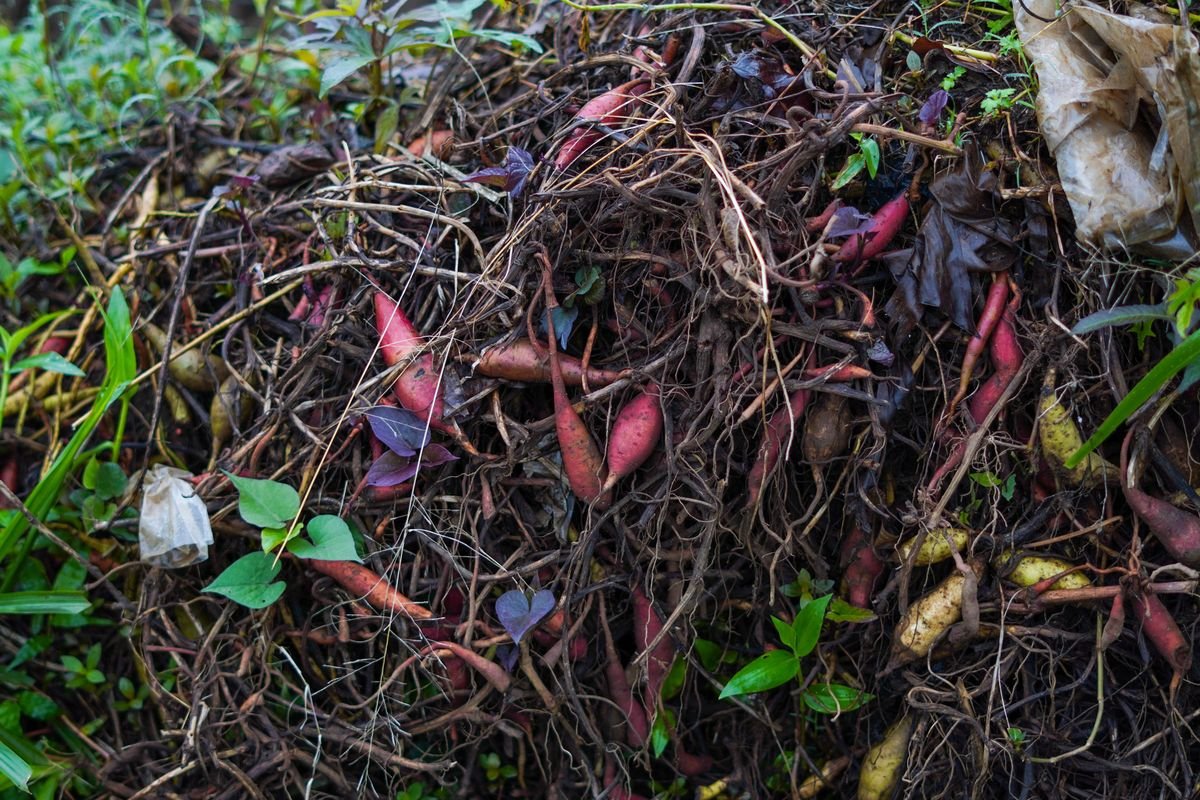
Trench composting, also known as pit composting, is an ancient method that allows organic matter to decompose directly beneath your future planting areas. It requires no specialized bins, no regular turning, and virtually no ongoing maintenance.
This approach works best for disease-free tomato foliage and stems. By burying the material deep underground, you create a rich layer of moisture-retentive humus right in the root zone where heavy-feeding plants will need it most next summer.
Dig a trench roughly twelve to eighteen inches deep along an empty garden bed where you plan to grow non-solanaceous crops next spring, such as squash, beans, or sweet corn. Fill the bottom six to eight inches of the trench with chopped tomato vines, vegetable kitchen scraps, and dry shredded leaves.
Stomp down the organic material firmly to remove large air pockets, thoroughly soak the trench with water, and backfill the top six inches with the excavated garden soil. Over the winter months, earthworms and anaerobic soil microbes will break down the buried debris, leaving behind rich, nutrient-dense soil by springtime.
Leaving Roots in the Ground
Practicing the cut-and-leave technique aligns perfectly with modern no-till gardening principles. Instead of yanking the entire root ball out of the earth and disturbing the delicate soil structure, simply cut the tomato stem off at ground level with a sharp knife or hand pruners.
Leaving the underground root system intact provides massive benefits for your soil ecology throughout the winter season.
As the roots die and slowly decompose underground, they create miniature channels that improve soil aeration and allow winter rain and snowmelt to penetrate deep into the ground. These rotting roots also serve as an essential cold-weather food supply for earthworms and beneficial subterranean microorganisms.
By leaving the soil undisturbed, you preserve the delicate fungal networks (mycorrhizae) that help future plants take up moisture and essential nutrients efficiently.
Building Winter Wildlife Habitats
As freezing temperatures arrive, beneficial garden insects, native pollinators, and small songbirds scramble to find shelter from harsh winds, rain, and predators. Old, thick tomato stems can be repurposed into functional winter brush piles that support local biodiversity.
Choose an out-of-the-way corner of your yard, near a fence line or beneath a stand of native shrubs, to build your wildlife shelter.
Layer thick woody branches and sturdy tomato vines across the base in a crisscross pattern to establish a stable foundation with plenty of open cavities beneath. Top the structure with finer tomato leaves, hollow plant stems, and fallen autumn leaves to create a wind-resistant blanket.
Beneficial predators like ladybugs, ground beetles, and lacewings will overwinter in the dry crevices of the pile, emerging right on time in early spring to hunt aphids and other pests in your new garden.
Making Ash Fertilizer for Next Season
If local burning regulations permit, burning dry, diseased tomato vines in a contained garden incinerator or metal burn barrel can safely neutralize pathogens while creating a valuable mineral supplement for your garden.
High-temperature combustion completely destroys stubborn fungal spores, weed seeds, and pest eggs that would otherwise survive the winter.
The resulting clean wood and plant ash is rich in potassium (potash), calcium, and trace minerals that are essential for strong plant cell wall development and root growth.
Collect the cooled ash in a dry metal bucket with a tight-fitting lid to protect it from rain, which would quickly leach away its water-soluble nutrients. Because plant ash is highly alkaline, apply it sparingly in early spring to acidic soil beds or around heavy potassium feeders like brassicas, root vegetables, and fruit trees.
Cleaning Supports and Garden Tools
Taking care of your old tomato vines is only half the battle when closing down the garden. Tomato cages, wooden stakes, trellises, and pruning tools frequently harbor lingering fungal spores and microscopic pest eggs that can survive freezing winter weather on bare surfaces.
Wipe down all metal cages and stakes with a stiff brush to remove caked-on dirt, then sanitize them using a ten percent bleach solution or a seventy percent isopropyl alcohol spray.
Soak your pruning shears and loppers in warm soapy water, scrub away sap residue, and disinfect the cutting blades thoroughly before drying them. Apply a light coat of mineral oil or camellia oil to metal joints and cutting edges to prevent rust and keep your equipment in peak working condition for the start of the next growing season.
Preparing the Soil for Spring Planting
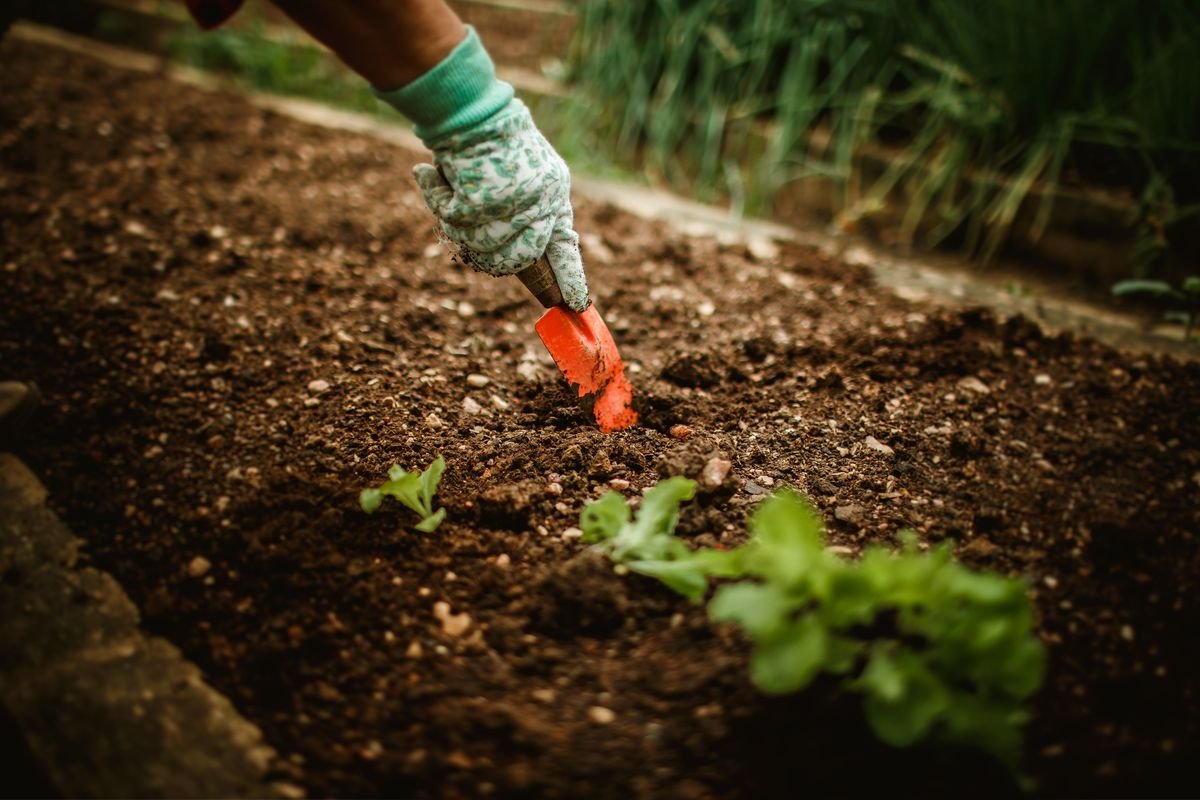
Once your old tomato vines are cleared, chopped, or buried, do not leave your garden beds completely bare and exposed to harsh winter elements. Unprotected garden soil suffers from erosion, nutrient leaching, and severe compaction caused by heavy rain and snow.
Covering your garden beds immediately after cleanup locks in soil moisture, suppresses cool-season weeds, and protects the biological life thriving in your topsoil.
Consider these practical steps to protect your garden beds over the winter:
- Spread a thick three- to four-inch layer of clean organic mulch, such as shredded hardwood, clean straw, or chopped autumn leaves, across the bed surface.
- Plant a quick-growing winter cover crop like winter rye, crimson clover, or hairy vetch to fix nitrogen and prevent nutrient runoff.
- Apply a thin layer of well-rotted compost beneath your winter mulch so earthworms can slowly pull nutrients into the root zone before spring planting.
- Map out your seasonal crop rotation plan to ensure you plant non-nightshade crops (avoiding tomatoes, peppers, eggplants, and potatoes) in that bed for the next three years.
What Should You Do With Your Old Tomato Plants?
Answer 4 quick questions to see your result