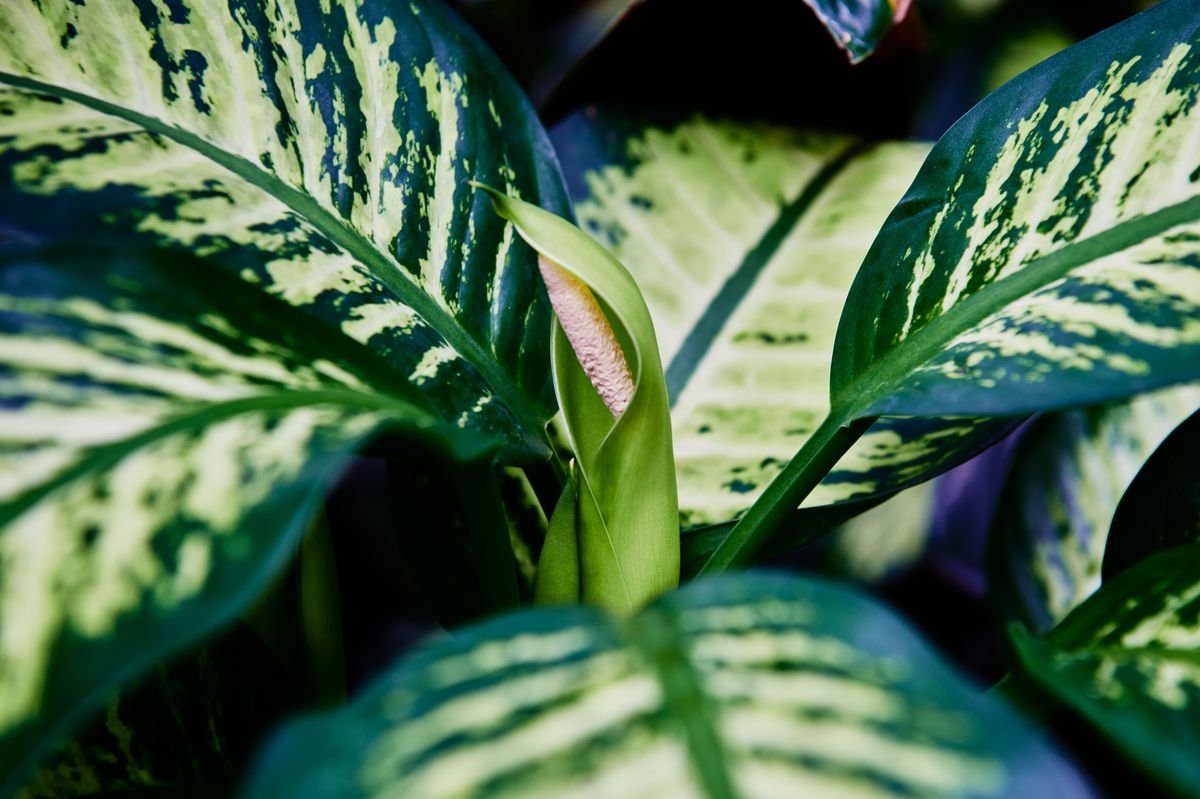
Dieffenbachia plants, commonly known as dumb canes, are beloved for their broad, patterned foliage and hardy nature. While these tropical beauties can adapt well to indoor container life, they are vigorous growers beneath the soil line.
When a dieffenbachia outgrows its container, its roots begin to coil tightly around the pot walls, squeezing out fresh air and soil.
If left unattended, a root bound plant will struggle to absorb moisture and essential nutrients. Fortunately, identifying the warning signs early and refreshing the root zone can restore your plant to lush, healthy growth.
Understanding How Dieffenbachia Roots Grow
Dieffenbachias possess a thick, fibrous root structure designed to anchor large, fleshy stems. In their native tropical habitats, these roots spread through rich, loose forest floors with abundant organic matter.
When grown inside a pot, those roots have finite room to expand. A healthy root system stays pale, firm, and loosely woven throughout the potting mix. This open network allows oxygen to reach the root tips while absorbing dissolved nutrients from each watering.
Because dumb canes grow rapidly during the warm months, their roots fill containers much faster than slower houseplants. Recognizing how their root systems function helps you anticipate when your plant needs an upgrade.
Do Dumb Canes Like Being Root Bound
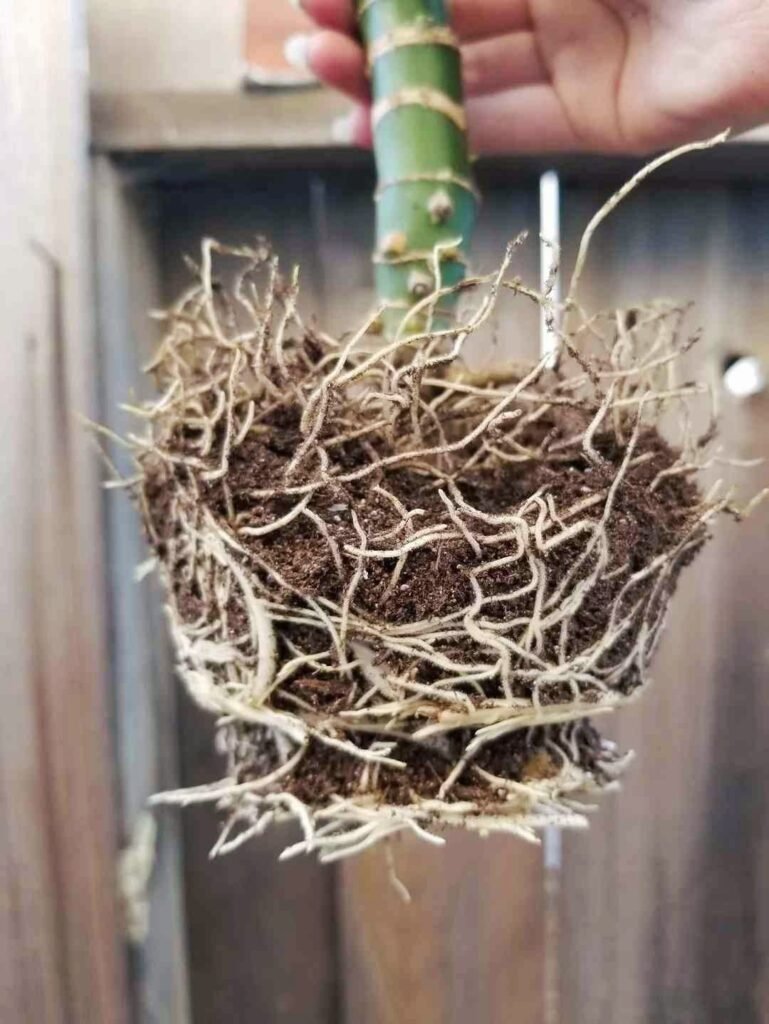
A common misconception among plant owners is that dumb canes thrive when their roots are cramped. While dieffenbachias can tolerate snug conditions for a short period, they do not prefer being severely root bound.
When roots become packed too tightly, they displace the potting medium. Without enough soil mass, the container loses its ability to hold moisture and store nutrients, forcing the root system to consume its own reserves.
Severe root confinement eventually leads to internal strangulation. The outer root layers crush the inner roots, preventing moisture uptake and leading to sudden foliage decline.
Visible Signs Above the Soil
You can often tell your dieffenbachia is struggling simply by inspecting the leaves and stems. When the root system is compromised, the top growth displays clear distress signals.
Keep an eye out for these visual clues above the soil level:
- Stunted or completely halted new growth during the spring and summer.
- Smaller, pale leaves that lack vibrant variegation.
- Persistent wilting and drooping, even shortly after watering.
- Yellowing lower leaves that drop off rapidly.
- Crispy brown edges along the leaf margins due to moisture stress.
When you notice multiple foliage symptoms appearing together, the problem usually originates under the surface.
Warning Signs Beneath the Soil
Examining the container itself provides conclusive proof that your plant has outgrown its home. Physical changes to the soil and pot structure happen as roots take over the available space.
Look for these underground indicators:
- Roots poking heavily out of the bottom drainage holes.
- Thick roots visible across the top surface of the soil.
- Water rushing straight through the drainage tray within seconds of watering.
- Soil drying out completely within one or two days.
- The pot bulging, warping, or cracking from internal root pressure.
If water runs through without soaking in, it means root tissue has replaced the moisture-retaining soil.
Best Time to Repot a Dumb Cane
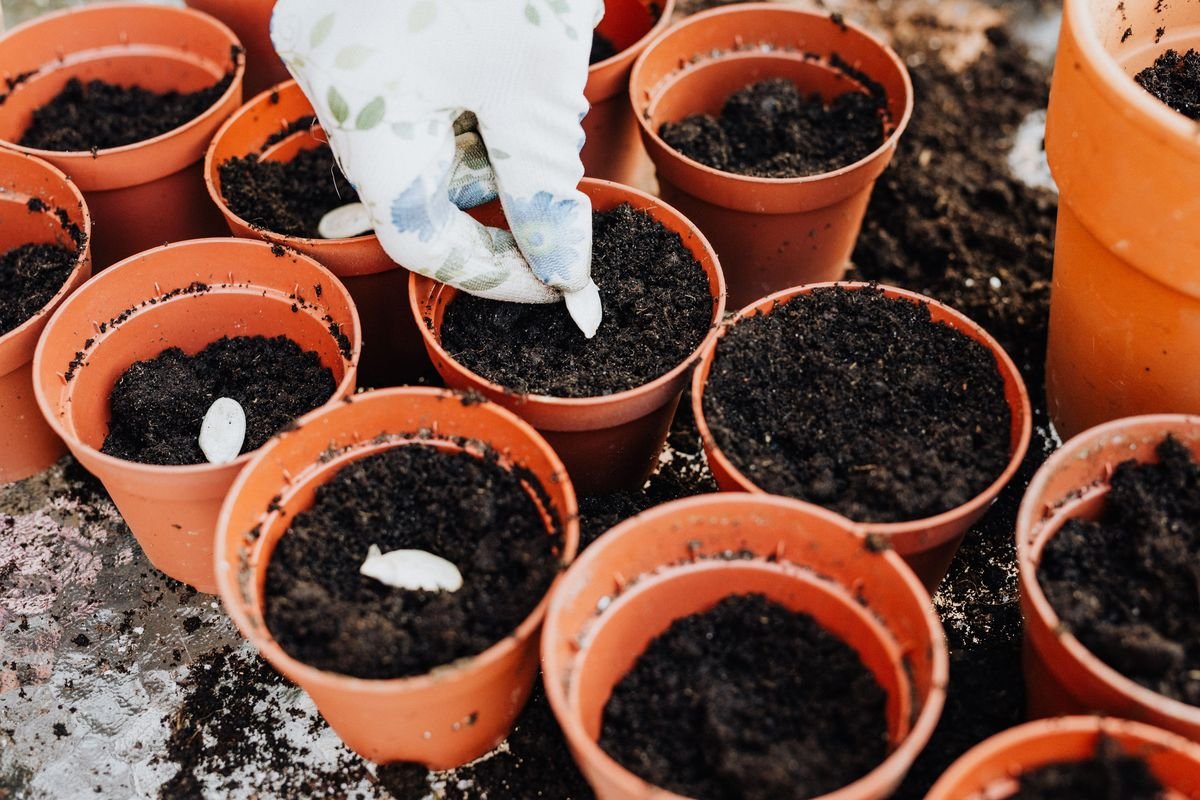
Timing plays a crucial role in how easily your dieffenbachia recovers from root handling. The optimal window for repotting is early to mid-spring, just as the plant enters its active growing phase.
Repotting during spring gives the roots maximum vitality and warmth to establish themselves in the fresh mix. Longer daylight hours and rising ambient temperatures accelerate new root branch development.
If your plant is suffering an emergency, such as severe leaf drop or extreme root binding in autumn or winter, you can still intervene. Just make sure to keep the plant in a warm, bright spot while it adjusts to the new pot.
Choosing the Right Pot and Soil Mix
Selecting the right materials prevents future root issues and reduces transplant shock. Always choose a pot that is roughly two inches larger in diameter than the current container.
Jumping to an oversized pot can cause problems. Excess unused soil stays wet for too long, which increases the risk of fungal infections and root rot around delicate root tips.
Make sure your new container includes generous drainage holes at the base. For the potting medium, use a loose, chunky blend that balances moisture retention with aeration.
A great homemade mixture includes:
- Two parts high-quality peat moss or coco coir.
- One part perlite or pumice for drainage.
- One part orchid bark chips for structural air pockets.
- A handful of worm castings for slow-release nutrition.
Step by Step Guide to Freeing Bound Roots
Working gently during the repotting process protects the main taproots and stem base. Follow these practical steps to safely untangle your plant:
- Water your dieffenbachia lightly a day before repotting to make the root ball easier to slide out.
- Wear gardening gloves, as dieffenbachia sap contains calcium oxalate crystals that can irritate bare skin.
- Gently squeeze the sides of plastic containers or slide a dull butter knife around the inside rim of ceramic pots.
- Tip the pot sideways and ease the plant out by supporting the base of the stems.
- Use your fingers to gently massage the root ball, loosening outer coiling roots and freeing compacted soil.
- Inspect the root system for dark, mushy, or foul-smelling sections and trim them away with clean shears.
- Place fresh soil at the bottom of the new container so the plant sits at the exact same depth as before.
- Center the plant and fill the remaining space around the sides with your loose potting mix.
Aftercare and Recovery Tips
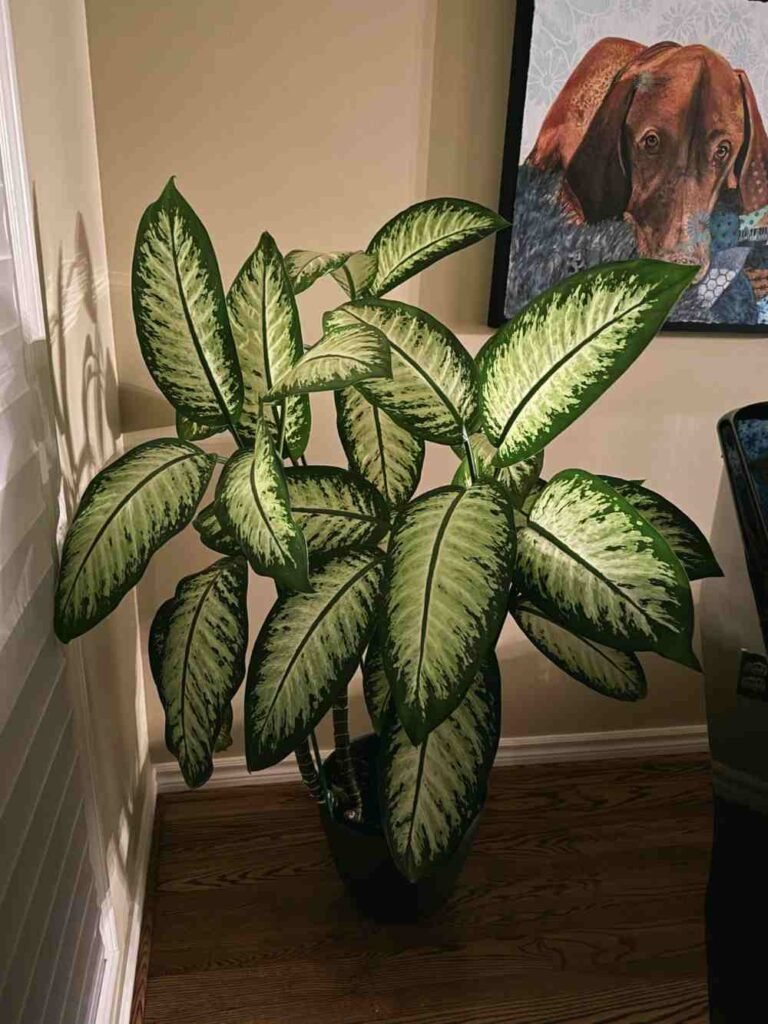
After settling your dieffenbachia into its new home, proper aftercare ensures a swift bounce back.
Thoroughly water the plant until moisture flows freely from the bottom holes, helping the soil settle naturally around the roots without heavy tamping.
Position the plant in bright, indirect sunlight away from cold drafts and direct heating vents. Maintain moderate room humidity to prevent moisture loss from the large foliage.
Avoid applying chemical fertilizers for at least four to six weeks following repotting. The fresh soil provides ample nutrition, and resting the roots allows any minor pruning wounds to heal without risk of fertilizer burn.
Is Your Dieffenbachia Root Bound?
Answer 4 quick questions to see your result