Monstera deliciosa has earned its spot as one of the most beloved indoor plants around. With its dramatic split leaves and fast growth rate, it instantly brings a lush tropical vibe to any living room or workspace.
As your Monstera expands, its root system will eventually fill the entire container. Repotting may feel intimidating if your plant is getting large, but giving your Monstera a fresh home is straightforward and keeps it thriving for years to come.
Why Repotting Your Monstera Matters
In nature, Monstera roots crawl across forest floors and climb up tree trunks with unlimited space to roam. When grown indoors, the root system is confined to a finite volume of potting mix.
Over time, those roots consume available space and deplete the organic nutrients in the potting medium. Repotting restores the ideal balance of room, oxygen, and nutrition that your Monstera needs to produce large, fenestrated foliage.
Giving Roots Room to Expand
A healthy root system is the engine that drives your plant’s growth above the soil line. When roots run out of room, they begin winding tightly around the interior perimeter of the pot.
This circular crowding makes it difficult for the plant to absorb moisture evenly. Moving up in pot size gives the root tips room to spread out into fresh territory.
Refreshing Depleted Potting Soil
Houseplant soil breaks down physically and chemically after twelve to twenty-four months. The organic materials decompose, losing their structural porosity and compacting around the root zone.
Old soil also collects mineral salts from tap water and synthetic fertilizers. Providing fresh potting mix resets the root environment with clean structure and balanced pH levels.
Improving Moisture and Oxygen Flow
Monsteras are epiphytic by nature, meaning their roots need constant access to oxygen alongside humidity. Dense, degraded soil suffocates root hairs and increases the risk of fungal issues.
Repotting into an airy, coarse substrate ensures that water drains freely while allowing plenty of fresh air to circulate throughout the root system.
Obvious Signs Your Monstera Needs a New Pot
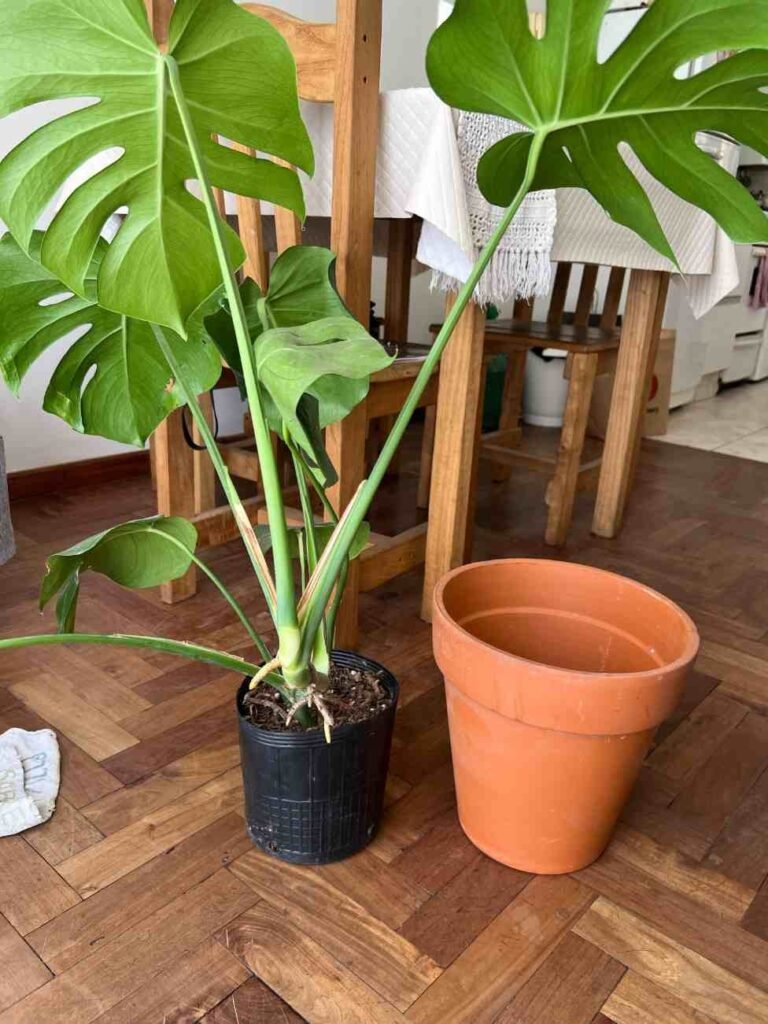
Monsteras provide clear physical cues when their root systems outgrow their containers. Checking your plant every few weeks helps you catch these signals early before the plant experiences severe stress.
Here are the most common indicators that your Monstera is ready for an upgrade.
Roots Peeking Through Bottom Drainage Holes
One of the clearest visual signs of a root bound plant is roots escaping out of the bottom drainage holes. When roots run out of interior space, they push downward looking for new moisture sources.
If you see thick white or tan root tips protruding through the base, the container is full and needs an upgrade.
Soil Dries Out Within Days of Watering
Under normal indoor conditions, a well-watered Monstera pot stays moist for seven to fourteen days. When the root mass occupies almost all the pot volume, there is very little soil left to hold moisture.
If your soil dries out completely after just two or three days, your plant has likely outgrown its current container.
Growth Stalls During the Warm Season
Spring and summer are the primary active growing periods for Monsteras. Healthy specimens usually push out a new leaf every few weeks under bright, indirect light.
If your plant stops producing new growth during peak warm months despite proper light and feeding, restricted roots are often the hidden culprit.
The Plant Becomes Unstable and Top Heavy
Monstera leaves are heavy and broad, putting significant leverage on the base of the plant. If the root ball fills the pot completely, the plant can become top-heavy and tip over easily.
Moving to a wider, heavier pot creates a solid anchor point that keeps your Monstera upright and secure.
Leaves Turning Yellow Without Clear Cause
Yellowing leaves can stem from several care issues, but a root bound state is a common contributor. When roots are tightly compressed, they cannot take up essential micronutrients like nitrogen and magnesium.
This nutrient starvation causes older, lower leaves to gradually turn pale yellow and drop.
Water Runs Straight Through the Pot
When soil becomes old and root-dense, it often shrinks away from the sides of the container. Water simply runs down the interior gaps and straight out the bottom without wetting the root core.
If you pour water into the pot and it instantly pours out into the saucer while the root ball stays dry, repotting is overdue.
Dense Surface Roots Circling the Top
Look at the top layer of soil around the base of your Monstera stems. When the root system has filled the lower pot, it will push upward, forming a dense web across the soil surface.
Exposed surface roots that form a tight ring indicate that the plant has exhausted its downward and lateral room.
Picking the Best Time of Year to Repot
Timing plays a major role in how quickly your Monstera bounces back from root disturbance. While emergency repotting can happen at any point if the plant is failing, aligning with natural growth cycles produces the smoothest recovery.
Why Spring Is the Ideal Window
Early spring is the gold standard for repotting indoor tropical plants. As day length increases and ambient temperatures warm up, the plant enters its most energetic growth phase.
Roots disturbed in spring establish quickly in fresh mix and immediately send out new root hairs to anchor the plant.
Repotting During the Summer Months
Summer is also an acceptable time to repot your Monstera. The abundant natural light and warmth keep the plant active, allowing for steady root regeneration.
Just ensure you monitor soil moisture closely during hot summer stretches so the newly potted plant does not dry out too quickly.
What to Do in Late Fall or Winter
Monsteras slow their metabolic rate during the short days of winter. Disturbing the root system during dormancy can leave fragile roots sitting in damp soil for extended periods without actively drinking.
Unless you are treating an active case of root rot, wait until early spring to repot.
Essential Tools and Supplies for Repotting
Gathering your materials before you pull the plant from its container makes the process clean and efficient. Having everything on hand reduces the time roots spend exposed to open air.
Here is what you will need for a successful repotting session:
- A new pot that is two to three inches wider than the old one
- A chunky, well-draining aroid soil mix
- Clean pruning shears or floral snips
- Rubbing alcohol for sterilizing blades
- A sturdy support pole such as moss, coir, or wood trellis
- Soft plant ties or velcro plant tape
- A watering can and a potting tarp to catch loose dirt
Choosing the Correct Pot Size
A common mistake is jumping into a massive container to save time on future repotting. Pots that are too large hold an excess reservoir of wet soil that the roots cannot reach or consume.
Always select a container that is only two to three inches larger in diameter than the current pot. This controlled step prevents overwatering issues.
The Best Chunky Aroid Soil Mix Recipe
Standard all-purpose potting soil is often too fine and dense for Monsteras when used alone. A specialized aroid blend mimics the loose, airy debris of tropical forest floors.
You can make an ideal blend by mixing:
- Two parts high-quality indoor potting soil or coco coir
- Two parts coarse orchid bark chips
- One part perlite or pumice for aeration
- One part horticultural charcoal to sweeten the soil and resist fungi
- Half part worm castings for gentle, organic nutrients
Pruning Shears and Disinfectant
Clean cutting tools are critical whenever you manipulate root systems. Wiping your shears with seventy percent isopropyl alcohol prevents the transfer of bacteria and fungi to open cuts.
Sharp bypass shears create clean snips that heal rapidly without crushing delicate root tissues.
Support Stakes or Moss Poles
Repotting is the ideal time to add or upgrade a climbing pole. Monstera deliciosa is a climbing vine, and giving the main stem vertical support encourages larger foliage and mature leaf fenestrations.
Positioning the pole during repotting ensures you set it deep into the pot without impaling established root clusters later.
Step by Step Monstera Repotting Guide
Follow these practical steps to transition your Monstera into its new container with minimal disruption to its health.
Preparing Your Plant Before Repotting
Water your Monstera thoroughly one to two days before you intend to repot it. Hydrated roots are pliable, supple, and far less prone to snapping during handling.
Moist soil also slides out of plastic containers much more smoothly than dry, baked substrate.
Safely Removing the Plant from Its Old Container
Lay the pot gently on its side on a flat, protected surface. Squeeze the flexible sides of plastic nursery pots to break the soil seal, or run a dull butter knife around the inner rim of rigid ceramic pots.
Support the base of the central stem with one hand and gently slide the container away from the root ball. Never yank the plant out by its foliage or petioles.
Untangling and Inspecting the Root Ball
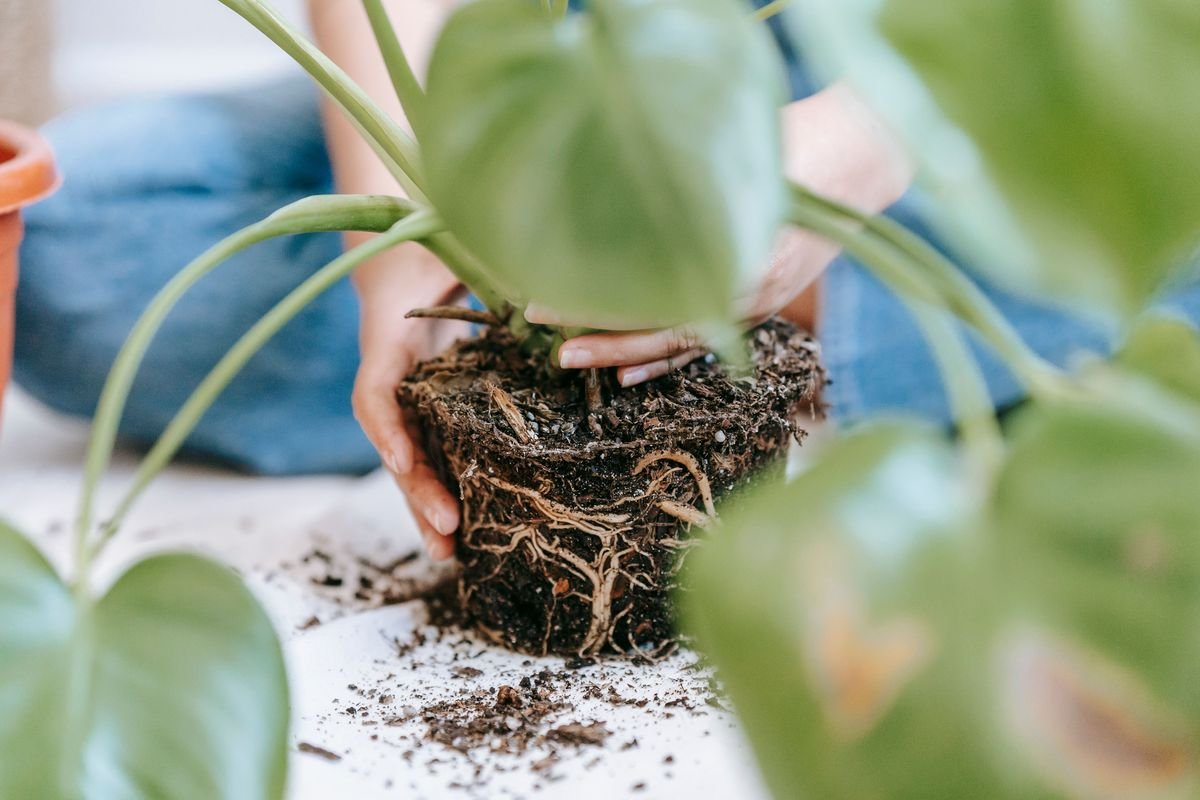
Once the plant is free, use your fingers to gently massage the bottom and sides of the root ball. Loosen the outermost circling roots so they point outward into the new soil.
Examine the root system carefully. Healthy Monstera roots are firm, plump, and pale yellow, tan, or white in color.
Trimming Damaged or Dead Roots
If you notice any dark brown, black, or mushy roots that give off a foul odor, cut them back to clean, healthy tissue using sterilized shears.
Trimming away dead root tissue stops fungal pathogens from spreading into your fresh potting mix.
Positioning the Plant and Support Pole
Add a few inches of fresh chunky aroid mix to the bottom of the new pot. Place your support pole toward the rear of the container, inserting it all the way to the bottom for maximum stability.
Set your Monstera root ball directly in front of the pole, ensuring the back of the vine faces the pole and the soil line sits roughly one to two inches below the pot rim.
Filling with Fresh Soil and Eliminating Air Pockets
Hold the plant and pole centered while pouring fresh soil mix around the perimeter of the root ball. Work the mix into side gaps using your fingers.
Tap the sides of the pot gently to help the chunky soil settle into hidden voids without compressing the mix too tightly.
The Crucial First Watering Technique
Once the container is filled, water the plant thoroughly until water runs freely out of the bottom drainage holes. This initial watering settles the fresh substrate around the roots and eliminates large air pockets.
Allow all excess water to drain out completely before returning the pot to its decorative saucer.
Caring for Your Monstera After Repotting
The days following repotting require gentle aftercare while the root system re-establishes contact with the growing medium.
Managing Post Repotting Shock
It is completely normal for a Monstera to show mild signs of drooping or slight leaf curl for a few days after repotting. This minor shock occurs as fine root hairs recover from movement.
Keep the plant in stable humidity and avoid moving it around the room while it settles into its new environment.
Optimal Lighting and Temperature Placement
Place your newly potted Monstera in bright, indirect sunlight. Avoid direct, intense sun rays during the first two weeks, as stressed leaves burn more easily.
Maintain ambient indoor temperatures between 65 and 80 degrees Fahrenheit and keep the plant away from drafty air conditioners or heating vents.
When to Resume Fertilizer Applications
Hold off on all liquid fertilizers for at least four to six weeks following repotting. Fresh potting soil typically contains starter nutrients, and stressed root tips can easily be burned by concentrated mineral salts.
Once you observe a fresh leaf unfurling, you can resume your regular feeding schedule at half strength.
Frequently Asked Questions
Here are answers to the most frequent questions indoor gardeners ask when repotting their Monstera plants.
How Often Should You Repot an Adult Monstera
Young, vigorously growing Monsteras typically need repotting every twelve months. Mature, large plants can remain in the same container for two to three years.
For massive floor plants that are too difficult to repot, you can refresh the top two to three inches of soil every spring instead.
Can You Repot Multiple Cuttings in One Container
Yes, planting multiple rooted cuttings in a single pot is an excellent way to create a fuller, bushier indoor specimen.
Make sure the pot has enough diameter for all root systems to sit without severe tangling, and place a climbing pole in the center for the vines to share.
What if the Plant Is Stuck Inside the Pot
If a Monstera is stubborn and refuses to slide out of a ceramic or terra cotta pot, run a long flexible potting knife around the inner rim to sever roots adhering to the walls.
For cheap nursery plastic pots, it is often safer to carefully slice down the sides of the pot with heavy utility shears rather than tearing the root system.
Should Aerial Roots Be Buried During Repotting
Aerial roots that are long enough can easily be guided into the fresh soil during repotting. Once underground, aerial roots develop subterranean feeder root structures that supply extra water and nutrients.
Alternatively, you can direct aerial roots into a moist moss pole to provide physical grip and hydration.
Does Your Monstera Need Repotting Right Now?
Answer 4 quick questions to see your result