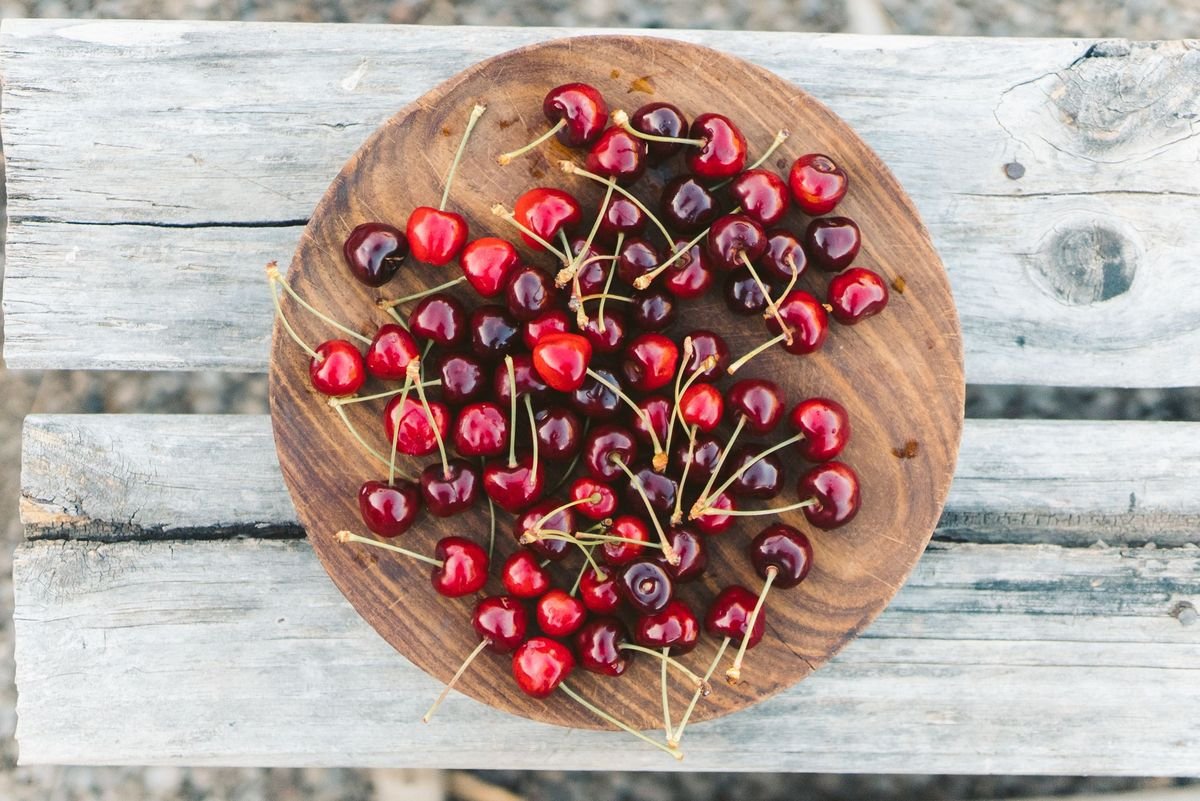
Every summer, bowls of sweet, plump cherries brighten our kitchen tables and picnic gatherings. After enjoying the delicious fruit, almost everyone looks down at the remaining hard pits and wonders if they can turn those kitchen scraps into productive fruit trees in the backyard.
The short answer is yes, you can indeed grow a cherry tree from a simple cherry pit. With a little patience, proper preparation, and an understanding of how fruit seeds wake up from their dormant state, you can transform ordinary leftover pits into flourishing outdoor shade trees that yield beautiful spring blossoms.
The Magic Inside Every Cherry
When you hold a cherry pit in your hand, you are actually holding the protective stony shell known as the endocarp. Inside this tough outer wall rests the true embryo of the cherry tree.
Nature designed this hard casing to protect the fragile embryo from being digested by wildlife or damaged by freezing outdoor conditions. In the wild, birds and small mammals consume the juicy fruit and distribute the seeds far from the parent tree.
Once the outer pulp disappears and moisture reaches the shell, the seed inside waits for specific environmental signals before starting to grow. By understanding this natural life cycle, you can easily recreate the exact conditions the seed needs to germinate.
Can Store Bought Cherries Actually Sprout
Supermarket cherries can sprout, but they often present a few unique hurdles for home gardeners.
Many commercially sold cherries have spent extended periods in chilled transport or commercial cold storage. While this cold environment can sometimes kickstart the chilling process seeds need, it can also dry them out if stored improperly.
Furthermore, many commercial orchards grow imported cherries that were bred for warm climates or special agricultural conditions that might not match your backyard. While trying store-bought pits is a fun experiment, starting with fresh, seasonal cherries gives you a significantly higher rate of success.
Why Local Cherries Give You Better Results
If you want the best possible chance of raising a robust and productive tree, source your fruit from a local farmers market or a regional orchard.
Cherries that thrive in your immediate geographical area are already naturally adapted to your native soil composition, average seasonal rainfall, and winter temperatures.
When you plant pits from locally cultivated cherries, the resulting seedlings are much more likely to survive unpredictable cold snaps and local weather swings. You also have the bonus of speaking directly with the farmer to ask about the specific parent variety you are eating.
Understanding Growing Zones and Climate Needs
Cherry trees generally thrive across USDA plant hardiness zones 4 through 8, depending on the particular variety you choose.
Sweet cherry varieties usually favor zones 5 through 7, where the winters are crisp but not bitterly arctic, and summers remain moderate. Sour or tart cherries are far hardier and often do exceptionally well in the colder conditions of zone 4.
If you live in deep southern states with mild winters, such as zone 9 or 10, cherry trees may struggle to bloom and produce fruit because they do not receive enough cold weather to trigger their seasonal growth cycle.
The Importance of Winter Chill Hours
Fruit trees from the stone fruit family require a distinct dormant phase known to horticulturists as chill hours.
Chill hours refer to the total cumulative number of hours during autumn and winter when temperatures stay between 32 and 45 degrees Fahrenheit (0 to 7 degrees Celsius).
Most cherry varieties require between 700 and 1,200 chill hours each winter. Without this prolonged resting period, the tree will fail to break dormancy properly in the spring, leading to patchy leaf emergence and poor blossom development.
What to Expect from Pit Grown Fruit
It is essential to understand that cherry trees do not grow true to seed.
Because commercial fruit trees are open-pollinated by bees carrying pollen from diverse varieties, every single seed is genetically unique. The tree you grow will be an entirely new individual rather than an exact genetic clone of the cherry you ate.
Your grown tree might produce fruit that is sweeter, more tart, slightly smaller, or vastly different in texture from the parent fruit. Embracing this botanical surprise is one of the most rewarding parts of growing fruit trees from scratch.
Sweet Cherries Versus Sour Cherries
Before you begin your planting journey, consider whether your pit came from a sweet cherry or a sour cherry variety.
Sweet cherries (Prunus avium), like Bing or Rainier, are famous for fresh snacking but are often self-sterile. This means they require a second, genetically compatible cherry tree nearby so bees can cross-pollinate the flowers to produce fruit.
Sour cherries (Prunus cerasus), like Montmorency, are prized for pies and jams. Most sour cherry trees are self-fertile, meaning a single solitary tree in your yard can pollinate its own blossoms and yield abundant fruit on its own.
How to Harvest and Clean Your Pits
Getting your seeds ready to plant begins with thorough cleaning.
Eat or slice away the sweet flesh from several ripe cherries. Collect at least ten to twelve pits, since germination rates for stone fruits typically hover between 30 and 50 percent.
Place the pits in a small bowl of warm water and scrub away every trace of fruit pulp using a soft brush or your fingers. Any lingering sugar or fruit residue left on the shell will attract harmful mold spores and fungal growth during the long chilling process.
The Cold Stratification Process Explained
To wake up a cherry seed, you must mimic winter through an artificial process called cold stratification.
Take your clean, slightly damp pits and place them into a sealed plastic container or zip bag filled with slightly moist sand, peat moss, or damp paper towels. The medium should feel like a wrung-out sponge, never soggy.
Place the container into your household refrigerator where temperatures stay between 34 and 40 degrees Fahrenheit (1 to 4 degrees Celsius). Keep the seeds in the refrigerator for 8 to 12 weeks, checking weekly to make sure the medium remains lightly moist and free from mold.
How to Tell When Seeds Are Ready to Plant
Toward the end of the stratification window, your cherry seeds will begin to show clear signs of life.
The hard outer casing may naturally split open, revealing a tiny white root tip called a radicle poking out from inside the shell.
If your seeds have completed ten weeks of chilling without visibly cracking, you can gently crack the outer shell using a standard nutcracker or clean pliers. Be very careful not to crush or puncture the soft inner kernel when applying pressure.
Planting Your Sprouted Pits in Pots
Once your pits have sprouted, it is time to move them into individual small containers.
Select small four-inch pots with ample drainage holes at the bottom. Fill the containers with a lightweight, sterile seed starting mix blended with perlite to maintain loose, well-aerated soil structure.
Plant each sprouted seed approximately one-half inch to one inch deep with the delicate root tip pointing downward. Gently cover the pit with loose soil and mist thoroughly with room temperature water until the mix is evenly damp.
Providing the Right Light and Water Indoors
Place your newly potted seedlings in a bright location that receives plenty of indirect sunlight or under an adjustable LED grow light.
Young cherry seedlings need about twelve to fourteen hours of bright light daily to develop sturdy, thick stems instead of growing weak and spindly.
Water the pots whenever the top half-inch of soil feels dry to the touch. Avoid letting the containers sit in standing water, as stagnant moisture quickly leads to root rot and fungal damping-off disease.
Hardening Off Your Young Seedlings
Before moving your baby cherry trees out into the garden permanently, you must acclimate them to direct sun and outdoor breezes.
This acclimation process is called hardening off. Start by placing the pots outside in a sheltered, shady spot for two hours during the warmest part of the day, then bring them back indoors.
Gradually increase their outdoor exposure by an hour or two each day over a period of ten days, moving them into progressively brighter sunlight and gentle wind. This step toughens the leaves and stems, preventing outdoor shock.
Choosing the Best Planting Site Outdoors
Selecting the right location in your yard is one of the most important decisions for the long-term health of your tree.
Cherry trees demand full sun, requiring at least six to eight hours of direct, unfiltered sunlight each day to produce energy for growth and blossom production.
Make sure your chosen spot features deep, loamy soil with exceptional drainage. Cherry trees despise having wet feet, so avoid low spots in the yard where water tends to collect after heavy seasonal rains.
Caring for Your Growing Cherry Tree
Once planted in the ground, your young sapling will need attentive care during its first two growing seasons.
Water the young tree deeply once or twice a week during dry summer stretches, delivering moisture straight to the root zone rather than spraying the foliage. Apply a three-inch layer of organic wood chip mulch around the base of the tree, keeping the mulch a few inches away from the trunk to prevent pest damage.
Install a simple wire mesh barrier or tree guard around the base of the young trunk to prevent hungry deer, rabbits, and rodents from chewing on the tender bark.
Common Mistakes to Avoid Along the Way
Many beginners make avoidable errors that reduce their chances of successfully growing cherries from pits.
The most common mistake is skipping the cold stratification step and planting fresh pits directly into warm soil, which leaves the seed trapped in permanent dormancy.
Another frequent misstep is overwatering potted seedlings or planting the trees in dense clay soil without adequate aeration. Finally, avoid over-fertilizing young seedlings during their first year, as excess synthetic nitrogen can scorch delicate new root tips.
Buying a Grafted Tree Versus Starting from Seed
Deciding whether to plant a seed or buy a grafted nursery tree depends entirely on your gardening goals and your patience level.
A pit-grown cherry tree is essentially free, incredibly educational, and deeply satisfying to cultivate, but it often takes seven to ten years before producing its first crop of fruit.
In contrast, grafted nursery trees are grown on specialized rootstocks that control tree height and ensure guaranteed fruit flavor. Nursery trees will typically bear fruit within two to four years of planting. If you enjoy the scientific journey and the beauty of gardening, growing from seed is an unforgettable adventure.
Is Your Garden Ready for a Seed-Grown Cherry Tree?
Answer 4 quick questions to see your result