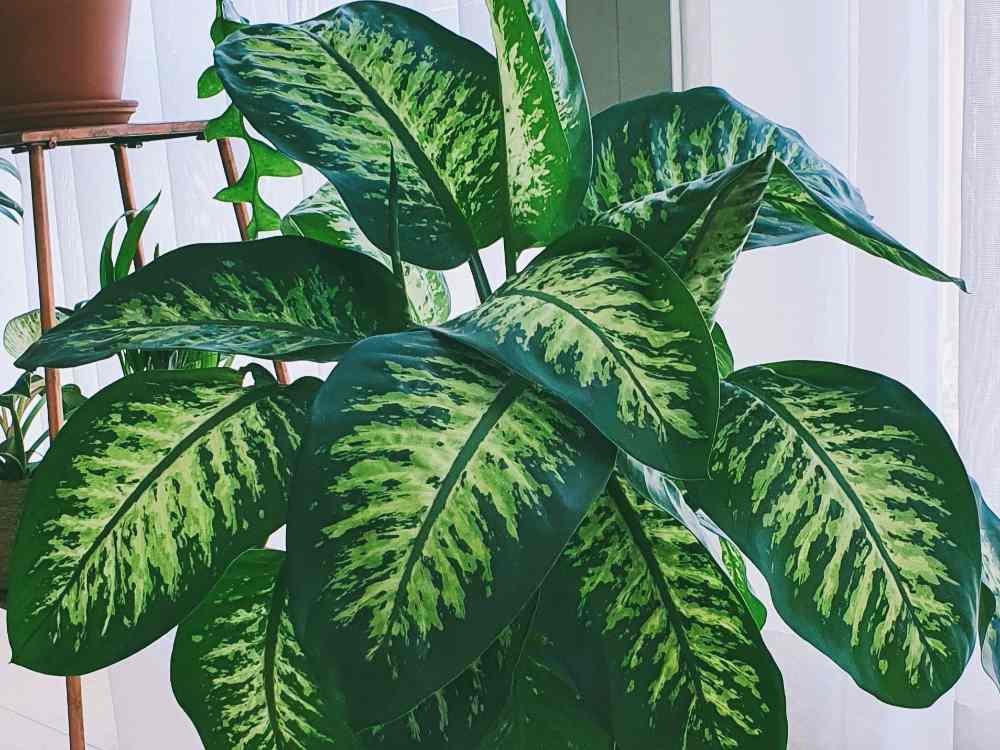
Dieffenbachia plants are among the most beloved houseplants in the world, admired for their bold foliage and striking patterns.
Whether you just brought your first dumb cane home from a nursery or received one as a thoughtful housewarming gift, you will quickly discover how rewarding this tropical beauty can be.
Caring for a dieffenbachia does not require years of gardening experience or endless hours of daily maintenance.
With a clear understanding of its basic requirements for moisture, light, warmth, and nutrition, you can easily maintain a vibrant showpiece that elevates your indoor decor for years to come.
Are Dieffenbachia Plants Easy to Grow
Dieffenbachia plants have earned a stellar reputation among houseplant lovers for their forgiving and resilient nature.
They adapt remarkably well to the standard conditions found in modern homes, making them an outstanding choice for beginners.
Unlike temperamental tropical species that drop their foliage at the slightest environmental shift, a dumb cane can handle minor care mistakes without lasting damage.
If you occasionally forget a watering session or fail to provide optimal humidity, the plant will usually bounce back once you restore proper care.
On average, maintaining a healthy dieffenbachia takes only about five to ten minutes of attention each week. You simply need to monitor soil moisture, wipe down the leaves periodically, and check for signs of active growth.
This low-maintenance profile makes it an appealing choice for busy professionals and seasoned collectors alike.
Ideal Lighting Conditions for Your Plant
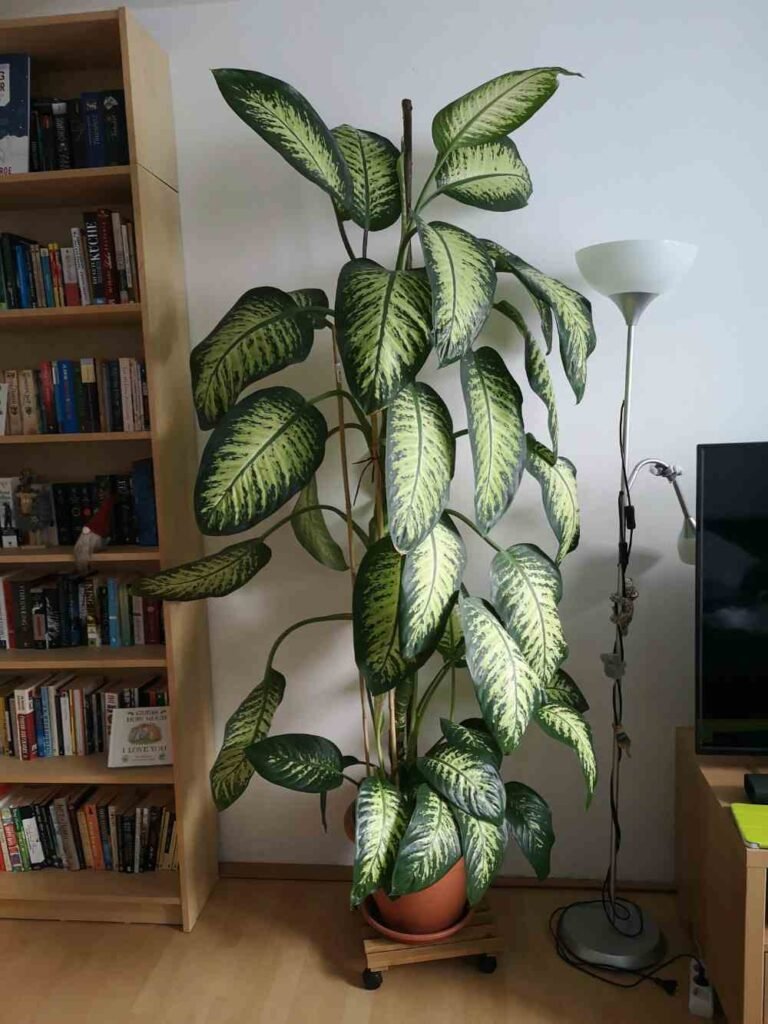
In their native tropical rainforest habitats, dieffenbachia plants thrive beneath dense canopies where sunlight filters gently through taller trees.
To replicate this natural environment indoors, you should provide your plant with medium to bright indirect sunlight.
An east-facing window offers ideal morning sunlight that is gentle and cool, providing adequate energy without the risk of heat stress.
If you place your plant near a south-facing or west-facing window, set it back a few feet from the glass or use a sheer curtain to diffuse the intense rays.
Proper lighting preserves the vivid variegation and creamy white patterns that make dieffenbachia foliage so desirable. Insufficient light can cause new foliage to emerge solid green, as the plant increases chlorophyll production to capture whatever light is available.
Managing Low Light and Artificial Lights
While dieffenbachia plants grow best in bright indirect light, they possess an impressive ability to tolerate lower light levels.
This adaptability makes them popular additions to corporate offices, hallways, and shaded living areas where natural sunlight is scarce.
In low-light conditions, your plant will grow at a significantly slower pace, and the spacing between leaves along the stem may lengthen as it stretches toward the nearest light source. You should also reduce your watering frequency, as soil stays damp much longer when light levels drop.
Dieffenbachia plants can also thrive under standard fluorescent or LED office lighting. If you rely entirely on artificial lights, aim to provide twelve to fourteen hours of illumination daily to give your plant sufficient energy for ongoing photosynthesis.
The Dangers of Direct Sunlight
Direct, unfiltered sunlight is one of the quickest ways to damage a healthy dieffenbachia. The broad, soft leaves contain delicate cell structures that scorch easily under harsh afternoon rays.
Sunburn on a dumb cane appears as bleached, crispy patches or dry brown blotches across the surface of the leaves.
Once leaf tissue is scorched by the sun, it cannot heal or regain its natural color, and the damaged leaves must eventually be pruned away.
If you notice the leaves nearest a window turning yellow or developing dry margins, immediately move the plant further into the room. Protecting the plant from direct sun ensures that the foliage retains its lush texture and vibrant color pattern.
The Best Potting Soil Mixture
Selecting the right potting medium is critical to the long-term vitality of your dieffenbachia. These plants require a rich, well-aerated soil mix that holds a moderate amount of moisture while allowing excess water to drain away freely.
Standard, dense garden soil is too heavy for indoor containers and will quickly suffocate the root system. A high-quality potting mix formulated for tropical houseplants or African violets provides an excellent starting base.
You can easily create an ideal custom soil blend at home using basic ingredients:
- Two parts standard peat-based potting soil
- One part perlite or pumice to enhance aeration
- One part coarse orchid bark to prevent compaction
- A small handful of horticultural charcoal to keep the soil fresh
This blend allows the roots to breathe while ensuring consistent moisture distribution throughout the pot.
How to Choose the Right Pot Size
Container selection plays an important role in moisture management and root development. A common beginner mistake is planting a small dieffenbachia into an oversized container, thinking it will give the plant plenty of room to expand.
Unfortunately, excess soil in an oversized pot holds surplus water that the root system cannot absorb quickly enough, greatly increasing the risk of root rot. Always choose a pot that is only one to two inches wider in diameter than the plant’s existing root ball.
Drainage holes at the bottom of the pot are non-negotiable. Whether you prefer lightweight plastic nursery pots, decorative glazed ceramic, or porous terracotta, water must be able to escape freely from the base of the container after every watering.
When and How to Repot
As your dieffenbachia matures, its root system will eventually fill the container. Most young plants benefit from being repotted every one to two years, while mature specimens can remain in the same container for two to three years.
Signs that your plant has outgrown its pot include roots poking out of the drainage holes, water running straight through the container without absorbing, and stunted growth during the spring and summer.
To repot your dieffenbachia safely, follow these straightforward steps:
- Water the plant lightly a day before repotting to make soil removal easier.
- Gently slide the root ball out of the existing container while supporting the main stem.
- Loosen tightly coiled roots around the base with your fingers.
- Place a layer of fresh potting mix in the new, slightly larger container.
- Center the plant and fill the surrounding space with soil, pressing lightly to remove air pockets.
- Water thoroughly and place the plant in medium indirect light to recover.
Watering Your Dumb Cane Properly
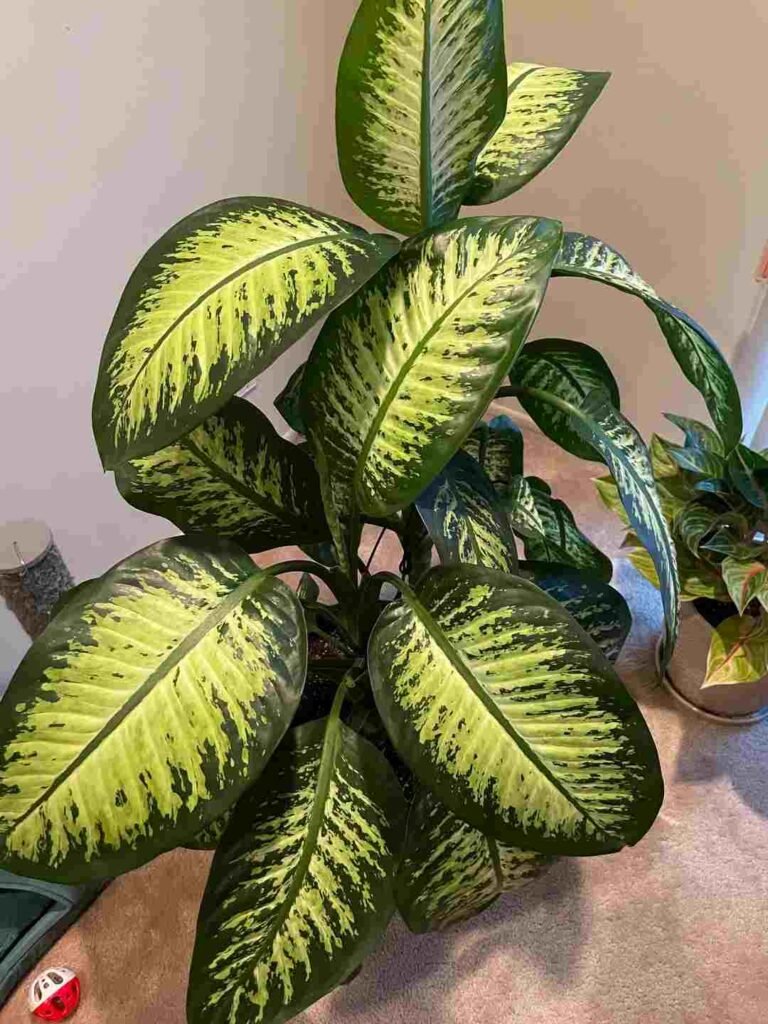
Mastering the watering routine is the most important skill in dieffenbachia care. These plants prefer consistently moist soil that is never allowed to become waterlogged or completely bone dry.
The safest method is the soak-and-dry approach. Before adding water, insert your finger into the soil to a depth of two inches. If the soil feels dry and crumbly at that depth, it is time to water; if you feel cool moisture, wait a few more days before checking again.
When watering, pour room-temperature water evenly over the soil surface until it begins trickling out of the drainage holes at the bottom of the pot. Allow all excess moisture to drain completely, and empty the drip tray after fifteen minutes so the roots never sit in standing water.
Warning Signs of Overwatering and Underwatering
Dieffenbachia plants communicate their moisture needs clearly through changes in their foliage. Learning to read these visual signals allows you to adjust your care before serious root issues develop.
Overwatering is the most common threat to indoor plants. When the roots are deprived of oxygen due to saturated soil, you will notice lower leaves turning yellow, mushy brown stems near the soil line, and a distinct sour odor from the pot.
Underwatering, on the other hand, produces distinct symptoms of dehydration:
- Drooping or limp foliage that feels soft and thin
- Crispy, curled leaf edges and dry tips
- Soil pulling away from the inside edges of the pot
- Sudden dropping of older lower leaves
A thorough, deep watering usually revives an underwatered dieffenbachia within a few hours.
Ideal Temperature Range Indoors
Originating in tropical regions of Central and South America, dieffenbachia plants are naturally adapted to warm, stable climates. They perform best when indoor temperatures stay consistently between 65 and 75 degrees Fahrenheit.
They can tolerate brief daytime temperatures up to 80 or 85 degrees Fahrenheit, provided the room has adequate humidity and soil moisture. However, extended exposure to extreme heat can cause foliage to wilt and curl.
Cold temperatures pose a much greater danger. If room temperatures drop below 55 degrees Fahrenheit, the plant will suffer cellular shock, leading to rapid leaf yellowing, stem softening, and root decline. Keep your thermostat steady to ensure stress-free growth.
Protecting Plants from Drafts and Air Vents
Temperature stability is just as important as the actual temperature reading. Sudden temperature swings caused by air drafts can severely stress a dumb cane, even if the overall room temperature seems acceptable.
Avoid positioning your plant directly in the airflow path of air conditioning units, heating vents, or drafty exterior doors. Cool drafts during winter can freeze leaf cells, while hot air from a radiator can dry out foliage rapidly.
If you like opening windows during mild spring and autumn days, place your dieffenbachia far enough away from the window sill to avoid sudden gusts of chilly wind. A sheltered spot in the interior of a bright room provides the most reliable environment.
Humidity Requirements for Lush Foliage
Dieffenbachia plants thrive in humid environments. In their native jungle habitats, relative humidity rarely drops below 70 percent. While modern cultivars are bred to tolerate normal household air, they still prefer higher moisture levels.
An ambient humidity level between 50 and 60 percent is ideal for indoor dieffenbachia plants. In this range, the leaves grow larger, maintain deep colors, and develop fewer brown, crispy edges.
During winter months, indoor heating systems often cause indoor humidity to drop below 30 percent. In such dry air, your plant will lose water rapidly through transpiration, resulting in dry tips and slower new growth.
Practical Ways to Increase Room Humidity
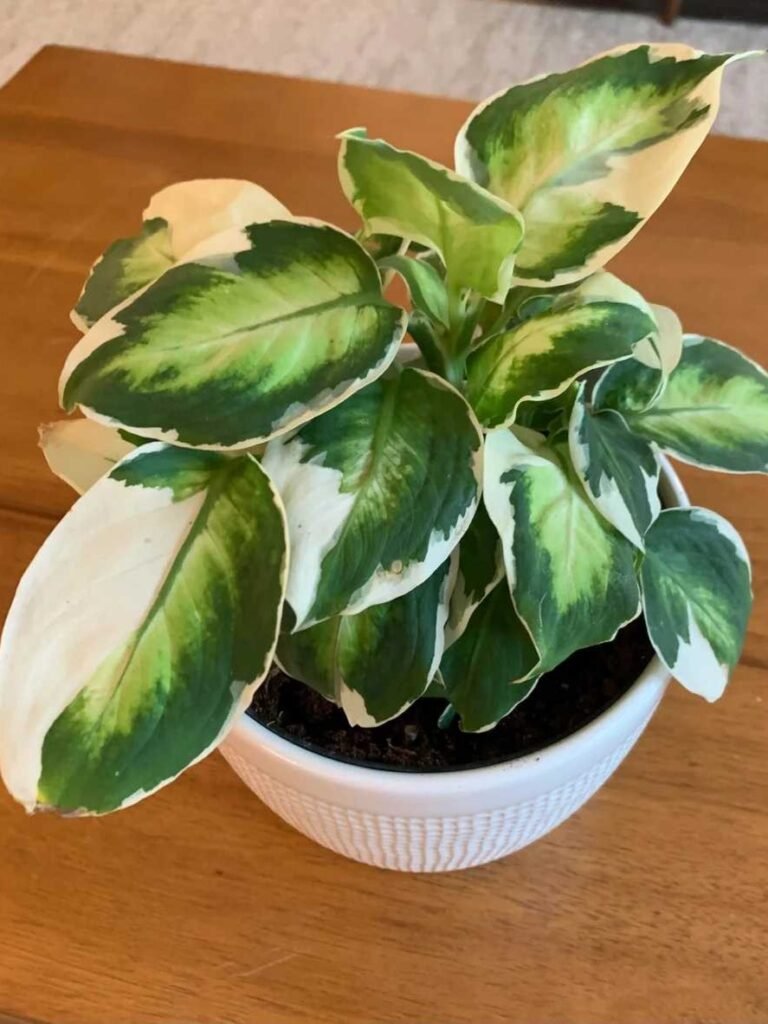
You do not need an indoor greenhouse to provide your dieffenbachia with adequate ambient moisture. Several simple techniques can raise the humidity around your plant effectively.
The most reliable solution is a small ultrasonic cool-mist room humidifier placed a few feet away from the plant. This device allows you to maintain a steady humidity level throughout the dry winter months.
Other effective methods to boost local humidity include:
- Grouping multiple houseplants together to create a humid microclimate through collective transpiration
- Setting the plant pot on a tray filled with pebbles and water, ensuring the pot bottom sits above the water line
- Moving the plant to naturally humid rooms such as a bright bathroom or kitchen
While misting the leaves with a spray bottle is a popular habit, it only raises humidity for a few minutes and can encourage fungal spots if water sits on foliage for too long.
Feeding Your Plant with Fertilizer
Because dieffenbachia plants produce large amounts of broad foliage, they need a steady supply of essential nutrients during the active growing season. Regular feeding promotes vibrant leaf color and sturdy stem structure.
Apply a balanced liquid houseplant fertilizer (such as a 20-20-20 formula) diluted to half the manufacturer’s recommended strength once a month from early spring through early autumn. Feeding at half strength prevents mineral salt buildup that can burn fragile roots.
Always apply fertilizer to moist soil rather than dry soil to protect the root hairs from chemical burn. In late autumn and throughout the winter, stop fertilizing entirely, as the plant enters a natural rest period and cannot utilize excess nutrients.
Growing Dieffenbachia in Water
Many plant enthusiasts are surprised to learn that dieffenbachia can be grown indefinitely in water without any soil. This hydroponic style of care offers a clean, modern aesthetic and eliminates many common soil-borne pests.
When a stem cutting or rooted plant is submerged in clean water, it develops specialized adventitious water roots. These roots are more delicate and translucent than soil roots, designed specifically to absorb dissolved oxygen directly from the water.
To successfully care for a dieffenbachia in water, keep these key points in mind:
- Use a heavy glass or ceramic vessel that supports the weight of the upright stem.
- Change the water completely every seven to ten days to prevent stagnation and algae growth.
- Add one or two drops of liquid hydroponic fertilizer to the fresh water once a month.
- Keep the water vessel out of direct sunlight to prevent rapid algae buildup on the glass.
Water-grown dieffenbachia plants typically grow more slowly and stay somewhat smaller than their soil-grown counterparts, making them ideal for desktop displays.
How Fast Does Dieffenbachia Grow
Under optimal indoor conditions, dieffenbachia is considered a fast-growing houseplant. A healthy young specimen can add up to eighteen to twenty-four inches of new height in a single growing season.
During spring and summer, a vigorous plant will regularly unroll fresh new leaves every two to three weeks. The overall growth rate depends directly on the warmth, light exposure, and nutrients available to the plant.
If your plant seems to have stopped growing during the warm months, check whether it has become rootbound or if the light levels are too low. Addressing these limiting factors will quickly kickstart active growth again.
The Lifespan of Indoor Dieffenbachia
Dieffenbachia is a long-lived perennial houseplant that can remain an attractive part of your indoor garden for ten years or even decades with proper care. There is no set natural expiration date for a healthy plant.
As the plant grows taller over several years, it naturally sheds its lowest, oldest leaves. Over time, this process leaves a thick, cane-like bare stem with a dense cluster of foliage at the top, resembling a miniature palm tree.
If an older plant becomes top-heavy or leggy, you can easily rejuvenate it by cutting back the main cane. New shoots will quickly sprout from the dormant nodes on the remaining stump, restoring a bushy, compact appearance.
Moving Your Plant Outdoors in Summer
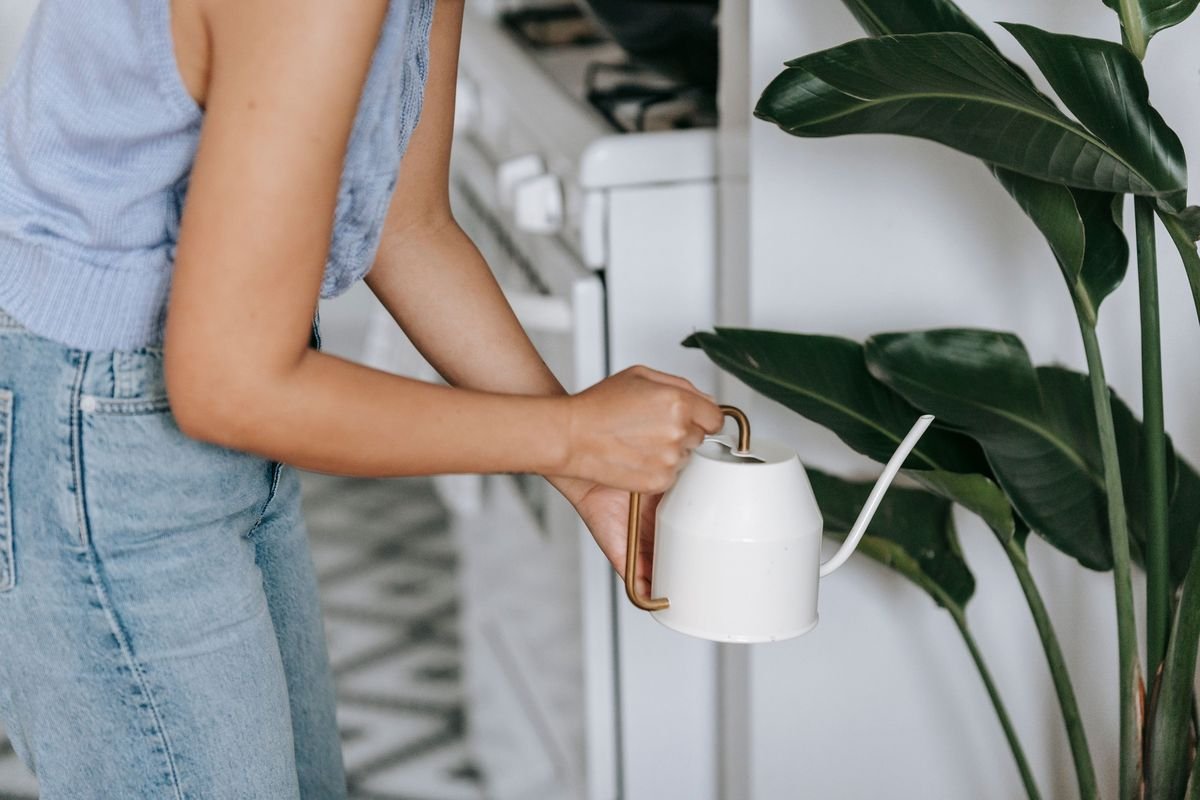
If you want to give your dieffenbachia an extra growth boost, you can move it outdoors onto a patio, porch, or balcony during the warm summer months. The increased airflow and natural light often produce rapid, vibrant growth.
Wait until nighttime temperatures remain consistently above 60 degrees Fahrenheit before transitioning your plant outside. Acclimate the plant gradually over seven to ten days by placing it in deep shade first, slowly moving it to bright, dappled shade.
Never place your dieffenbachia in direct outdoor sun, which will instantly burn the foliage. Outdoor plants also dry out much faster due to wind and warmth, so check the soil moisture daily. Bring the plant back indoors well before the first cool autumn nights arrive.
Does Dieffenbachia Produce Flowers
While dieffenbachia is grown almost exclusively for its decorative foliage, mature plants can indeed produce flowers under the right environmental conditions. However, blooming indoors is relatively uncommon.
The inflorescence resembles that of other members of the Araceae family, such as peace lilies and philodendrons. It consists of a pale green, leaf-like spathe wrapping loosely around a central, creamy-white spike known as a spadix.
These flowers do not possess a strong fragrance or striking ornamental beauty. Because producing blooms requires significant metabolic energy that would otherwise support leaf development, many indoor growers choose to prune flower spikes off as soon as they appear.
Air Purification Benefits in the Home
In addition to their decorative charm, dieffenbachia plants contribute to a healthier indoor environment. Research into indoor plants has shown that broad-leaf tropical species help improve indoor air quality through natural biological processes.
Dieffenbachia foliage actively absorbs carbon dioxide and releases fresh oxygen throughout the daytime. The plant’s broad surface area also captures airborne dust particles, keeping them from circulating in your living spaces.
Furthermore, micro-organisms living within the root zone and potting soil help break down trace indoor volatile organic compounds (VOCs) commonly found in household furnishings, such as formaldehyde and toluene. Adding a few dieffenbachia plants to your living room or study creates a fresher, more pleasant indoor atmosphere.
Common Pests and How to Treat Them
Indoor dieffenbachia plants are relatively tough, but they can occasionally fall victim to common houseplant pests. Catching an infestation early makes eradication much simpler and prevents damage to surrounding plants.
The most frequent pests encountered on dieffenbachia include:
- Spider mites: Tiny arachnids that spin fine webbing on leaf undersides, causing dusty speckling on foliage.
- Mealybugs: Small, white, cottony insects that gather along stem joints and leaf axils to suck plant sap.
- Scale insects: Flat, brown, waxy shells that attach firmly to stems and undersides of leaves.
- Fungus gnats: Tiny dark flies that hover near the soil surface, breeding in constantly wet potting mix.
To treat sap-sucking pests, wipe the leaves and stems with a soft cloth dipped in insecticidal soap or neem oil solution. Repeat the treatment every five to seven days for three weeks to eliminate newly hatched nymphs.
How to Prune and Clean Your Plant
Regular grooming keeps your dieffenbachia looking polished while encouraging fresh, vigorous growth. Over time, natural leaf aging or minor care imbalances can leave dead, yellowing, or browning foliage at the base of the plant.
Use clean, sharp pruning shears or a razor blade to remove discolored leaves, cutting close to the main cane. Always disinfect your cutting tools with rubbing alcohol before and after pruning to prevent the transmission of plant pathogens.
Cleaning the broad leaves is equally beneficial. Dust accumulation on the foliage blocks sunlight and reduces the plant’s ability to photosynthesize efficiently. Wipe down both sides of each leaf once a month with a soft, damp microfiber cloth, supporting the leaf from underneath with your free hand.
Propagation Methods for Dieffenbachia
Propagating dieffenbachia is an enjoyable and straightforward process that allows you to multiply your collection or share cuttings with friends. There are three reliable techniques for propagating dumb cane at home.
The easiest method is stem tip cuttings. Cut a four- to six-inch section from the top of an active cane, remove the lowest leaves, and place the cutting in a jar of clean water or moist potting mix. Roots will typically form within three to four weeks in a warm, bright spot.
Cane cuttings are another great option, especially when pruning an overgrown, leggy plant:
- Cut the bare cane into two- to three-inch horizontal segments, ensuring each piece contains at least one node.
- Lay the cane pieces horizontally on top of moist perlite or potting soil, pressing them halfway in.
- Cover the container with clear plastic to maintain high humidity.
- New shoots and roots will emerge from the nodes within four to six weeks.
Finally, mature plants often produce small offset shoots around the base, which can be gently separated during repotting and planted into their own small pots.
Toxicity Risks for Dogs and Cats
While dieffenbachia is a stunning indoor plant, pet owners must exercise caution. All parts of the plant contain microscopic, needle-shaped crystals called insoluble calcium oxalates, along with proteolytic enzymes.
When a curious dog or cat chews on the leaves or stems, these sharp crystals are released with force into the soft tissues of the mouth, tongue, and throat. This causes immediate, intense oral pain and irritation.
Common symptoms of dieffenbachia ingestion in pets include:
- Excessive drooling and pawing at the mouth
- Swelling of the lips, tongue, and oral cavity
- Difficulty swallowing and loss of appetite
- Vomiting or mild lethargy
- In rare severe cases, respiratory distress due to throat swelling
To keep your four-legged companions safe, place your dieffenbachia on high plant stands, sturdy wall shelves, or in rooms that pets cannot access. If you suspect your pet has chewed on the plant, contact your veterinarian or a pet poison helpline immediately.
Poison Risks for Humans and Safe Handling
The defensive chemical properties of dieffenbachia also affect humans. Direct contact with the plant’s clear sap can cause uncomfortable skin irritation, redness, and itching, particularly for individuals with sensitive skin.
If the sap accidentally comes into contact with the eyes, it can cause severe burning, tearing, and temporary corneal swelling. Ingesting any part of the plant leads to immediate burning in the mouth and throat, accompanied by localized swelling.
To safely handle your dieffenbachia, follow these sensible safety precautions:
- Wear protective gardening gloves whenever pruning, repotting, or taking cuttings.
- Avoid touching your face, mouth, or eyes while working with the plant.
- Wash your hands thoroughly with warm water and soap immediately after handling.
- Keep the plant out of reach of young children and toddlers who might put leaves in their mouths.
Why It Is Called Dumb Cane
The common nickname ‘dumb cane’ has a fascinating and literal historical origin that connects directly to the plant’s chemical defense system. The name refers to the temporary loss of speech that occurs if the plant is chewed.
When the microscopic calcium oxalate crystals penetrate the tongue, vocal cords, and lining of the mouth, the resulting swelling and numbness can make normal articulation impossible for hours or days. Historically, the word ‘dumb’ was widely used to describe an inability to speak.
While this nickname serves as a memorable warning about the plant’s toxicity, modern houseplant owners can enjoy the beauty of dieffenbachia with complete peace of mind by following simple handling precautions and keeping it away from pets and small children.
How Healthy Is Your Dieffenbachia?
Answer 4 quick questions to see your result