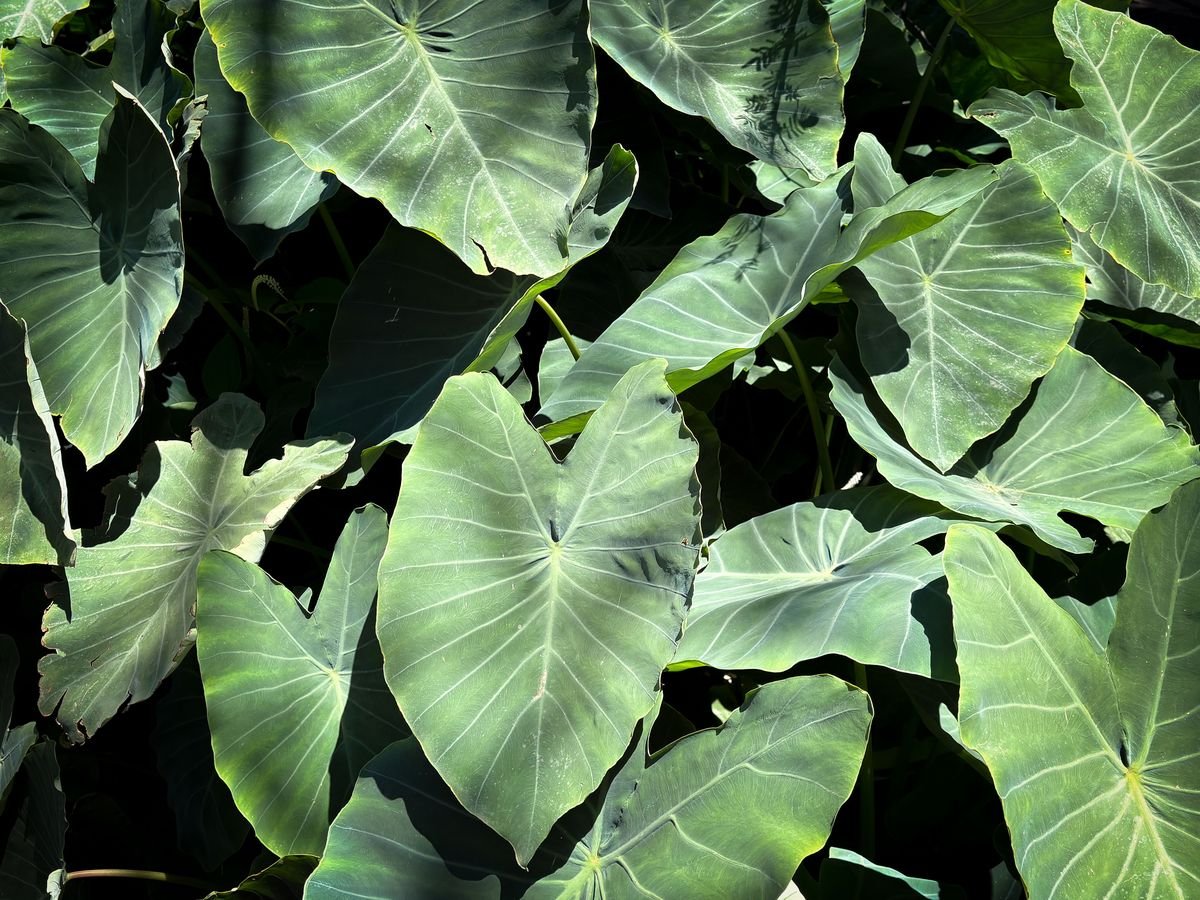
Elephant ear plants are famous for their dramatic, heart-shaped foliage and tropical charm. Whether you grow them in your outdoor garden beds or as striking indoor houseplants, their enormous leaves make an unforgettable statement.
Because these bold tropicals are generally vigorous growers, it can be alarming when you see their stems drooping, foliage turning yellow, or leaf edges crisping into brown papery edges.
If your elephant ear looks like it is on the brink of death, you do not need to panic. In most cases, these resilient plants can bounce back quickly once you identify the underlying stress factor and adjust your care routine.
Incorrect Watering Habits
Watering mistakes are the primary reason elephant ear plants decline. These lush tropicals need consistent moisture to support their enormous foliage, but they react poorly to both drought and waterlogged conditions.
When an elephant ear does not get enough water, the plant quickly loses turgor pressure. The large stems will flop over, and the lower leaves will turn yellow and dry up. Because the foliage surface area is massive, the plant transpires moisture rapidly during warm weather.
Overwatering is equally dangerous. Giving your plant too much water or letting it sit in a saucer of standing water deprives the root system of oxygen.
When roots cannot breathe, they fail to take up water and nutrients, causing the plant to show wilt symptoms even when the soil is completely wet.
To establish a healthy routine, check the top two inches of soil with your finger before adding water.
- Water thoroughly when the top two inches feel dry to the touch.
- Allow excess water to drain freely from the bottom of the container.
- Reduce your watering frequency during cooler months when growth naturally slows.
Root Rot from Saturated Soil
If overwatering continues unchecked, fungal pathogens will attack the plant’s underground tubers and root system. Root rot is a lethal condition if it is left untreated, as it destroys the plant’s ability to support its heavy top growth.
You can spot root rot by checking for soft, mushy stems near the soil line. The soil may also emit a sour or decaying odor, and leaves will develop dark brown, watery spots that spread inward from the edges.
To save a plant suffering from root rot, you must inspect the underground tuber immediately. Gently slide the plant out of its pot and wash away the excess soil from the roots.
Healthy roots are firm, flexible, and white or light tan. Rotted roots look black, brown, slimy, and stringy.
Use a sterilized pair of shears to cut away all infected roots and any soft parts of the tuber. Treat the remaining healthy root system with a mild fungicide or diluted hydrogen peroxide rinse, then repot the plant in fresh, well-draining soil.
Inadequate or Excessive Sunlight
Lighting requirements can be tricky because different species of elephant ears have slightly different tolerances. Most varieties thrive in bright, indirect light or dappled shade, mimicking their natural environment under tropical forest canopies.
When an elephant ear receives too much direct, intense sunlight, its leaves will scorch. Sunburn appears as bleached patches, crispy brown borders, or dried-out holes across the leaf surface. Darker leaf varieties, such as black elephant ears, are particularly sensitive to harsh afternoon sun.
Too little sunlight causes its own set of problems.
Without adequate light, the plant cannot produce enough energy through photosynthesis. The stems will stretch out toward the nearest light source, becoming weak and floppy. The rich green color will fade into a pale yellow, and the plant will stop putting out new leaves.
Move outdoor plants to an area that receives gentle morning sun and shaded afternoon protection. For indoor plants, place them near an east-facing window or a few feet back from a bright south-facing window with a sheer curtain.
Cold Temperatures and Winter Dormancy
Many gardeners mistake natural winter dormancy for a dying plant. Elephant ear plants are native to warm tropical and subtropical zones, typically thriving outdoors year-round only in USDA hardiness zones 8 through 11.
When autumn temperatures drop below 50 degrees Fahrenheit (10 degrees Celsius), elephant ears begin shutting down. The leaves will turn yellow, collapse, and eventually die back completely to the soil line.
This dieback does not mean your plant is dead. The underground bulb or tuber remains alive and enters a resting period to survive the cold.
- If you live in zones 8 or warmer, apply a heavy layer of mulch over the garden bed to insulate the tubers through winter.
- If you live in zones 7 or colder, dig up the tubers after the first light frost kills the foliage.
- Brush off loose dirt and let the tubers dry in a warm, shaded spot for several days.
- Store the dry tubers in cardboard boxes filled with dry peat moss or sawdust in a cool, dark room that stays between 45 and 55 degrees Fahrenheit.
- Replant them in the spring once all danger of frost has passed.
Very Low Humidity Levels
Elephant ears thrive in humid environments. In their native habitats, relative humidity regularly exceeds 60 to 80 percent. When kept indoors in climate-controlled homes, low humidity quickly takes a toll on their expansive foliage.
Dry air causes moisture to evaporate from the leaf tissue faster than the root system can replenish it. The first symptom is usually brown, crispy leaf tips and edges. Over time, the leaves may curl inward, look dull, or fail to unfurl properly from new shoots.
Indoor heating during the winter is particularly harsh on elephant ears. Placing your plant near heating vents, radiators, or drafty windows will speed up dehydration.
To increase humidity around your elephant ear:
- Run a cool-mist room humidifier near the plant to maintain humidity above 50 percent.
- Group your elephant ear together with other tropical houseplants to create a humid microclimate.
- Place the pot on a wide tray filled with pebbles and water, making sure the bottom of the pot stays above the water level.
- Keep indoor specimens in naturally humid spaces such as a bright bathroom or kitchen.
Nutrient Deficiencies and Soil Depletion
Because elephant ears grow rapidly and produce giant leaves, they are heavy feeders. They draw large amounts of nitrogen, potassium, and micronutrients out of the soil during the active growing season.
If your plant has been in the same potting mix or garden soil for a long time without supplemental feeding, it will exhaust its nutrient supply. Nitrogen deficiency causes overall yellowing of older leaves, while potassium deficiency causes yellow or brown margins around leaf edges.
Potted elephant ears are especially prone to nutrient depletion because regular watering washes minerals out of the drainage holes.
Apply a balanced, water-soluble fertilizer formulated for foliage plants every two to three weeks during spring and summer. Outdoor plants benefit from working rich compost, aged manure, or slow-release granular fertilizer into the surrounding soil.
Stop fertilizing completely in late autumn and winter. Feeding a dormant or slow-growing plant can cause fertilizer burn, which damages roots and blackens leaf tips.
Outgrowing Pots or Root Crowding
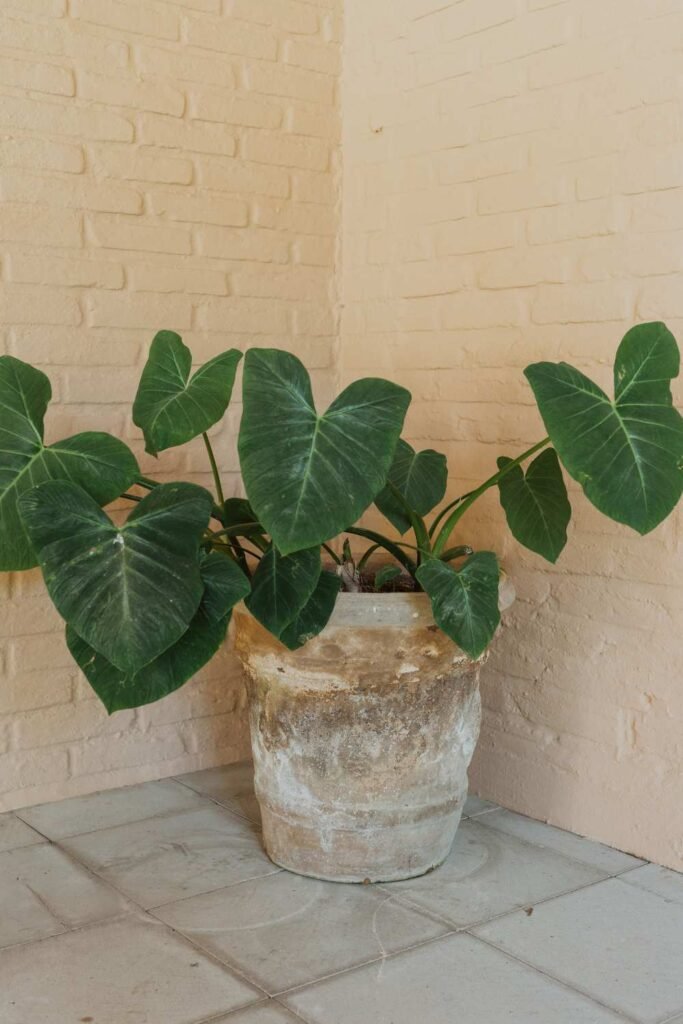
An elephant ear plant with an undersized root zone cannot sustain its massive foliage. When grown in a pot that is too small, the root system quickly fills the entire container, leaving little soil to hold water or nutrients.
A rootbound elephant ear will dry out unusually fast, even just a day or two after a thorough watering. You might see thick roots circling the bottom of the pot, pushing up out of the soil surface, or poking through the drainage holes.
Outdoor plants can also suffer if they are planted too close to trees, shrubs, or other aggressive spreaders. Elephant ears need roughly three to four feet of space around them to spread their roots and receive adequate airflow.
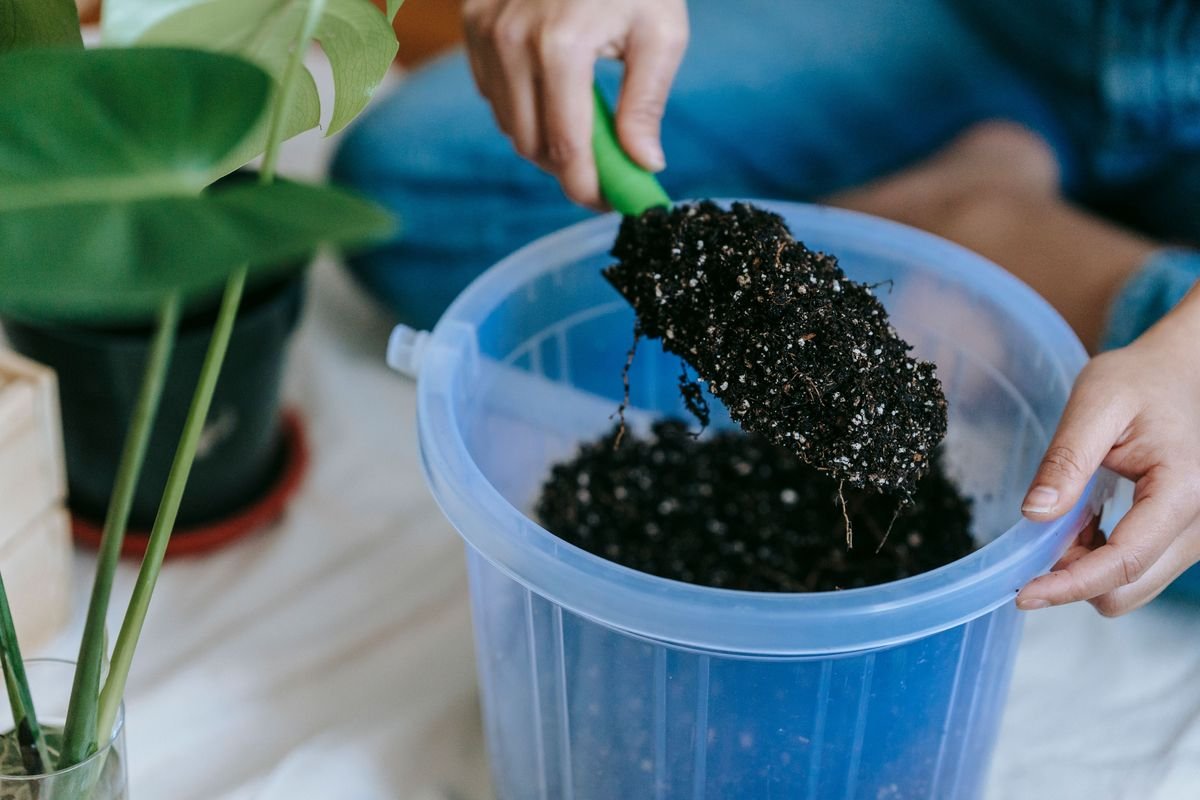
If your potted plant has outgrown its home, select a new container that is two to three inches larger in diameter. Ensure the new pot has functional drainage holes, and use a rich, chunky potting mix containing peat moss, perlite, and compost.
Common Pest Infestations
Pests love the tender, sap-filled stems and broad leaves of elephant ear plants. An unchecked infestation can drain the plant of vitality, causing leaves to curl, yellow, and drop prematurely.
Spider mites are the most common pest on indoor elephant ears, especially in dry rooms. They are tiny arachnids that spin fine webbing on the undersides of leaves and in the joints between stems. Infested leaves develop a dusty, speckled yellow appearance.
Mealybugs and scale insects also target elephant ears. Mealybugs look like small tufts of white cotton tucked into leaf crevices, while scale insects appear as brown, waxy bumps along leaf veins and stems.
Treat pest problems as soon as you notice them:
- Isolate the plant to prevent pests from spreading to nearby greenery.
- Take the plant outside or into the shower and wash the foliage with a firm stream of lukewarm water to dislodge bugs.
- Wipe down both sides of every leaf with insecticidal soap or neem oil spray.
- Repeat the treatment every five to seven days for three weeks to eliminate newly hatched pests.
Water Quality and Mineral Build-Up
Elephant ears can be sensitive to tap water treated with heavy amounts of chlorine, chloramide, fluoride, or dissolved mineral salts. Over time, these compounds accumulate in the potting soil and damage delicate root hairs.
Mineral toxicity typically manifests as brown, scorched tips on the newest growth or a white, crusty layer on the surface of the soil.
If your municipal tap water is particularly hard, switch to using filtered water, rainwater, or distilled water for your indoor elephant ears. If you must use tap water, let it sit out in an open container for twenty-four hours before watering, which allows chlorine gas to dissipate.
Flush the potting soil every few months by running clean, tepid water slowly through the container for several minutes. This leaches accumulated fertilizer salts and mineral deposits out through the drainage holes.
Transplant Shock After Moving
Moving an elephant ear to a new location or repotting it into fresh soil causes temporary stress. When root hairs are disturbed or environmental conditions change suddenly, the plant may react by drooping its stems and sacrificing its oldest leaves.
This reaction is common when bringing outdoor potted plants inside for the winter or moving indoor plants into brighter outdoor areas in spring.
To minimize shock when moving plants outdoors, harden them off gradually over ten to fourteen days. Start by placing the pot in deep shade for a few hours a day, slowly increasing its exposure to gentle morning light.
After repotting, keep the soil evenly moist but never soggy, and place the plant in medium, indirect light. Avoid applying fertilizer for at least four to six weeks while the root system re-establishes itself in the new container.
Step-by-Step Revival Plan for Damaged Plants

If your elephant ear is in serious distress, you can guide it back to health with a systematic recovery plan.
First, prune away all completely dead, brown, or mushy leaves near the base of the stem using clean, sharp pruning shears. Removing ruined foliage stops the plant from wasting energy on dying tissue and improves airflow to the crown.
Next, evaluate the root ball. If the soil is sour and wet, trim rotted roots and repot into fresh, aerated soil. If the soil is bone dry and pulling away from the sides of the container, bottom-water the plant by setting the pot in a basin of water for thirty minutes until the root ball is evenly hydrated.
Place the plant in a warm room with consistent indirect sunlight, high humidity, and temperatures between 70 and 80 degrees Fahrenheit.
Be patient while the plant recovers. Elephant ear tubers contain substantial stored energy reserves. As long as the central tuber remains firm and solid, your plant will soon push out vibrant new leaves.
How Healthy Is Your Elephant Ear Plant?
Answer 4 quick questions to see your result