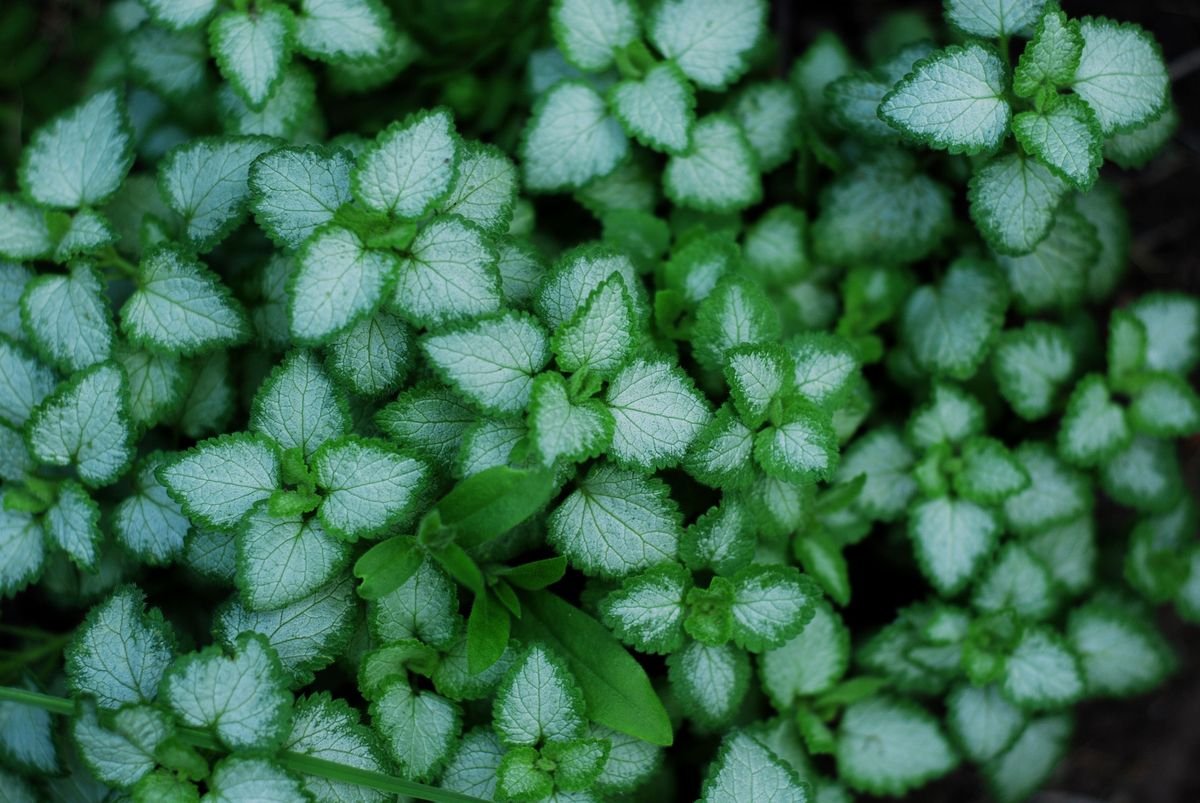
Mint is one of the most rewarding herbs to plant in your backyard, offering crisp flavor for teas, salads, and cocktails. It grows vigorously with minimal care, thriving in almost any soil and bouncing back from heavy harvesting without missing a beat.
Unfortunately, that same vigorous growth makes mint one of the most aggressive garden invaders you will ever encounter. A single innocent seedling can quickly transform into a sprawling underground network of runners that chokes out neighboring perennials and suffocates vegetable beds. If your garden is currently being overwhelmed by rogue runners, you need a clear, methodical plan to eradicate the unwanted growth and reclaim your soil.
Why Mint Spreads So Fast
Mint belongs to the genus Mentha, a family of plants renowned for their aggressive underground growth habits.
Unlike clumping herbs that stay in neat mounds, mint spreads primarily through underground horizontal stems called rhizomes, as well as aboveground runners called stolons. Every single node along these stems has the biological capacity to produce a brand new root system and fresh leafy shoots.
Because these runners travel rapidly beneath the surface, a mint patch can double in size in just a few short weeks during peak spring weather. The plant actively seeks out moisture and nutrient-rich soil, often infiltrating nearby garden beds where you are trying to grow tender vegetables or delicate flowers.
How Mint Runners Take Over Your Soil
When a runner moves through loose soil, it establishes anchor roots every few inches along its path.
These roots pull moisture and essential minerals away from your other crops, effectively starving out weaker companion plants. Over time, the subterranean network forms a dense, tangled mat that becomes increasingly difficult to extract.
Even worse, if you accidentally chop through these runners with a garden hoe or tiller, you do not kill the plant. Instead, you propagate it. Each severed piece of root left in the ground can generate a completely autonomous mint plant.
Digging Up Mint by the Roots
Physical excavation is the most reliable non-chemical way to remove mint, but it requires thoroughness and physical effort.
To begin, water the infested area deeply a day before you plan to dig. Moist soil is much easier to work with and allows roots to slip free with less breakage than dry, compacted ground.
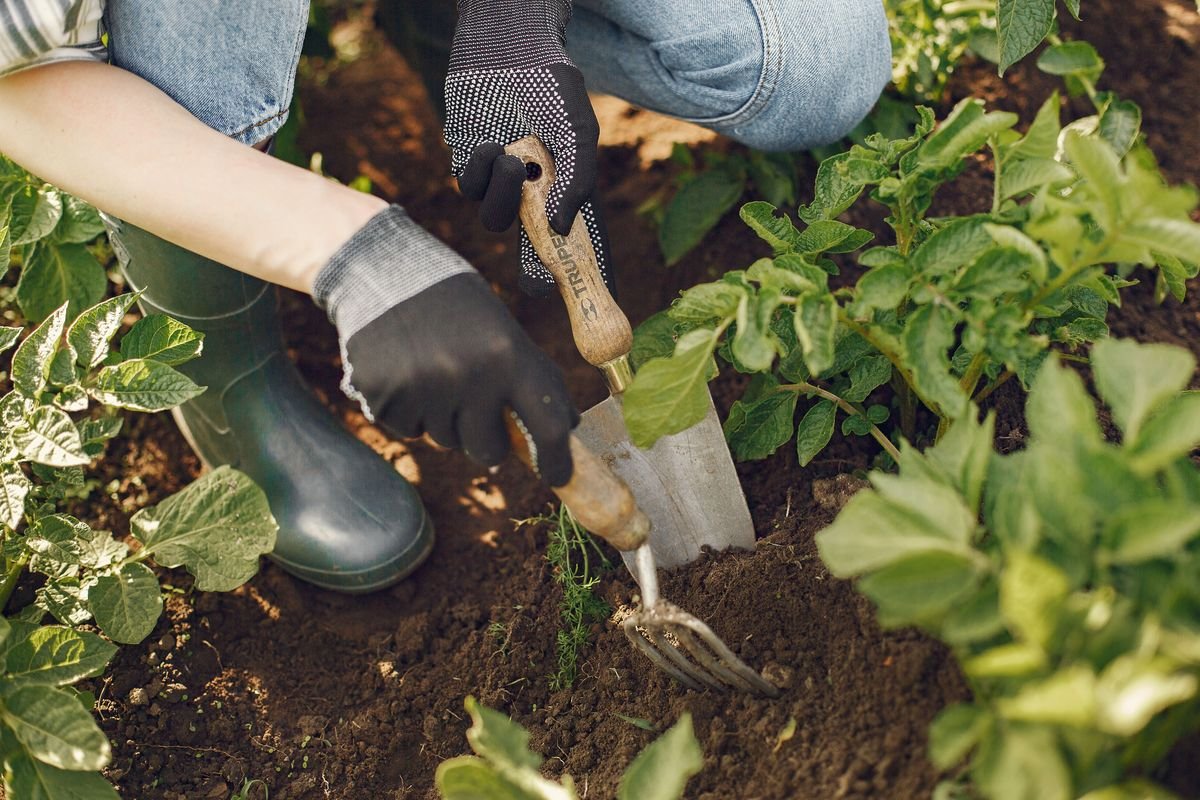
Use a sturdy garden fork rather than a sharp spade or shovel. A spade will slice through the rhizomes and create dozens of new root fragments, whereas a fork allows you to gently lever the root systems upward while keeping the network intact.
Sifting Soil to Remove Rhizome Fragments
Once you lift the main clumps of mint, do not simply toss the displaced dirt back into the hole.
You must carefully sift through every shovel of soil by hand or through a hardware cloth screen. Look closely for white, fleshy rhizomes that look like pale spaghetti noodles running through the dirt.
Dispose of all pulled mint plants in the trash or a municipal yard waste bin. Never place mint roots in your home compost pile, because standard backyard compost heaps rarely generate enough heat to kill the resilient rhizomes, leading to accidental infestations wherever you spread your finished compost.
Smothering Mint with Cardboard and Tarps
- Cut the mint down as close to the soil surface as possible using a string trimmer or mower.
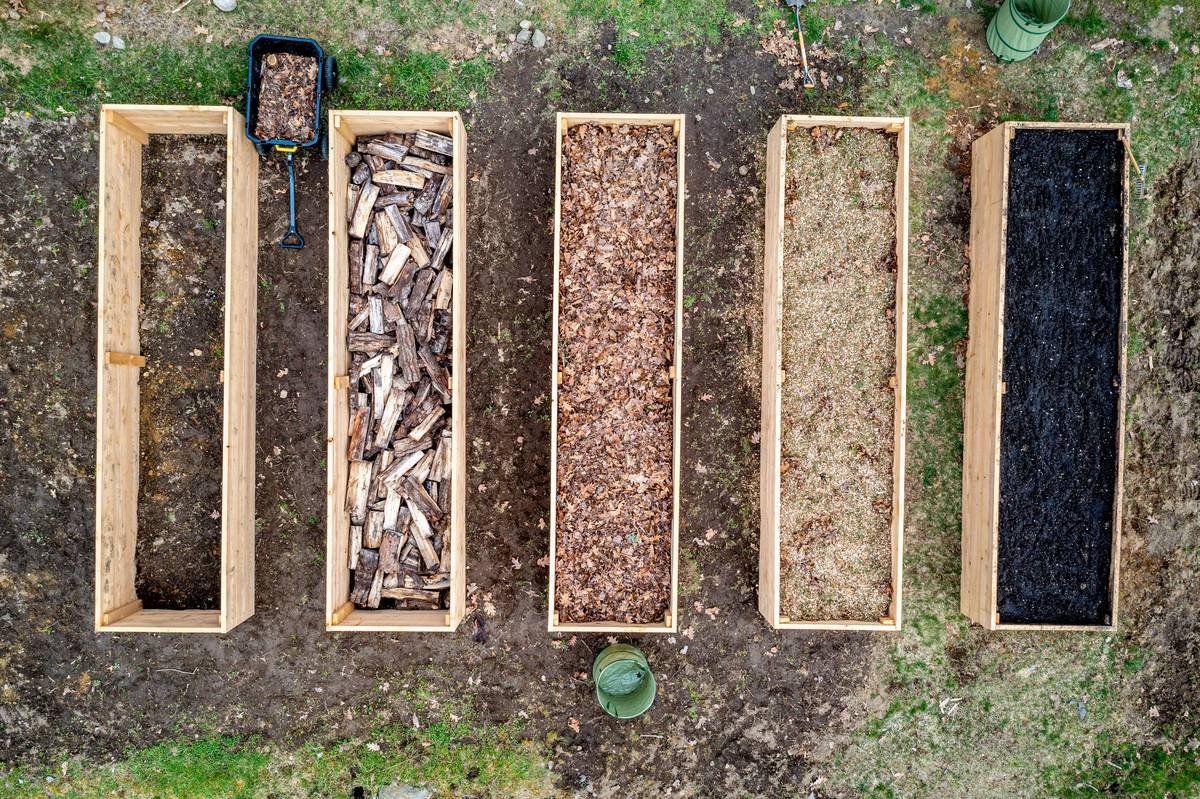
- Lay down thick, overlapping layers of plain corrugated cardboard, ensuring there are no gaps between seams.
- Extend the cardboard at least two feet beyond the visible perimeter of the mint patch to catch underground runners.
- Cover the cardboard with four to six inches of organic mulch, wood chips, or compost to weigh it down and retain moisture.
Using Boiling Water for Spot Treatments
Boiling water is a simple, non-toxic contact killer that works well for isolated mint sprouts popping up in driveway cracks, stone patios, or isolated garden corners.
The intense heat instantly ruptures plant cell walls and collapses the foliage above ground. If you pour a generous volume of boiling water directly over the crown, it can penetrate several inches into loose soil and cook the shallow roots as well.
Keep in mind that boiling water is completely non-selective. It will instantly destroy any nearby grass, delicate perennials, or beneficial soil microbes it touches. Always pour slowly from a kettle with a narrow spout to keep the hot water strictly confined to the targeted mint.
Homemade Vinegar Sprays and Their Limits
Many gardeners turn to agricultural vinegar (20% to 30% acetic acid) mixed with a small amount of liquid dish soap as a natural weed spray.
While this acidic mixture will rapidly burn down the green foliage on a sunny day, it is important to understand its limitations with mint. Acetic acid acts strictly as a contact desiccant, meaning it destroys only the green plant tissue it touches without translocating into the deep subterranean root system.
If you choose this method, you must reapply the spray every time new shoots emerge from the soil. By repeatedly scorching the new leaves, you will eventually deplete the roots of their energy reserves, though this approach requires consistent vigilance over several months.
Solarization Methods for Large Patches
- Mow or weed-whack the mint down to the ground.
- Soak the entire area thoroughly with water, as moist soil conducts heat much better than dry soil.
- Tightly stretch a clear polyethylene plastic sheet over the area, burying the outer edges in trenches to trap the heat.
- Leave the plastic undisturbed for six to eight weeks during the hottest peak of summer.
Chemical Herbicides as a Final Resort
When mint has invaded large landscape zones or naturalized across expansive lawns, chemical intervention may become necessary.
Systemic broadleaf herbicides containing active ingredients like triclopyr or glyphosate are designed to be absorbed through the leaves and translocated down into the root system. Unlike contact sprays, systemic herbicides kill the entire plant from the inside out.
Apply herbicides on a calm, dry day when temperatures are moderate and the mint is actively growing with plenty of green foliage. Always read and strictly follow the product label instructions, and use targeted spray shields to protect your desirable ornamental plants and edible crops from accidental drift.
How to Grow Mint Safely in Containers
Eradicating a runaway mint patch does not mean you can never enjoy homegrown mint again. The secret is simply keeping it permanently confined to pots.
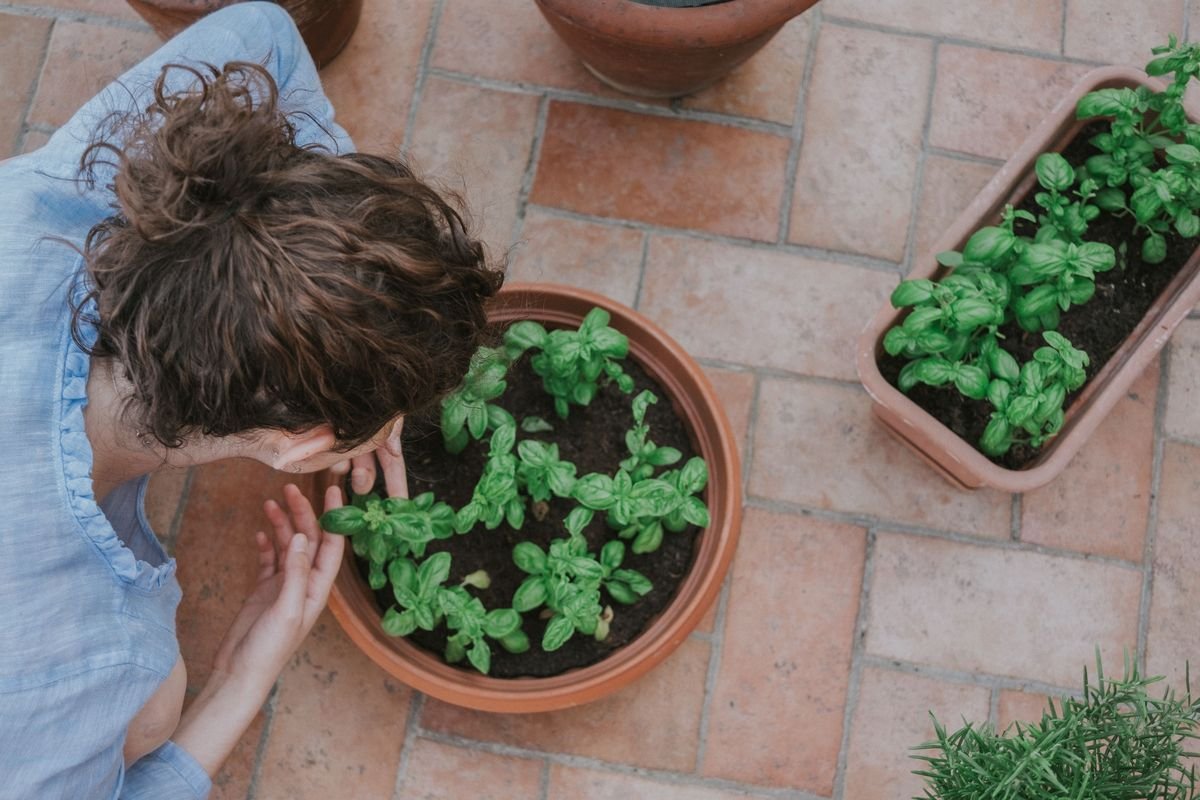
Growing mint in individual containers lets you harvest endless fresh leaves without risking your open garden beds. Use glazed ceramic, thick plastic, or terra cotta containers with adequate drainage holes at the base.
Always place potted mint on a solid surface, such as a concrete patio, deck board, or saucer. If you set a potted mint plant directly on top of bare soil, its roots can easily escape through the bottom drainage holes and anchor themselves into your garden beds before you even notice.
Installing Underground Barriers for Ground Planting
If you truly want the aesthetic of mint growing in the ground, you must install physical barriers to restrict horizontal root migration.
You can bury a deep, bottomless plastic bucket or a commercial root barrier around the planting zone. The barrier must extend at least twelve to fifteen inches deep into the soil to prevent rhizomes from sneaking underneath.
In addition, ensure the top lip of the container or barrier protrudes at least two inches above the surrounding soil level. Mint runners will happily jump over low barriers if given the opportunity, so an elevated rim is crucial for keeping growth contained.
Long Term Monitoring and Regrowth Prevention
No matter which removal strategy you employ, the eradication process does not end on day one.
Mint is remarkably resilient, and a single missed root fragment can quickly re-sprout into a healthy plant. Inspect the treated area once every week throughout the growing season to spot any rogue stems pushing through the dirt.
Pull new growth immediately while the root system is small and fragile. If you stay consistent with your follow-up care, your soil will remain clean, productive, and ready for your favorite vegetables and ornamentals to flourish.
How Severe Is Your Mint Infestation?
Answer 4 quick questions to see your result