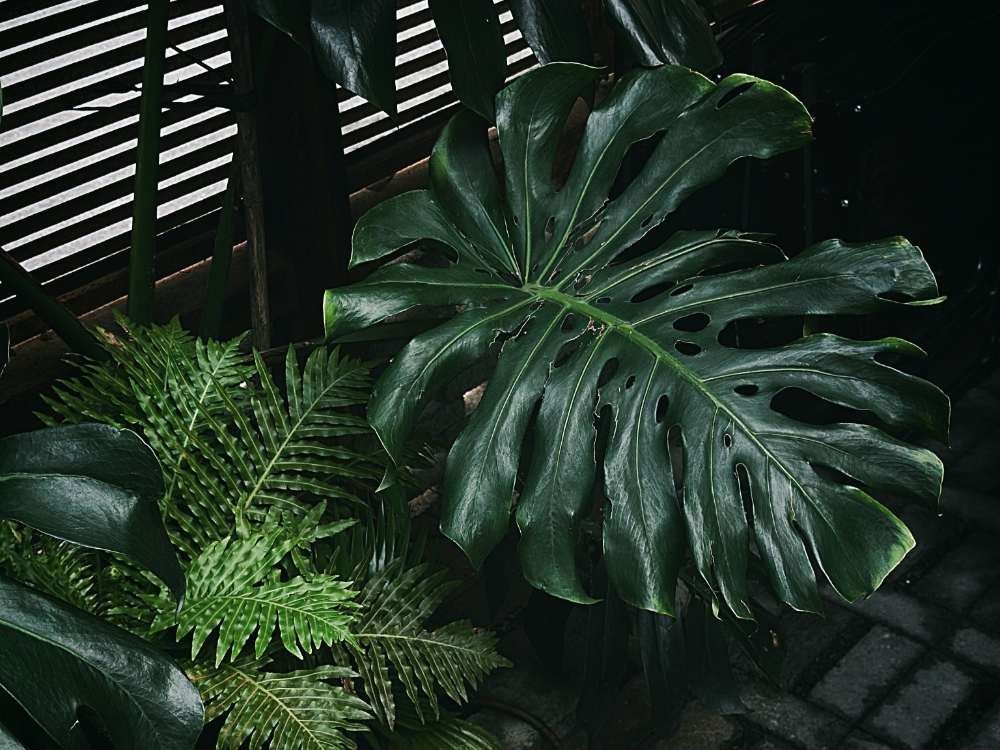
Monstera deliciosa, widely known as the Swiss cheese plant, stands out as one of the most iconic indoor plants in the world. With its large, glossy green leaves full of natural splits and perforations, this tropical beauty brings an instant jungle atmosphere to any living space.
Whether you are bringing home your very first young cutting or looking after a mature floor plant that stretches across your living room, understanding the core needs of this tropical climber makes all the difference.
This comprehensive guide covers every practical detail you need to keep your monstera vibrant, healthy, and thriving for decades.
Monstera Background and Native Habitat
To give your monstera the best indoor care possible, it helps to understand where it comes from in nature.
Monsteras are native to the tropical rainforests of Central and South America, ranging from southern Mexico down through Panama and into South America.
In these dense jungle canopies, monsteras start their life cycle on the damp forest floor before climbing upward along the trunks of large trees.
As hemiepiphytes, they spend part of their lives rooted in the forest soil and part of their lives anchoring onto other trees using specialized aerial roots.
Because they naturally grow beneath dense overhead canopies, they thrive on dappled light, high ambient humidity, and regular moisture that drains away quickly.
Why It Is Called the Swiss Cheese Plant
The nickname ‘Swiss cheese plant’ comes from the distinctive holes, splits, and gaps that develop across the leaf blades as the plant grows.
In botany, these natural gaps are called fenestrations. When the plant is young, its leaves look like solid, smooth green hearts. As the foliage expands, the tissue forms delicate interior holes and deep margins that resemble slices of Swiss cheese.
Another common nickname is the ‘fruit salad plant.’ In its natural tropical habitat, a mature Monstera deliciosa produces an edible, cone-shaped fruit that tastes like a delicious combination of pineapple, banana, and mango.
While indoor container specimens rarely flower or produce fruit, the foliage alone provides incredible aesthetic value.
Understanding Leaf Fenestrations
Leaf fenestration is one of the most fascinating evolutionary adaptations in the plant kingdom.
Botanists believe that monsteras developed these gaps for several key survival reasons:
- Allowing sunflecks from the upper rainforest canopy to pass through top leaves down to the lower foliage
- Allowing high winds and tropical storms to blow through the leaves without tearing large stems
- Letting heavy downpours pass through freely to reach the root base without weighing down the vines
Young monsteras do not show fenestrations right away. Your plant will typically produce its first splits once it reaches two to three feet in height and receives adequate light and support.
Popular Types of Monstera
While Monstera deliciosa is the undisputed king of indoor aroids, the Monstera genus includes nearly fifty recognized species.
Houseplant enthusiasts often collect several distinct species and cultivars, each offering unique growth habits, leaf sizes, and color patterns. Knowing which variety you own will help you tailor your care routine to match its specific growth speed and lighting preferences.
Monstera Deliciosa
Monstera deliciosa is the classic, large-leafed variety found in most garden centers.
It features thick stems, massive heart-shaped leaves that can exceed two feet across indoors, and prominent aerial roots. It is a vigorous grower that quickly fills empty room corners when provided with bright indirect sunlight and proper vertical support.
Monstera Adansonii
Monstera adansonii, frequently called the monkey mask plant, is a smaller, vine-like species.
Unlike Deliciosa, where the outer margins split open into finger-like lobes, Adansonii retains closed oval perforations across the entire interior of each leaf. It works exceptionally well in hanging baskets or trained upward on a narrow coco coir pole.
Monstera Borsigiana
Monstera borsigiana is closely related to Monstera deliciosa and is often classified as a subspecies or faster-growing commercial form.
It tends to have slightly smaller foliage, thinner stems, and longer internodes between leaves. Borsigiana climbs rapidly and lacks the ruffled, corrugated geniculum (the joint where the leaf meets the petiole) that is characteristic of true Deliciosa.
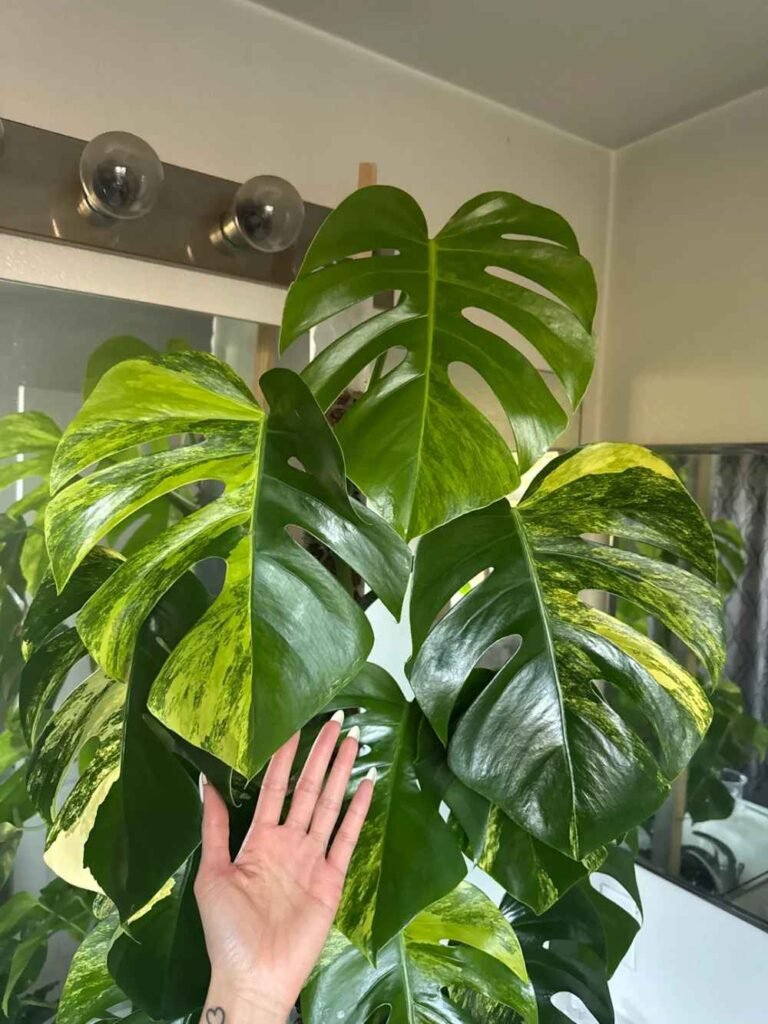
Variegated Monstera Varieties
Variegated monsteras have taken the houseplant world by storm due to their striking, high-contrast leaves.
Popular variegated cultivars include:
- Thai Constellation: A stable, lab-created cultivar featuring creamy yellow specks and splashes resembling a starry night sky
- Albo Borsigiana: A naturally occurring chimera showing stark, pure white patches on emerald green leaves
- Aurea: A stunning variety with lime green and deep gold marbling
Because variegated leaves lack chlorophyll in their white or yellow sections, these cultivars need brighter indirect light and grow more slowly than standard all-green varieties.
Light Requirements for Monsteras
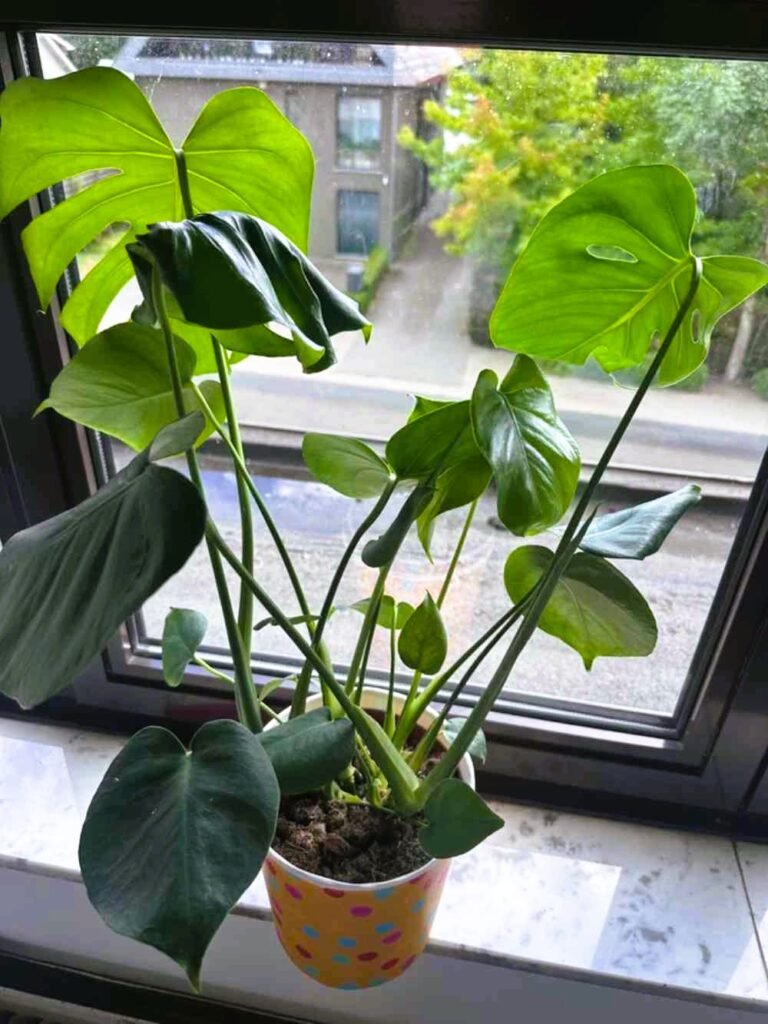
Providing the correct light balance is the single most important factor in encouraging rapid growth and large, fenestrated leaves.
Monsteras perform best when placed in bright, indirect sunlight for six to eight hours each day. This mimics the filtered, dappled sunlight they receive under the rainforest canopy.
An ideal spot is a few feet away from an east-facing or south-facing window where the light is plentiful but soft. If you only have harsh west-facing or south-facing windows, hang sheer curtains to diffuse the direct rays.
Signs of Too Much Sun
Monstera leaves can burn if exposed to intense, direct afternoon sun.
Look out for bleached, pale patches on the upper surface of the leaves, followed by crispy, papery brown scorch marks. If you spot these symptoms, move your plant farther away from the window or use a sheer drape to soften the rays.
Signs of Too Little Sun
While monsteras can survive in moderate to low light, their development will slow down significantly.
Common signs of insufficient lighting include:
- Stems stretching out long and thin (etiolation or legginess)
- New leaves staying small, solid, and completely unfenestrated
- Slow water uptake leading to soil that stays wet for weeks
- Deep green leaves losing their natural sheen
If your living space lacks natural light, high-quality LED grow lights provide an excellent alternative.
Watering Your Monstera Correctly
Mastering the watering routine keeps your monstera happy and prevents root damage.
Monsteras prefer a consistent cycle of thorough hydration followed by a moderate drying period. Rather than sticking to a rigid calendar schedule, always let the top two to three inches of soil dry out before adding more water.
When watering, pour water evenly over the entire surface until moisture freely runs out of the bottom drainage holes. Discard any standing runoff sitting in the saucer beneath the pot after fifteen minutes.
How to Test Soil Moisture
Never guess whether your plant needs water just by looking at the surface crust.
Here are two dependable methods to test soil moisture:
- The Finger Method: Insert your index finger two to three inches into the soil mix. If you feel cool dampness and soil clings to your skin, wait a few more days. If it feels dry and crumbly, it is time to water.
- Moisture Meter: Insert a digital or analog soil probe halfway down into the root ball. Water only when the meter needle drops into the lower dry zone (between 2 and 3).
- Pot Weight: Lift the container gently. A pot in need of hydration feels noticeably lighter than one saturated with moisture.
Best Watering Schedule
Your watering frequency naturally shifts as seasons and household conditions change.
During the active spring and summer growing months, monsteras generally need water once every seven to ten days. In the cooler fall and winter months, when the plant slows its growth and daylight hours decrease, watering intervals often extend to every twelve to twenty days.
Choosing the Right Soil Mix
Standard, dense potting soil from the hardware store holds too much moisture and suffocates monstera root systems.
Because monsteras are epiphytic climbers, their thick roots require continuous access to oxygen. A heavy, compacted peat-based soil will hold stagnant moisture around the root zone, leading to rapid bacterial and fungal decay.
Your potting mix should be chunky, open, porous, and fast-draining, with a slightly acidic to neutral pH between 5.5 and 7.0.
DIY Monstera Soil Recipe
You can mix a world-class aroid potting medium at home using a few simple ingredients.
A proven recipe includes:
- Two parts high-quality potting soil or coco coir: Provides moisture retention and base structure
- Two parts medium orchid bark: Creates chunky air pockets and mimics natural tree bark
- One part coarse perlite or pumice: Ensures rapid drainage and prevents compaction
- One part horticultural charcoal: Filters impurities and aerates the root zone
- One half part worm castings: Supplies gentle, organic nutrients over time
Mix everything thoroughly in a bucket before potting your plants.
Pot Selection and Drainage
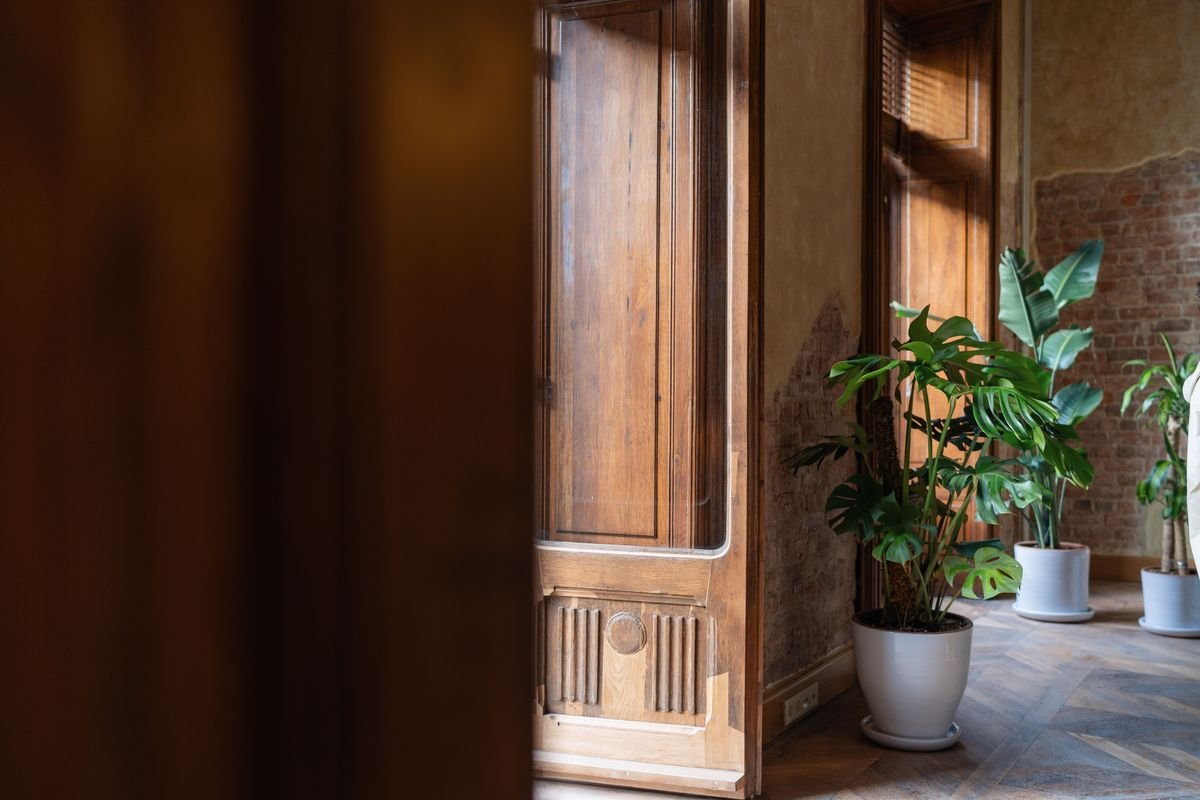
Selecting the right container is just as important as choosing the right soil.
Always use a pot with adequate drainage holes at the bottom. Never plant a monstera directly into a sealed container without drainage, as trapped water will inevitably rot the root system.
Unfinished terra-cotta pots are fantastic for growers who tend to overwater, because the porous clay breathes and helps evaporate excess moisture. Plastic and glazed ceramic pots retain moisture longer, making them great choices for growers who tend to underwater.
Ideal Temperature Range
Because monsteras originate in warm tropical environments, they thrive in typical household temperatures.
The ideal temperature range is between 65°F and 85°F (18°C to 29°C). Monsteras can tolerate brief dips down to 55°F (13°C), but extended exposure to temperatures below 50°F (10°C) will damage foliage and halt growth completely.
Keep your plant safely indoors away from frost during cold winters.
Managing Drafts and Heat Vents
Sudden temperature swings cause leaf stress and rapid moisture loss.
Avoid placing your monstera directly in front of:
- Forced-air heating vents and radiators in the winter
- Direct blast paths of air conditioning units in the summer
- Drafty exterior doors and uninsulated single-pane windows
Maintaining a stable ambient climate keeps the foliage lush and prevents premature leaf yellowing.
Humidity Needs for Broad Leaves
Monsteras appreciate higher humidity levels than the average indoor home naturally provides.
While they can adapt to typical indoor humidity levels around 40 percent, they truly thrive when humidity stays between 55 percent and 70 percent. Higher humidity levels encourage wider leaf development, faster unfurling of new leaves, and healthier glossy finishes.
Easy Ways to Boost Humidity
If your home suffers from dry winter air, there are several straightforward ways to raise local moisture levels:
- Use an ultrasonic cool-mist humidifier: Placing a humidifier a few feet from your plant is the most reliable way to maintain steady humidity.
- Group tropical plants together: As plants transpire, they release moisture into the air, creating a beneficial microclimate for one another.
- Set up a pebble tray: Fill a wide saucer with small stones and water, then rest your potted plant on top of the stones above the waterline.
Misting leaves with a spray bottle provides only temporary humidity spikes and can encourage fungal leaf spot if foliage remains wet for too long.
Fertilizing Monsteras for Strong Growth
To fuel their impressive leaf development, monsteras require regular feeding during the active growing season.
During spring and summer, feed your plant every three to four weeks using a balanced liquid houseplant fertilizer (such as an N-P-K ratio of 20-20-20 or 10-10-10) diluted to half strength.
Always apply fertilizer to damp soil rather than bone-dry soil. Feeding a completely dry root ball can cause salt buildup that burns delicate root tips.
Best Fertilizer Schedule
Follow the natural seasonal rhythm of your plant when establishing a fertilization routine.
Begin feeding in early spring when you notice the first signs of fresh green growth. Continue regular half-strength feedings throughout summer.
Taper off feeding in late September and stop fertilizing entirely throughout late fall and winter, when cooler temperatures and shorter daylight hours cause the plant to enter a semi-dormant resting phase.
How and When to Stake Your Monstera
In nature, monsteras climb towering trees to reach the light. In a living room, without support, their heavy stems will eventually crawl horizontally across the floor.
Staking gives the plant stability, keeps it growing upright in a compact footprint, and triggers the production of progressively larger, more fenestrated leaves.
The best time to install a support is when the plant begins leaning or when you are repotting, so you can anchor the pole securely near the center of the root ball without snapping main roots.
Using Moss Poles and Trellises
There are several dependable support options available for climbing monsteras:
- Sphagnum Moss Poles: Keep the moss moist so aerial roots can penetrate the interior, absorb moisture, and fuel rapid growth.
- Coco Coir Poles: Offer a sturdy, textured surface for aerial roots to wrap around.
- Hardwood Planks: Cedar or redwood boards mimic natural tree trunks and provide a long-lasting vertical anchor.
- Metal or Bamboo Trellises: Excellent for securing multiple wild vines and spreading out stems.
Secure the main vine to the pole using soft plant ties, velcro plant tape, or natural jute twine. Never tie the petioles (leaf stems), as they need freedom to bend toward the light.
Pruning for Shape and Health
Pruning keeps your monstera well-shaped, removes aged foliage, and redirects vital energy toward fresh new shoots.
Always use sharp, sterile bypass pruning shears or a razor blade wiped down with 70 percent isopropyl alcohol to prevent transferring pathogens.
Make your cuts just above a leaf node or at the base of the petiole where it connects to the main vine. The ideal time to prune is during the spring or early summer, when the plant has ample energy reserves to recover rapidly.
Step by Step Repotting Guide
Monsteras typically need repotting every two to three years once their roots fill the container.
Signs your monstera needs a larger home include roots circling the base, poking out through drainage holes, or lifting the plant up out of its pot.
Follow these steps for a smooth repotting process:
- Water your plant two days before repotting to soften the root ball.
- Choose a new container that is two to three inches larger in diameter than the existing pot.
- Add a base layer of fresh, chunky aroid mix to the bottom of the new pot.
- Gently squeeze the sides of the old pot and slide the root ball out.
- Loosen tightly wound outer roots with your fingers and prune away any dead or mushy roots.
- Center the plant and its support pole in the new pot, fill the sides with soil, and press down lightly.
- Water thoroughly and place the plant in medium-bright indirect light to recover.
How to Propagate Monstera Cuttings
Propagating a monstera is straightforward, highly rewarding, and the best way to multiply your houseplant collection.
Every successful cutting must include at least one healthy leaf node. Nodes are the circular, swollen rings along the vine where new roots and stems emerge.
Locate a healthy section of vine that has one to two mature leaves and at least one prominent node or aerial root. Use a clean, sharp knife to cut the stem two inches below the node.
Water Propagation Steps
Water propagation is the easiest method for beginners because you can watch root growth develop in real time.
- Place your fresh cutting into a clean glass jar filled with room-temperature tap or filtered water.
- Ensure the node is fully submerged while keeping the leaves completely above water.
- Place the glass jar in a bright location with warm, indirect sunlight.
- Change the water every five to seven days to keep it oxygenated and clean.
- Once the new roots grow two to three inches long, pot the cutting into your chunky aroid soil mix.
Soil Propagation Steps
You can also root stem cuttings directly into potting medium.
- Let the fresh cut end sit on a dry counter for thirty minutes to form a protective callus.
- Dip the cut end into rooting hormone powder to stimulate root growth.
- Plant the cutting into a small pot filled with a light mix of perlite, peat moss, and vermiculite.
- Keep the medium consistently moist but not soggy, and provide bright indirect light.
- After four to six weeks, gently tug the cutting; firm resistance means roots have anchored.
Managing Common Plant Pests
While monsteras are resilient, indoor pests can occasionally attack vulnerable or stressed plants.
Common pests include:
- Thrips: Tiny, slender black or beige insects that scrape leaf surfaces, leaving silvery patches and black speckles.
- Spider Mites: Microscopic pests that spin fine webbing on leaf undersides and cause yellow stippling.
- Mealybugs: White, cottony clusters that hide in petiole crevices and suck vital sap.
- Scale Insects: Small, brown, shell-like bumps attached firmly to stems and leaf veins.
Treat infestations immediately by washing the leaves with warm water, followed by thorough applications of insecticidal soap or pure cold-pressed neem oil every five to seven days for three weeks.
Identifying and Treating Root Rot
Root rot is the most dangerous issue facing indoor monsteras and is almost always caused by overwatering or dense, poorly draining soil.
When soil stays waterlogged, oxygen cannot reach the roots, allowing pathogenic fungi like Pythium and Phytophthora to attack and dissolve the root tissue.
Symptoms of root rot include:
- Yellowing lower leaves accompanied by dark brown or black soft patches
- Soil emitting a sour, swampy odor
- Leaves drooping or wilting despite the soil being wet to the touch
- Roots that appear black, mushy, and easily slip apart when touched
To rescue an affected plant, remove it from the pot, wash away all old soil, trim off all rotted black roots with sterile shears, soak the healthy white roots in a diluted 3 percent hydrogen peroxide solution, and repot in fresh, dry aroid soil.
Fixing Yellow or Brown Leaves
Discolored leaves act as your plant’s way of communicating environmental stress.
If you see uniform pale yellowing on older lower leaves, the plant may simply be retiring an old leaf or asking for mild fertilizer. However, if multiple leaves turn yellow rapidly, check for overwatering or root rot.
Crispy, dry brown edges and tips indicate low ambient humidity, underwatering, or mineral buildup from hard tap water. Soft, dark brown spots surrounded by a bright yellow halo point toward a fungal or bacterial infection from excess moisture.
Why Aerial Roots Form and What to Do
As your monstera grows, it will push out long, leafless, brown woody tendrils from its nodes.
These are aerial roots. In the wild, they serve two crucial purposes: anchoring the vine firmly against tree bark and searching for moisture and nutrients in rainforest air.
You have three healthy options for managing aerial roots:
- Tuck them into the soil: Guide them gently down into the pot so they can root and absorb extra water and minerals.
- Wrap them onto a moss pole: Train them directly into a damp moss pole to support upright climbing.
- Prune them off: If aerial roots look messy or grow too long, trim them back near the stem using sterile shears. This will not harm the plant.
Plant Toxicity and Safety Around Pets
All parts of the monstera plant contain insoluble calcium oxalate crystals.
If chewed or ingested by dogs, cats, or humans, these microscopic needle-shaped crystals penetrate the soft tissue of the mouth, tongue, and digestive tract.
Symptoms of ingestion include intense oral burning, excessive drooling, pawing at the mouth, vomiting, and localized swelling. Keep your monsteras on plant stands, high tables, or behind pet gates to keep curious animals safe.
Frequently Asked Questions
Here are answers to the most frequent care questions from indoor gardeners.
Why Leaves Do Not Have Holes
If your monstera is not producing splits, it is usually due to youth or insufficient light.
Young plants under two years old naturally produce solid juvenile leaves. If your plant is mature and still lacks fenestrations, move it closer to a bright window with diffused sunlight, ensure it receives regular feedings, and provide a climbing pole.
How to Clean Dusty Monstera Leaves
Large monstera leaves easily collect household dust, which blocks sunlight and reduces photosynthetic efficiency.
Wipe down each leaf once a month using a soft microfiber cloth dampened with lukewarm water. Avoid commercial leaf shine chemicals, as they clog leaf stomata and attract more dust over time.
Final Care Advice
Caring for a monstera is one of the most fulfilling experiences in houseplant parenting.
These plants are resilient, expressive, and remarkably forgiving of minor care mistakes. By providing bright indirect light, a loose chunky soil blend, attentive watering, and sturdy vertical support, your monstera will reward you with spectacular, jungle-sized leaves for decades to come.
How Healthy Is Your Monstera Plant?
Answer 4 quick questions to see your result