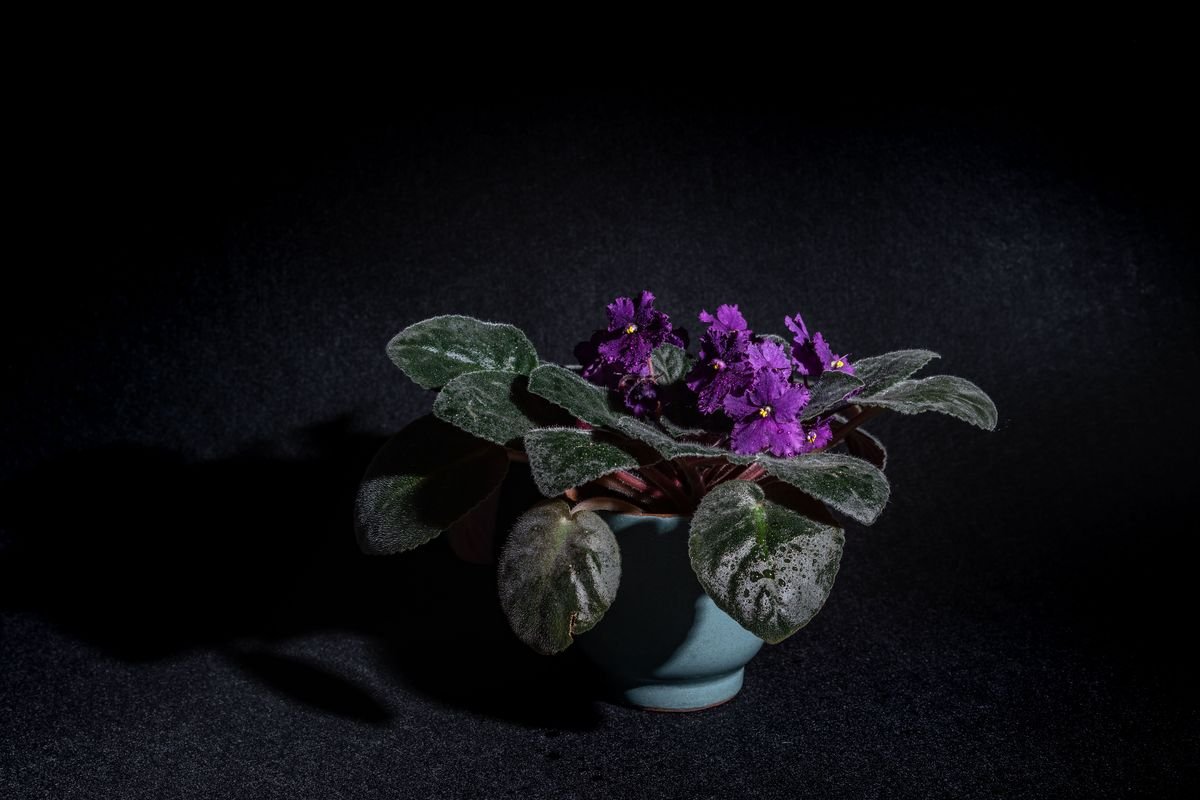
African violets are beloved houseplants known for their fuzzy leaves and rich, vibrant petals that can brighten any indoor space. If you provide them with proper light and moisture, these charming plants can produce flowers nearly year-round.
However, even the healthiest blossoms eventually fade. Learning how and when to deadhead African violets is one of the most effective habits you can build to ensure fresh bud production and keep your plant looking tidy.
Why African Violets Need Deadheading
Deadheading is the simple gardening practice of removing faded or dying flowers before they can form seeds.
When a plant keeps old blossoms, it spends valuable energy trying to develop seed pods instead of producing new buds.
By taking away old blooms, you redirect that essential energy back into root development, healthy foliage, and a fresh wave of flower stems.
Regular deadheading also improves the overall appearance of your plant and discourages fungal diseases from taking hold in decomposing flower tissue.
Signs Your Blooms Are Ready for Removal
African violet flowers typically last anywhere from two to three weeks under good growing conditions.
Because flowers on a single cluster open at different times, they do not all fade simultaneously. You should only remove individual blossoms when they show clear indicators of decline.
Monitoring your plant every few days will help you spot fading blooms before they wither completely onto the foliage below.
Faded Color and Loss of Vibrancy
The first sign that a blossom has passed its prime is a noticeable loss of pigment. Deep purples, vivid pinks, or bright whites will begin to look dull and washed out.
When you notice the petals losing their rich tone and luster, the flower has completed its active cycle and will soon begin drying out.
Limp Petals and Shriveling
Fresh African violet petals feel firm and hold their shape with a slight velvety texture.
As the blossom ages, the petals lose their crispness and turn soft or floppy. They will start to droop inward toward the center of the bloom stalk.
Brown Edges and Drying Buds
In the final stages of decline, the edges of the petals turn crisp and brown before curling up completely.
If left on the stem, the entire bloom turns into a papery brown husk that can fall into the crown of the plant and trap moisture.
Tools You Need Before Trimming
While you can pinch off very dry flowers using your fingers, using clean, sharp cutting tools ensures clean cuts and prevents accidental damage.
African violet flower stems are fleshy yet brittle, meaning a careless tug can snap off healthy buds nearby.
Here are the best tools to gather before you start:
- Micro-tip pruning snips or small embroidery scissors
- Clean pair of grooming tweezers for reaching tight spots
- Rubbing alcohol or disinfectant wipes
- Paper towels for cleaning sap and debris
Cleaning and Sanitizing Your Blades
Always sanitize your cutting tools before touching your plants to avoid spreading viruses, bacteria, or fungal spores.
Wipe the blades thoroughly with 70 percent isopropyl alcohol and let them air dry for a minute before making any cuts.
Repeat this quick cleaning step if you are moving between several different houseplants.
How to Prune Individual Spent Blossoms
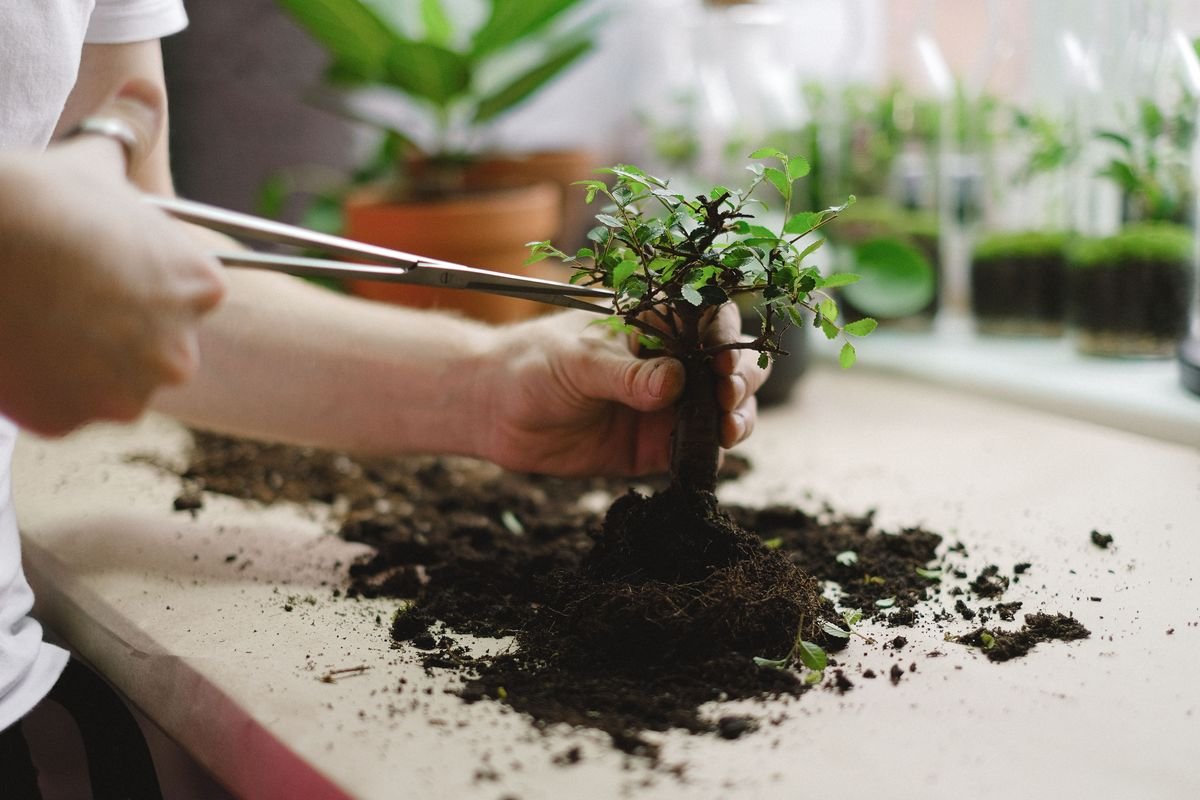
African violet flowers grow in clusters (cymes) where several short flower stems branch off a single main stalk (peduncle).
When only one or two blooms in a cluster have faded while others are still opening, you should remove only the spent flowers.
Carefully trace the faded flower back to the point where its individual thin stem joins the main central stalk. Snip the small stem as close to the main stalk as possible without nicking nearby fresh buds.
Allow the remaining closed buds and healthy flowers to continue their normal blooming cycle.
When to Cut the Entire Flower Stalk
Once all the individual blossoms on a stalk have finished blooming, the main central stem serves no further purpose.
Leaving the bare stalk attached can cause it to rot from the tip downward, which risks harboring pests or fungal decay.
To remove the entire stalk, gently part the surrounding leaves so you can see where the stalk emerges from the base of the plant crown.
Using your sanitized snips, cut the stalk cleanly about a quarter of an inch above the base. Alternatively, you can gently bend the stalk sideways until it snaps off cleanly at the leaf axil.
Removing Spent Leaves and Suckers
While deadheading your flowers, take a moment to inspect the bottom layer of foliage.
Older outer leaves naturally yellow and deteriorate over time. Snip off any limp, discolored, or damaged leaves at the base of their petiole to keep the plant neat and compact.
Look for small side shoots (suckers) growing between leaf axils. Removing these tiny plantlets with a pair of tweezers encourages the mother plant to channel all its energy into a single, symmetrical blooming crown.
Preventing Mold on Dropped Petals
Faded petals that drop naturally onto lower leaves or the potting soil create an ideal breeding ground for Botrytis blight, commonly known as gray mold.
This fungus thrives in warm, humid conditions and can quickly rot healthy foliage if decaying plant matter rests against it.
Regularly check between the leaf layers and brush away any loose petals or dried flower bits that have fallen onto the soil surface.
Bright Indirect Sunlight Requirements
Light is the single most critical factor for stimulating new flower buds after deadheading.
African violets require 10 to 14 hours of bright, indirect sunlight daily to set blooms. An east-facing or north-facing windowsill provides gentle, filtered light that will not scorch the delicate leaves.
If your windows receive harsh afternoon sun, place a sheer curtain between the plant and the glass.
During short winter days, you can supplement natural sunlight by placing your plants under a standard LED grow light set six to eight inches above the foliage for 12 hours a day.
Bottom Watering Techniques
Getting cold water on African violet leaves causes permanent white or yellow ring spots, and standing water in the crown leads to crown rot.
Bottom watering is the safest and most reliable way to provide uniform moisture without risking leaf damage.
Set the potted plant into a shallow saucer or dish containing an inch of room temperature water. Let the potting mix absorb moisture from the drainage holes for 20 to 30 minutes.
Once the top surface of the soil feels slightly cool and damp, remove the pot and let all excess water drain away completely before returning it to its decorative saucer.
Feeding Your Plant for Continuous Blooms
Because African violets are kept in relatively small pots, their soil quickly runs out of essential nutrients.
To encourage new buds, use a water-soluble fertilizer specifically formulated for African violets or one with a higher middle number (phosphorus), such as a 12-36-14 ratio.
Dilute the fertilizer to one-quarter of the recommended strength and apply it with every watering session during active growth periods.
Using a weak fertilizer solution frequently provides a steady stream of nutrition without building up harmful fertilizer salts around the roots.
Choosing the Right Pot and Soil
African violets bloom best when their root systems are slightly restricted.
A great rule of thumb is to choose a pot diameter that is roughly one-third the width of the plant leaf spread. For example, a plant that measures nine inches across thrives in a three-inch container.
Always use an airy, peat-based or coco-coir-based potting mix amended with generous amounts of perlite and vermiculite.
Dense garden soils or heavy potting soils hold too much moisture and suffocate the fine, fibrous root system.
Proper Humidity and Temperature
African violets thrive in the same indoor temperature ranges that humans find comfortable, typically between 65 and 75 degrees Fahrenheit.
Keep your plants away from cold drafty windows, air conditioning vents, and direct heat sources like radiators or fireplace mantels.
These plants appreciate moderate humidity levels between 40 and 60 percent. If your indoor air is very dry during winter, place your pots on a tray filled with pebbles and water, making sure the bottom of the pot rests above the water line.
Common Deadheading Mistakes to Avoid
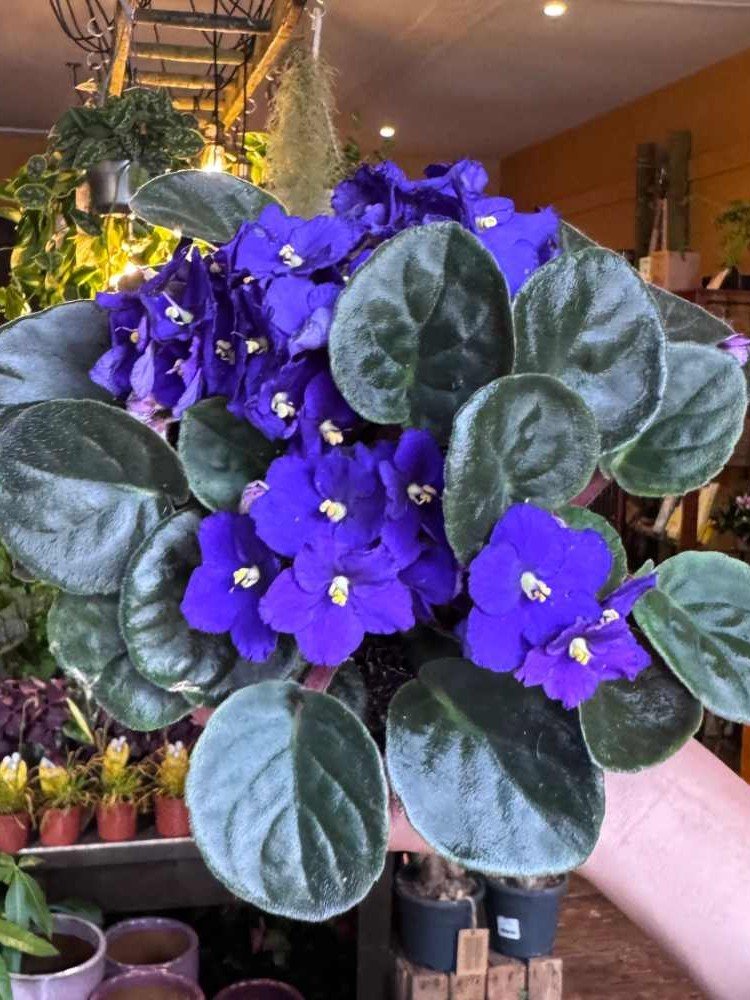
While deadheading is very simple, a few common mistakes can set your plant back or reduce future flower counts.
Avoid pulling or yanking on spent flower stalks, as this can easily tear healthy leaves or uproot the plant.
Do not cut off unopened flower buds by mistake. Newer buds are small, firm, and tightly closed, whereas spent blooms look limp, faded, or dry.
Finally, never leave cut plant debris sitting inside the pot, as decomposing organic matter attracts fungus gnats and mold spores.
How Healthy Is Your African Violet Care Routine?
Answer 4 quick questions to see your result