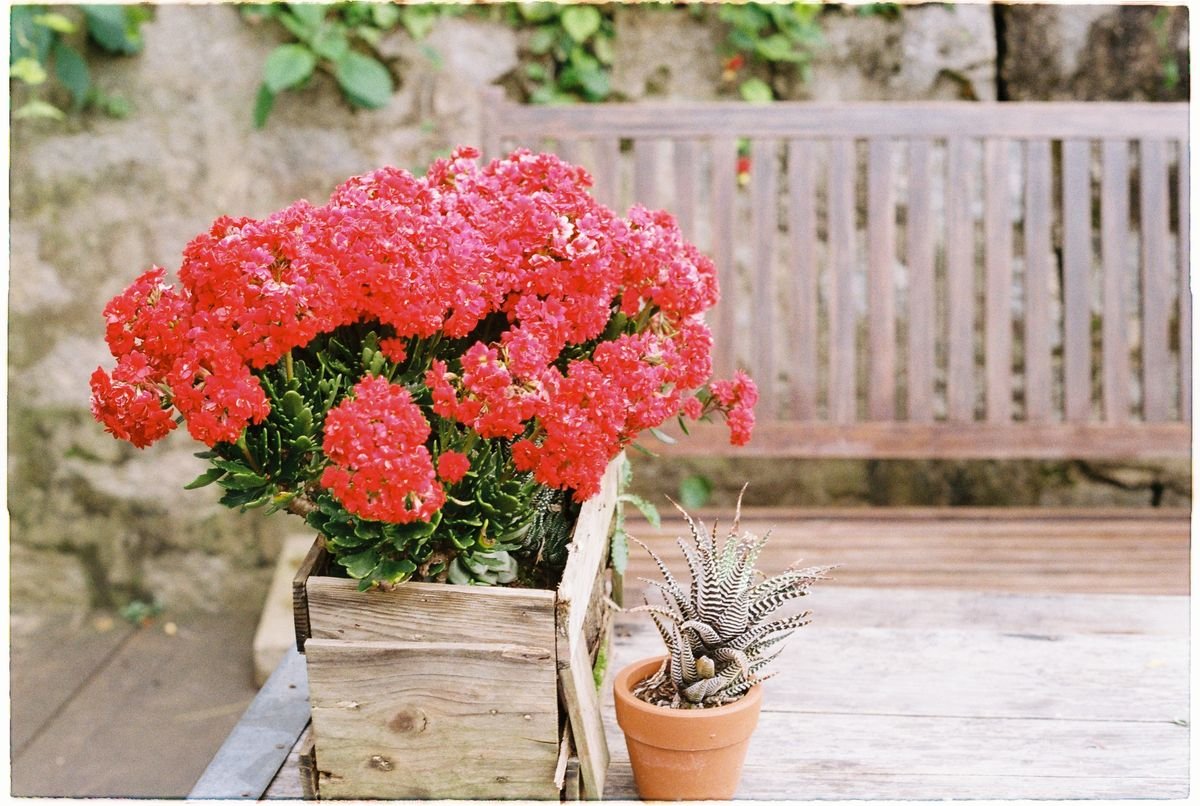
Kalanchoes are beloved across the world for their thick, scalloped foliage and long-lasting clusters of vibrant blossoms.
When you pick one up from a nursery or garden center, it usually arrives as a tidy, compact mound of green leaves topped with dense bouquets of red, orange, pink, yellow, or white flowers.
Because they belong to the succulent family, they carry a reputation for being remarkably easy to maintain, even for beginners.
Over time, however, many indoor gardeners notice a frustrating change in their plant. Instead of remaining dense and compact, the stems begin stretching upward, creating large gaps between leaves and leaving the base of the plant looking bare and spindly.
When a kalanchoe grows tall and weak, it is experiencing a condition known as etiolation. Fortunately, you can easily correct this problem, restore your plant to a healthy shape, and propagate the overgrown stems to create fresh new houseplants.
Understanding Why Kalanchoe Plants Stretch
When a kalanchoe grows unusually tall with thin, fragile stems, it is commonly called leggy. In botanical terms, this process is known as etiolation.
Etiolation occurs when a plant fails to receive the light energy it requires for normal photosynthesis. In response to dim conditions, the plant produces higher concentrations of growth hormones called auxins in the growing tips.
These auxins cause the cells in the stem to elongate rapidly. The plant is essentially pouring all of its stored energy into racing upward, searching desperately for a brighter light source.
While this survival mechanism helps wild plants compete for light in dense vegetation, it creates several problems for an indoor succulent.
First, the rapid vertical growth produces wide spaces between leaf nodes, known as internodes. Instead of a tight rosette or bushy cluster, the stem becomes a bare green stalk with a few leaves scattered along its length.
Second, stems that develop during periods of light deprivation are structurally weak. They lack the cellular density and lignin necessary to support heavy succulent leaves or flower clusters.
As the stretched stem continues to grow, it often bends under its own weight, falls sideways over the rim of the pot, or snaps entirely.
The Role of Light Deprivation
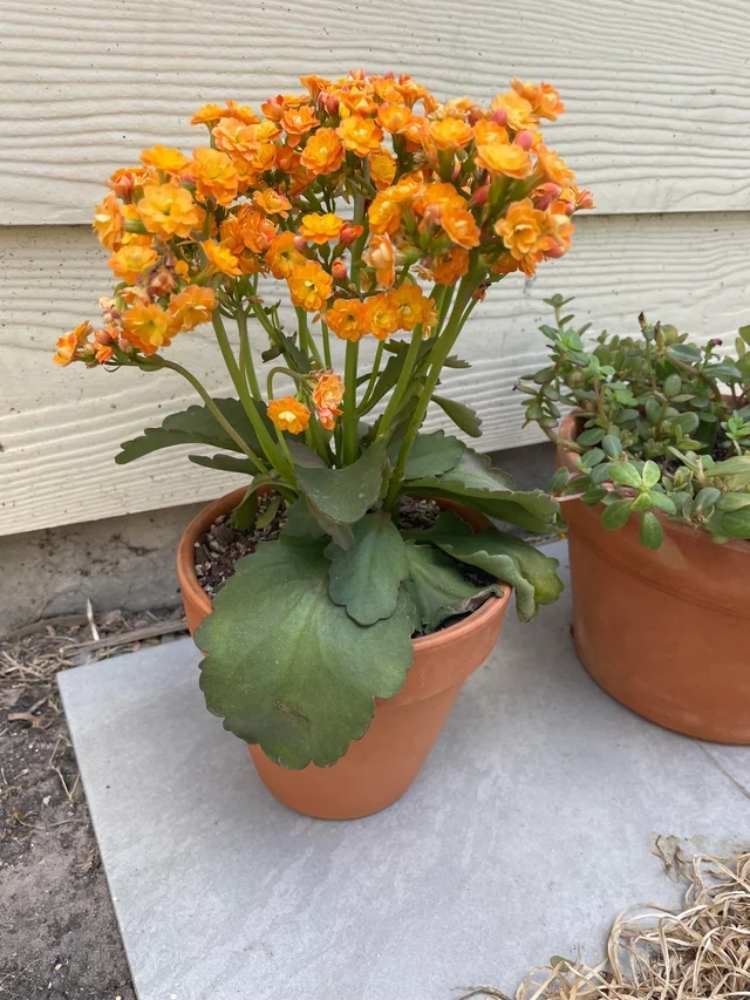
Insufficient light is by far the most common reason a kalanchoe becomes leggy indoors. Succulents are adapted to open, sun-drenched environments where they receive hours of bright energy every single day.
When placed in an interior hallway, a dark corner, or a room with only north-facing windows, the plant cannot generate enough energy to maintain its compact form.
Light intensity drops dramatically the further you move away from a window. A spot that seems bright to human eyes may actually provide less than ten percent of the usable light energy found directly on the windowsill.
Human vision adjusts automatically to low light levels, which often tricks plant owners into believing an interior room is adequately lit for succulent growth.
If your kalanchoe has been sitting several feet away from a light source, its stretched growth is a direct signal that it needs immediate relocation.
In addition to stretching, light-deprived kalanchoes often display other telltale symptoms. Their leaves may fade from deep emerald green to a pale, washed-out lime shade.
New foliage may emerge noticeably smaller than older leaves. The plant will also stop setting flower buds entirely, because producing blooms requires a massive amount of light energy.
Finding the Best Spot for Sunlight
To keep your kalanchoe compact and prevent future stretching, you need to provide the right balance of light intensity and duration.
An ideal indoor location is an east-facing windowsill that receives several hours of gentle morning sun, or a south-facing or west-facing window where the light is bright throughout the day.
If you place your plant near a south-facing or west-facing window, observe how the light falls on the foliage during peak afternoon hours.
While kalanchoes love bright light, unfiltered midsummer sun through double-paned glass can occasionally become intense enough to heat the foliage excessively.
Diffusing intense light with a sheer white curtain during peak summer heat provides the perfect bright, indirect illumination.
If natural window light is limited in your home, you can successfully maintain compact kalanchoes using artificial grow lights.
Standard full-spectrum LED grow lights placed six to twelve inches above the plant for twelve to fourteen hours a day will deliver consistent energy and stop stretching in its tracks.
Avoiding Direct Sunburn on Leaves
When moving a leggy kalanchoe into a brighter environment, caution is essential. A plant that has adapted to dim light cannot be thrust into intense direct sun overnight without suffering damage.
Sudden exposure to harsh sunlight will cause sunscald, leaving permanent brown, bleached, or crispy patches across the leaves.
Sunburn occurs because the plant has not had time to build up protective pigments and thicker cell walls.
To safely increase light exposure, acclimate your kalanchoe gradually over a period of ten to fourteen days.
- Days 1 to 3: Place the plant in medium indirect light with no direct sun.
- Days 4 to 7: Introduce one to two hours of gentle early morning sunlight.
- Days 8 to 10: Increase morning sun exposure to three or four hours.
- Days 11 and beyond: Move the plant into its permanent location with bright indirect light or filtered sun throughout the day.
If you notice the leaves taking on a slight reddish or bronze tint along the margins, do not panic. This is a natural succulent response to high light and indicates healthy protective pigment production.
However, if the foliage turns white, pale yellow, or dry and crusty, move the pot back a few inches to reduce the light intensity.
How Incorrect Watering Triggers Leggy Growth
While light deficiency is the primary cause of etiolation, improper watering habits can significantly worsen the problem.
Both overwatering and underwatering disrupt normal root function and cell division, leading to abnormal growth patterns.
Overwatering is particularly dangerous for kalanchoes because their thick, fleshy leaves and stems are designed to store water for long periods.
When the soil remains constantly wet, the delicate root hairs suffocate from a lack of oxygen in the root zone.
As roots begin to rot and die back, they lose the ability to take up water and essential soil nutrients evenly.
This erratic nutrient uptake often causes rapid, uneven stem elongation as the plant attempts to adapt to root stress.
Underwatering can also result in a spindly, unattractive appearance over time.
When a kalanchoe is left completely dry for extended periods, it sheds its lower leaves to conserve moisture for the top growth.
As the lower foliage dries up and falls off, the plant is left with long, bare lower stems topped with only a small tuft of leaves at the summit.
While the stem may not be stretching in the classic sense, the loss of lower leaves produces the exact same leggy silhouette.
Establishing the Right Soil Moisture Routine
The most effective way to water a kalanchoe is to use the proven soak-and-dry method.
This watering technique closely mimics the natural rainfall patterns of the arid environments where succulents thrive.
Never water your kalanchoe on a rigid calendar schedule, such as every Tuesday or once a week. Environmental factors like room temperature, humidity, light levels, and pot material all dictate how fast the soil dries out.
Before adding water, always test the soil moisture with your finger or a wooden moisture probe.
Insert your finger two inches deep into the potting mix. If you detect any coolness or dampness, wait several more days before checking again.
Only water when the top two to three inches of soil are completely bone dry to the touch.
When it is time to water, pour water thoroughly over the entire soil surface until it flows freely out of the drainage holes at the bottom of the pot.
Allow all excess water to drain out completely into a saucer or sink for fifteen to twenty minutes, then empty the saucer immediately.
Never allow the pot to sit in a pool of standing drainage water, as this keeps the bottom soil saturated and invites fungal root rot.
Soil Drainage and Pot Choice
The container and potting medium you choose play a fundamental role in maintaining healthy, sturdy kalanchoe stems.
Standard all-purpose potting soil retains far too much water for succulents, creating dense, soggy conditions that suffocate roots.
To give your kalanchoe the ideal foundation, use a specialized succulent or cactus potting mix that includes coarse, gritty ingredients.
You can easily mix your own high-performing soil blend at home using basic amendments.
- Combine two parts standard potting soil with one part perlite and one part coarse horticultural sand or pumice.
- Incorporate a handful of crushed volcanic rock or small gravel to enhance internal aeration.
- Avoid using fine sandbox sand or beach sand, which compacts into dense concrete-like layers when watered.
The material of your pot is just as important as the soil mix inside it.
Unglazed terracotta pots are the gold standard for kalanchoes because the porous clay breathes, allowing moisture to evaporate through the container walls as well as from the soil surface.
Plastic and glazed ceramic containers trap moisture inside the pot for much longer, which increases the risk of overwatering.
Whatever pot style you choose, ensure it has at least one functional drainage hole at the base.
Why Temperature and Feeding Matter
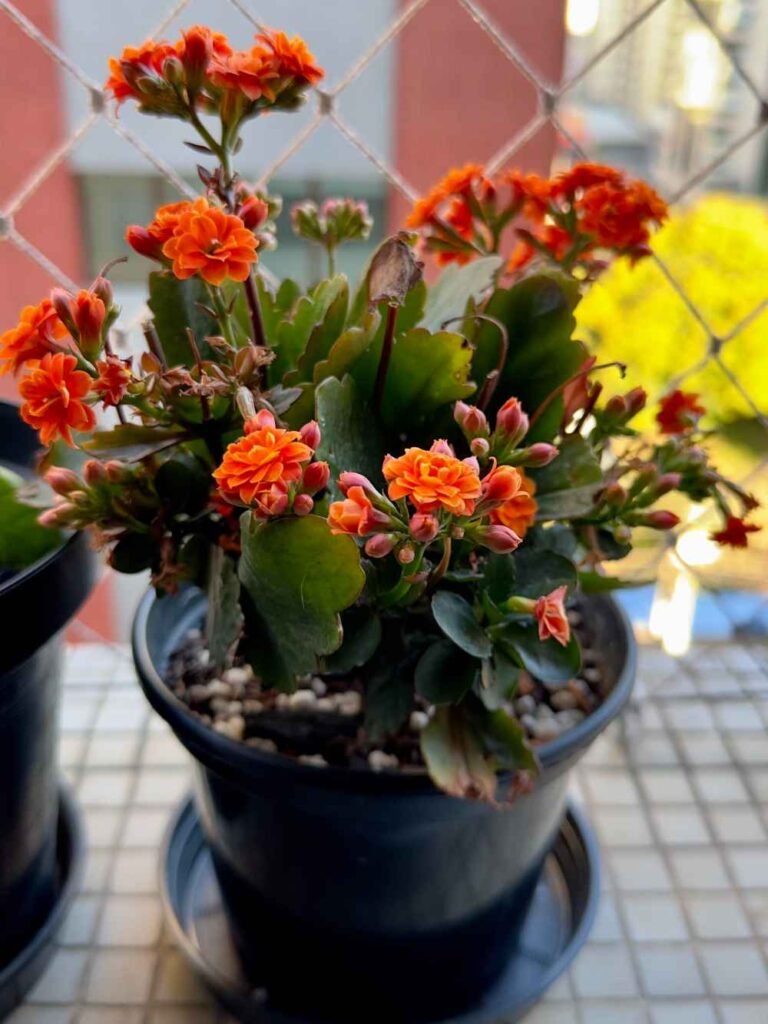
Environmental conditions beyond light and water can also influence whether your kalanchoe stays compact or turns leggy.
Ambient room temperature strongly affects the speed of plant metabolism and cellular growth.
Kalanchoes thrive in standard household temperatures between 60 and 85 degrees Fahrenheit (15 to 29 degrees Celsius).
However, when high room temperatures are paired with moderate or low light levels, the rate of stretching accelerates dramatically.
Warm air encourages fast cellular elongation, while weak light prevents the plant from building sturdy stem walls.
Fertilizer application is another area where plant parents frequently run into trouble.
Applying heavy doses of high-nitrogen fertilizer encourages explosive, soft, vegetative growth at the expense of structural firmness.
Succulents require very light feeding compared to leafy tropical plants.
Feed your kalanchoe only during its active growing season in spring and summer using a balanced, water-soluble houseplant fertilizer diluted to half or quarter strength.
Apply fertilizer once every four to six weeks, and stop feeding completely during late autumn and winter when growth naturally slows down.
How to Prune an Overgrown Kalanchoe
Once a kalanchoe stem has stretched out and turned leggy, simply moving the plant into bright sunlight will not shrink the stem back down.
The elongated section is permanent. However, pruning allows you to reset the structure of the plant and encourage dense, bushy new growth from dormant buds.
Pruning serves several important horticultural purposes for an overgrown succulent.
First, cutting away elongated top growth removes the primary apical dominance of the main stem.
When the terminal tip is removed, plant hormones redistribute downward, stimulating the dormant axillary buds located along the lower stem nodes.
Within a few weeks, these dormant nodes break open and produce two or three new branching stems where there was previously only one.
Second, pruning removes dead flower stalks, yellowing leaves, and weak sections that drain the plant of vitality.
Removing spent floral clusters, a process known as deadheading, prevents the plant from wasting resources on seed production.
Instead, the plant redirects all of its metabolic energy toward developing robust foliage and preparing new flower buds for the next blooming cycle.
Step by Step Pruning Method
Pruning a kalanchoe is straightforward, but taking a careful, deliberate approach ensures the best cosmetic and structural outcome.
Before you make your first cut, gather clean bypass pruners or a sharp pair of kitchen shears, along with isopropyl rubbing alcohol to sanitize the blades.
- Sanitize your cutting blades thoroughly with rubbing alcohol to prevent introducing bacterial or fungal pathogens into fresh plant wounds.
- Examine the plant and identify the leggy, bare stems that need shortening, as well as any withered flower stalks.
- Snip off all spent flower stems at their base, right where they emerge from the main foliage canopy.
- Locate a healthy set of leaves or a visible node along each stretched stem, ideally two to four inches above the soil line.
- Make a clean, horizontal cut about one-quarter inch above that leaf node or pair of leaves.
- Remove any dried, yellowed, or damaged lower foliage from the base of the plant to improve airflow around the soil.
Do not be afraid of cutting back an overgrown stem substantially.
Healthy kalanchoes have exceptional regenerative capabilities and will quickly sprout vigorous side branches from the cut stump.
Keep the cut ends dry for a few days to allow the wounds to seal and callus over naturally.
Propagating Stem Cuttings for Fresh Plants
One of the best benefits of pruning a leggy kalanchoe is that you do not have to discard the pieces you cut off.
Those elongated stem tips can easily be propagated into an entirely new collection of compact, healthy plants.
Kalanchoe cuttings root readily in soil and establish functional root systems within three to four weeks.
To begin, sort through your pruned stem cuttings and select healthy, robust pieces that measure three to five inches in length.
Discard any soft, mushy, or severely damaged sections that show signs of pest activity or disease.
Using clean shears, trim the bottom of each cutting just below a leaf node, as root initiation occurs most readily at the nodal junctions.
Carefully strip off the bottom leaves from the lower two inches of the stem, leaving two to four healthy leaves at the top.
Before planting, place the prepared cuttings on a clean, dry paper towel in a shaded, well-ventilated spot for two to three days.
This waiting period allows the freshly cut stems to form a dry, protective callus over the raw wound.
Callusing is a critical step because inserting a fresh, moist succulent cut directly into damp soil invites soil-borne fungi and causes stem rot before roots can develop.
Preparing Soil and Rooting Cuttings
Once the cut ends have formed a firm, dry callus, your stem pieces are ready for planting in a fresh rooting medium.
Fill a small three-inch or four-inch nursery pot with a moist blend of half succulent soil and half perlite.
- Optional step: Dip the callused end of each stem cutting into powdered rooting hormone to accelerate root formation.
- Use a pencil or chopstick to make a two-inch hole in the center of the potting mix.
- Insert the callused stem into the hole, ensuring the bare lower node is buried beneath the soil surface.
- Gently press the surrounding soil mix around the stem so the cutting stands firmly upright on its own.
- Place the potted cutting in a warm room with bright, indirect sunlight, keeping it out of harsh direct sun.
- Keep the soil lightly moist but never waterlogged by misting the soil surface every few days.
After three to four weeks, test for root development by gently grasping the base of the stem and giving it a very light upward tug.
If you feel firm resistance, a healthy root system has established in the soil.
At this stage, you can treat the cutting as a mature kalanchoe, transitioning to standard soak-and-dry watering and introducing brighter light.
Preventing Legginess in Future Growth
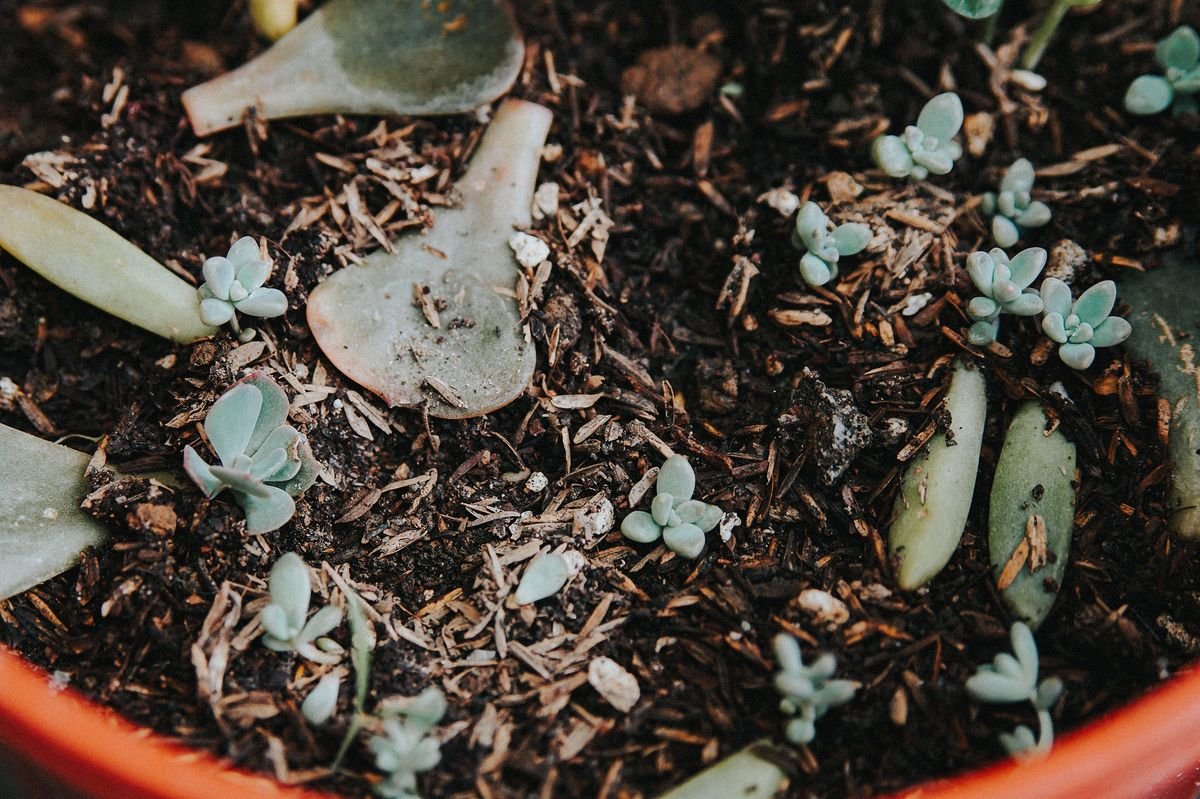
After you have pruned your leggy plant and rooted new cuttings, adopting proactive care routines will keep your kalanchoes compact and flowering for years to come.
Light management remains your top priority throughout the entire lifespan of the plant.
Make a habit of rotating your plant pots by ninety degrees every time you water.
Plants naturally lean toward the nearest window, and regular rotation ensures that all sides of the foliage receive equal illumination, keeping growth symmetrical and upright.
Monitor seasonal light shifts as the sun changes its angle in the sky between summer and winter.
A window that provides intense, bright light in June may become significantly darker and shaded by trees or eaves in December.
During the shorter, darker days of winter, move your kalanchoe to your sunniest south-facing windowsill or set up a small LED desk grow light to supplement natural daylight.
Finally, practice routine maintenance pruning whenever a flowering cycle concludes.
Regularly snipping off spent flower stalks and pinching back the very tips of non-flowering stems once or twice a year encourages constant lateral branching.
By staying ahead of the growth habit and providing abundant light, you will enjoy dense, vibrant, beautifully formed kalanchoes in every room.
How Leggy Is Your Kalanchoe and How to Fix It
Answer 4 quick questions to see your result