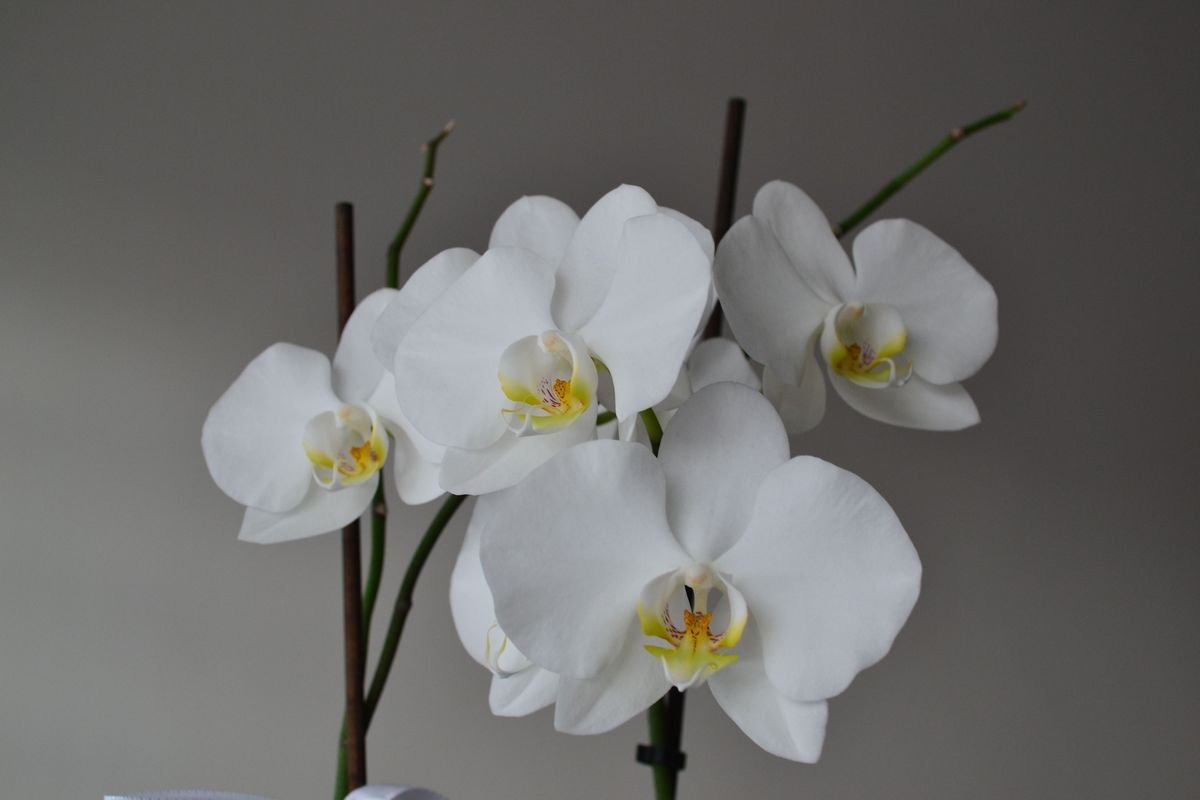
Orchids have earned a reputation as some of the most elegant indoor plants you can bring into your home. Their graceful stems and exotic blossoms instantly brighten up any windowsill or living space. However, when those vibrant petals inevitably begin to wilt and drop to the floor, many plant owners wonder if their orchid has reached the end of its life.
The wonderful reality is that orchids are long-lived perennial plants. In most cases, a flowerless orchid is far from dead; it is simply entering a natural rest period to build up energy for its next flowering cycle.
With the right adjustments to pruning, watering, lighting, and repotting, you can encourage your orchid to produce fresh stems and rewarding blooms for decades to come.
Understanding Orchid Growth Cycles
To get the most out of your orchid, it helps to understand how these plants operate in nature. Most cultivated indoor varieties are epiphytes, meaning they grow attached to trees rather than in garden soil.
They follow clear seasonal rhythms that shift between vegetative growth, active blooming, and a period of recuperation.
When all the blossoms drop, the plant turns its biological attention toward leaf and root production. This dormant or vegetative phase is essential.
If an orchid cannot store enough carbohydrates and moisture in its leaves and pseudobulbs, it will not have the stamina to create a new spike.
Patience is key during this transition. While it may look like your orchid is sitting idle for months, a tremendous amount of cellular repair and energy storage is occurring beneath the surface.
Orchid Bloom Habits by Genus
Not all orchids follow the exact same schedule. How often and when your plant produces flowers depends directly on its genus.
- Phalaenopsis (Moth Orchids): These are the most common household orchids. They typically flower once or twice a year, with blooms that can last anywhere from one to three months.
- Cattleya: Famous for large, fragrant blooms, these usually flower once per year, often during autumn or spring depending on the specific hybrid.
- Dendrobium: Some varieties drop leaves before producing clusters of blooms along their canes, flowering once or twice annually.
- Oncidium (Dancing Ladies): These often bloom in the autumn, producing branching sprays with dozens of miniature blossoms.
- Vanda: When grown in warm, humid, and bright environments, Vandas can rebloom several times throughout a single calendar year.
Identifying the specific kind of orchid you have will help you set realistic expectations for its blooming timeline.
What Happens When Orchid Flowers Drop
Watching your orchid lose its flowers can be alarming if you are new to plant care. In reality, flower loss is a completely normal botanical process known as senescence.
Flowers require massive amounts of water and energy to stay open. Once they have reached the end of their lifespan, the plant intentionally cuts off nutrient delivery to the blossoms. The petals will fade in color, wrinkle, and dry out before falling free from the spike.
As long as the foliage remains firm, green, and plump, flower drop is not a sign of poor health or disease. It simply signals that the blooming cycle has concluded.
How to Inspect the Flower Spike

Once the flowers are gone, take a close look at the bare stem, known as the spike. The physical condition of this spike dictates what your next step should be.
If the spike remains thick, firm, and bright green, it still holds active nodes. Under the right conditions, these nodes can branch out to produce secondary flower buds or even a baby plant called a keiki.
If the spike starts turning yellow, straw-colored, or dark brown, that tissue is dead. A brown spike will never produce flowers again, and leaving it on the plant will not provide any horticultural benefit.
Cutting Back the Old Flower Spike
Trimming the flower stem helps the plant direct its finite energy where it is needed most. You have two primary approaches depending on the condition of your spike.
For a brown, withered stem, cut it down completely near the base of the plant. Leave about half an inch of stem above the crown so you do not accidentally nick the surrounding leaves.
For a healthy green stem on a Phalaenopsis orchid, you can trim the spike just half an inch above a dormant node. Look for small, triangular nodes along the stem and make a clean cut above one of the lower ones. This often triggers an offshoot branch that produces a fresh set of flowers within a couple of months.
If your orchid has thin, dehydrated leaves, it is generally wiser to cut the entire green spike off at the base. This forces the plant to concentrate entirely on root and leaf recovery rather than overextending itself on a second bloom.
Sanitizing Your Gardening Tools
Orchids are particularly vulnerable to viral and fungal pathogens that spread easily through open pruning wounds. Always sanitize your tools before making any cuts.
Wipe your shears or pruning blades with 70 percent isopropyl alcohol, or hold the metal edges over an open flame for a few seconds. Allow the metal to cool completely before touching the plant.
To add extra protection against bacterial infection, dab a tiny pinch of ground household cinnamon onto the fresh cut. Cinnamon acts as a natural, safe desiccant and mild fungicide.
Supporting Orchids Through the Rest Phase
After trimming, your orchid enters its vegetative rest period. During this time, the plant relies on you to provide steady, gentle care so it can rebuild its strength.
Avoid moving the plant around constantly. Pick a bright location with stable temperatures and let the plant settle into its routine.
Keep a close eye on new leaf development. A healthy orchid should push out one or two new leaves during its rest phase. Each new leaf adds photosynthetic capacity, which will fuel the production of next season’s flower spike.
Watering Orchids Between Bloom Cycles
Because orchids consume less moisture when they are not actively holding blooms, watering routines must be adjusted accordingly. Overwatering during the rest phase is the leading cause of root rot.
Always check the potting medium before adding water. Stick your finger an inch into the bark, or inspect the roots through a clear plastic pot. If the roots are plump and bright green, the plant has plenty of water. When the roots turn a silvery or greyish-green color, it is time to hydrate.
Water the orchid thoroughly at the sink by letting tepid tap water run through the potting media for roughly a minute. Ensure all excess water drains away completely from the bottom holes. Never allow the orchid pot to sit in standing water.
Fertilizing to Encourage New Growth
Orchids are light feeders, but consistent nutrition during the rest period makes a massive difference in how quickly they rebloom.
Use a balanced, water-soluble orchid fertilizer formulated with a ratio such as 20-20-20. Avoid standard garden fertilizers that contain high levels of urea nitrogen, as epiphytic roots struggle to absorb it efficiently.
A great feeding rule of thumb is ‘weakly, weekly.’ Dilute your fertilizer to one-quarter of the strength recommended on the package label and apply it every three out of four waterings. On the fourth week, flush the pot with pure water to wash away accumulated mineral salts.
Getting the Light and Temperature Right
Light and temperature act as the primary environmental triggers for orchid blooming.
Orchids need plenty of bright, indirect sunlight to gather energy. A spot near an east-facing window or slightly back from a south-facing window is ideal. The leaves should maintain a healthy medium-olive green color. Dark forest-green foliage usually means the plant needs more light, while reddish or yellowing leaves indicate too much direct sun.
Temperature shifts play an enormous role in kickstarting flower spikes, especially for Phalaenopsis orchids. In the autumn, expose the plant to a slight drop in nighttime temperatures for two to three weeks. An overnight range of 55 to 65 degrees Fahrenheit, paired with daytime warmth of 70 to 75 degrees, will signal to the orchid that it is time to set buds.
How to Repot a Spent Orchid
The period immediately following flower drop is the best time to repot your orchid. You should generally refresh the potting medium every one to two years, or whenever you notice the bark breaking down into fine, soggy compost.
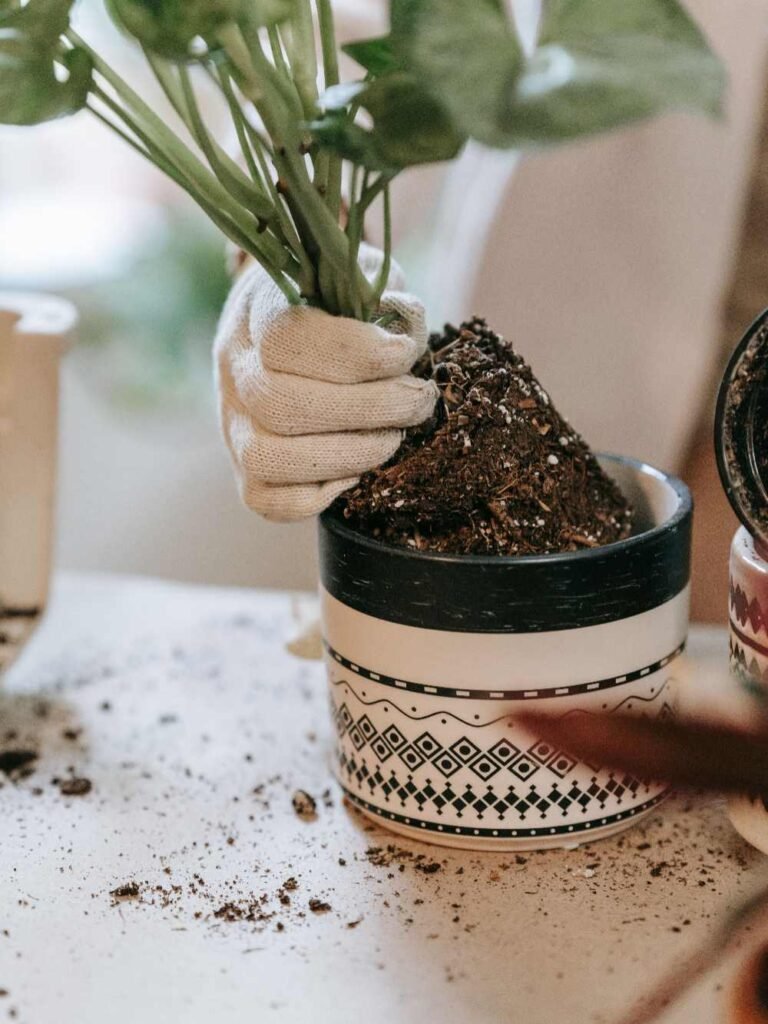
Begin by gently sliding the orchid out of its container. Unravel the root system and shake loose all old, degraded bark.
Using clean shears, snip off any brown, hollow, mushy, or blackened roots. Leave only firm, healthy roots intact.
Place the plant into a new pot that is only one size larger than the previous container. If the root system has shrunk due to trimming, you can even put the plant back into the same pot with fresh media.
Choosing the Best Orchid Mix
Never plant an epiphytic orchid in standard dense potting soil. Soil compacts tightly around the root system, suffocating the roots and causing rapid decay.
Instead, use a specialized, chunky orchid potting mix designed to let air flow freely. Common ingredients include coarse fir bark chunks, perlite, charcoal, and chopped sphagnum moss.
Fir bark provides physical structure and excellent drainage, while charcoal helps absorb impurities and sphagnum moss helps retain just enough moisture around the root tips.
How Long It Takes for New Spikes to Form
The journey from a bare stem to a fresh display of flowers takes time and steady conditions. Once an orchid initiates a new flower spike, it generally takes anywhere from two to four months for the buds to develop and open fully.
You can spot a new spike emerging from the base of the plant near the leaf axils. In its earliest stages, a spike looks like a small, shiny green mitten or rounded tip pointing upward. In contrast, emerging aerial roots have rounded, silvery-green tips with a matte texture and often grow horizontally or downward.
Once you confirm a spike is growing, stake it loosely with a small bamboo rod and plant clips so the heavy stem grows upright without snapping.
Common Mistakes That Stop Orchids from Reblooming
If your orchid seems stuck and refuses to grow a new flower spike after a full year, one of several common care pitfalls is usually the culprit.
- Insufficient light: This is the number one reason orchids fail to rebloom. Move the plant closer to a brighter window where it gets gentle, filtered rays.
- No nighttime temperature drop: Without a slight seasonal cool-down, many species will continue growing leaves without initiating flower spikes.
- Overpotting: Placing an orchid in a pot that is too large traps excess moisture in the media and stalls root development.
- Skipping fertilizer: Without trace minerals and nitrogen during its vegetative period, the plant cannot manufacture the energy needed for bud formation.
- Using ice cubes: Watering orchids with ice cubes can shock tropical root systems and damage sensitive root tips over time. Always use room temperature water.
Addressing these small details will get your orchid back on track and reward you with stunning, long-lasting flowers.
Is Your Orchid Ready to Rebloom?
Answer 4 quick questions to see your result