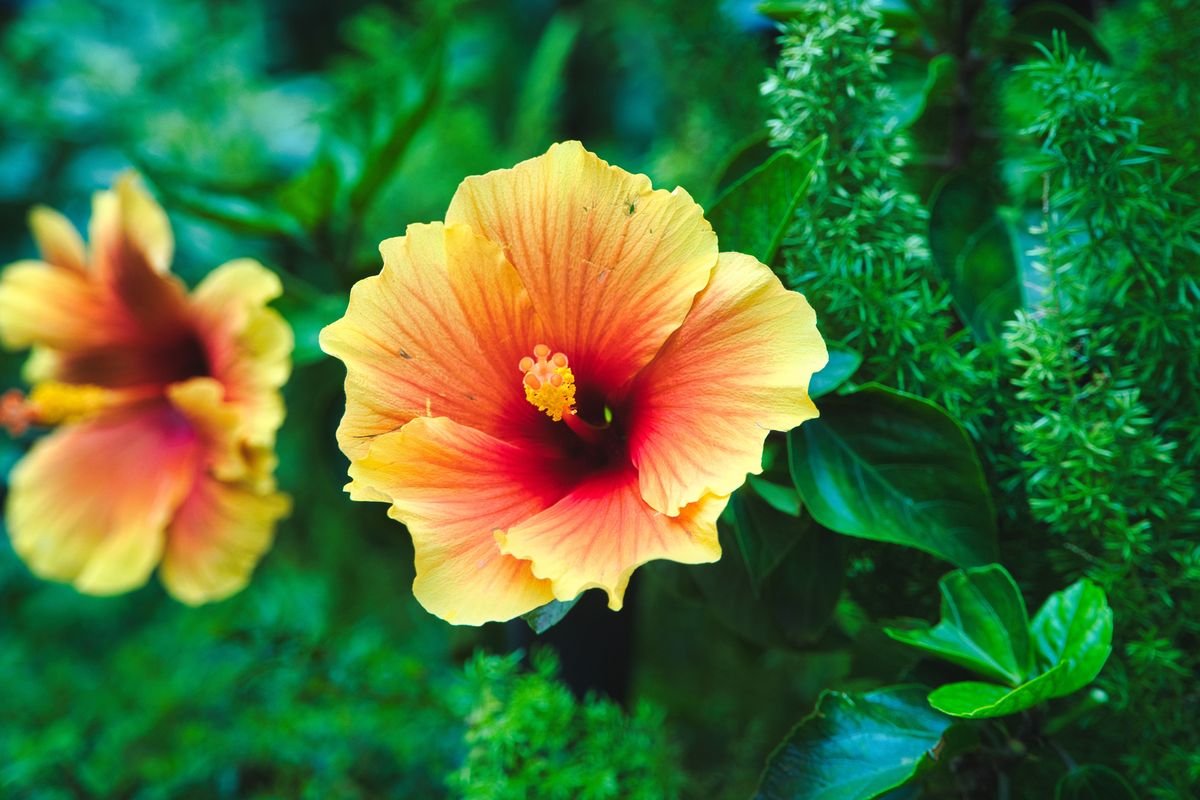
Few sights in the garden match the lush brilliance of a thriving hibiscus. With deep emerald foliage and dinner-plate blooms in dazzling shades of red, pink, yellow, and orange, these plants bring an unmistakable tropical charm to any patio or garden border.
When those vibrant green leaves suddenly begin to fade into a mottled or bright yellow, it is completely normal to feel a wave of worry.
Yellowing leaves are the primary way a hibiscus communicates that something in its environment is out of balance.
Because hibiscus plants are sensitive to fluctuations in moisture, light, nutrition, and temperature, even minor changes can trigger chlorosis.
The good news is that yellow foliage is rarely an immediate death sentence. By learning to interpret the specific patterns and accompanying signs on your plant, you can quickly diagnose the root cause and restore your hibiscus to full vigor.
Understanding Hibiscus Leaf Yellowing
Leaf yellowing, scientifically referred to as chlorosis, occurs when a plant loses chlorophyll or cannot produce enough of it to sustain active photosynthesis. Chlorophyll gives foliage its rich green pigment and allows the plant to convert sunlight into usable energy.
When a hibiscus experiences physiological stress, it diverts vital energy away from older or struggling foliage to protect its core stems, roots, and new growth tips. This defensive mechanism causes individual leaves to turn yellow and eventually drop off.
Not all yellowing indicates a catastrophic problem. In fact, seeing an occasional yellow leaf at the base of a dense mature shrub is a completely natural part of the plant lifecycle. When multiple leaves begin shifting color at once, however, it is time to investigate environmental and cultural factors.
Overwatering and Saturated Soil
Overwatering is the single most common cause of widespread yellow leaves on both indoor and outdoor hibiscus plants.
While these plants enjoy steady moisture during warm growing periods, their roots require oxygen to function properly.
When soil stays waterlogged, air pockets collapse and drown the fine feeder roots. As roots suffocate and begin to decay from root rot pathogens, they lose the ability to take up water and nutrients, causing the leaves above ground to turn pale yellow, soften, and fall off.
To correct overwatering, always check the top two inches of soil with your finger before adding more water. If the soil feels cool, damp, or muddy, delay watering for another day or two.
- Ensure your pot has open drainage holes that are not blocked by saucers or debris.
- Empty standing runoff water from drip trays within twenty minutes of watering.
- Switch to a lighter, porous potting mix containing perlite or coarse bark if the soil holds water for more than four days.
Underwatering and Dehydration Stress
Just as excessive water causes trouble, severe dehydration creates immediate distress for a thirsty hibiscus. Tropical hibiscus varieties feature broad, thin leaves that transpire immense amounts of water during warm weather.
When the root zone runs completely dry, the plant rapidly loses internal turgor pressure. The foliage wilts, turns a dull yellowish-green, and develops dry, crispy margins before dropping.
If you notice that the soil has pulled away from the sides of the container, the root ball has likely become hydrophobic. In this state, regular top watering often runs down the outer edges without soaking into the core roots.
To rehydrate a parched potted hibiscus, submerge the entire pot in a bucket of room-temperature water for fifteen to twenty minutes until air bubbles stop rising. Allow it to drain thoroughly, then maintain a regular watering cadence that keeps the soil evenly moist like a wrung-out sponge.
Nitrogen and Iron Deficiencies
A lack of essential minerals in the soil quickly manifests as discolored foliage. Because hibiscus plants are heavy feeders during spring and summer, they rapidly deplete soil reserves in container environments.
Nitrogen deficiency typically shows up as a uniform, pale yellowing across the oldest lower leaves first. Because nitrogen is a mobile nutrient, the plant robs it from mature foliage to feed brand new growth at the canopy tips.
Iron deficiency, on the other hand, presents as interveinal chlorosis on the youngest, newest leaves. The leaf blade turns creamy yellow or almost white, while the delicate veins remain starkly dark green.
- Apply a balanced, water-soluble fertilizer formulated for tropical plants every two weeks during the active growing season.
- Look for fertilizer blends containing chelated iron and minor trace minerals.
- Avoid high-phosphorus bloom boosters, as excessive phosphorus locks out iron and zinc uptake in hibiscus roots.
Magnesium and Potassium Shortages
Beyond nitrogen and iron, secondary macronutrients like magnesium and potassium play a vital role in maintaining rich green leaves and sturdy cell walls.
Magnesium deficiency creates an inverted V-shaped yellow pattern along the margins of older leaves while the central portion stays green. In severe cases, the yellowed areas may turn reddish-purple or develop brown necrotic patches.
You can easily resolve mild magnesium shortages by dissolving one tablespoon of agricultural Epsom salts in a gallon of warm water and applying it as a monthly soil drench.
Potassium deficiency causes the leaf tips and outer margins to yellow and scorch, making the foliage look ragged and burned. Using a fertilizer with a healthy potassium ratio (such as a 10-4-12 or 9-3-13 analysis) ensures balanced cell expansion and strong disease resistance.
Inadequate Sunlight Exposure
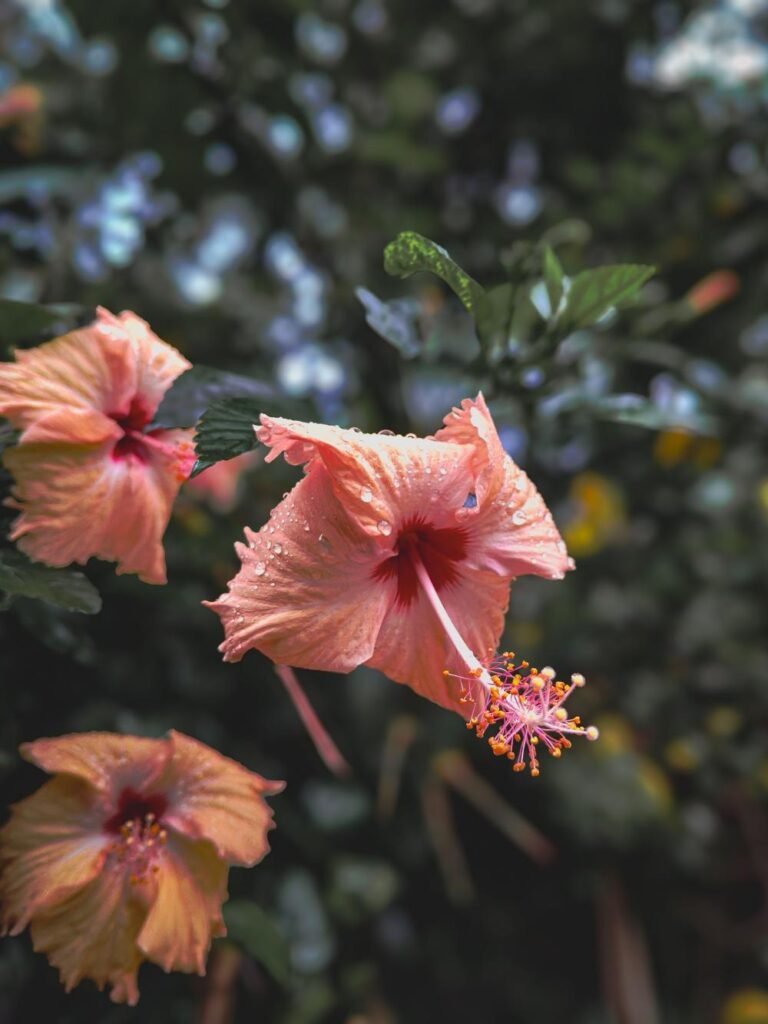
Hibiscus plants thrive in generous sunlight and need bright conditions to fuel both leaf health and bud production. When a plant receives insufficient light, it cannot maintain a dense canopy of foliage.
In low-light settings, the plant naturally sheds its inner and lower leaves. These shaded leaves turn a clean, solid yellow before dropping off cleanly at the node.
If your hibiscus is growing indoors, place it directly in front of an unobstructed south-facing or west-facing window where it can receive at least six hours of bright, filtered sun daily.
For outdoor specimens shaded by overgrown trees or neighboring structures, consider pruning back overhead branches or moving potted specimens to open patio areas where natural daylight is abundant throughout the day.
Sunburn and Excessive Direct Light
While hibiscus loves sunlight, sudden exposure to harsh, unfiltered ultraviolet rays can cause intense photodamage. This frequently happens when an indoor-wintered plant is abruptly moved into blazing full sun without a gradual hardening-off period.
Sunburned hibiscus leaves develop bleached, ivory, or bright yellow patches across the broad upper surface of the leaf blades. The damaged tissue often becomes paper-thin and brittle.
Unlike nutrient-related yellowing, sunburn only affects the leaves that receive direct exposure to the midday sun, while shaded leaves beneath remain dark green.
To prevent sunburn, acclimate your hibiscus to outdoor sun over a period of ten to fourteen days. Start by placing the pot in full shade, then gradually move it into morning sun, and finally into full daytime light.
Sudden Temperature Spikes and Heatwaves
Hibiscus plants perform best in temperatures between 65 and 85 degrees Fahrenheit (18 to 29 degrees Celsius). When summer temperatures climb above 90 degrees Fahrenheit (32 degrees Celsius), the plant enters a state of thermal stress.
During extreme heatwaves, the rate of moisture loss through the leaves outpaces the root system capacity to pull water from the soil, even if the soil is damp. To conserve moisture, the plant will jettison some of its foliage.
Leaves yellowing from extreme heat will often appear limp and may shed in large numbers over a forty-eight-hour period.
During heatwaves, provide temporary afternoon shade using shade cloth or move container plants under a covered porch. Increase watering frequency to early morning or late evening to keep the root ball cool.
Cold Drafts and Frost Exposure
Tropical hibiscus varieties have zero tolerance for frost and react quickly to chilly winds. Any exposure to temperatures below 50 degrees Fahrenheit (10 degrees Celsius) can trigger significant leaf yellowing and leaf drop.
Cold air damages cell membranes within the foliage, preventing proper sap circulation. Leaves exposed to cold drafts from open doorways, air conditioning vents, or unexpected early autumn frosts will turn yellow, curl downward, and soften.
Hardy perennial hibiscus types (such as Hibiscus moscheutos) naturally die back to the ground after a hard freeze, but tropical varieties will suffer systemic damage or die if left in freezing temperatures.
Bring all tropical containers indoors well before nighttime temperatures drop below 55 degrees Fahrenheit (13 degrees Celsius). Position indoor plants away from cold window glass, exterior doors, and cooling vents.
Environmental Shock from Moving the Plant
Moving a hibiscus from one environment to another creates an unavoidable period of acclimation. This transition is most pronounced when moving plants from the outdoor garden inside for winter, or vice versa.
Indoor spaces have significantly lower light levels, lower humidity, and reduced airflow compared to the open garden. In response to this dramatic change in light intensity, the plant sheds excess foliage that it can no longer support with lower photosynthetic rates.
This acclimatization yellowing usually begins within one to two weeks after relocation. Leaves turn bright yellow and drop readily when touched.
To minimize transition shock, bring plants indoors before you turn on home heating systems. Set up an indoor grow light to supplement natural daylight and run a cool-mist humidifier nearby to maintain ambient humidity around fifty percent.
Sap Sucking Insect Infestations
Tiny garden pests can multiply rapidly on the undersides of hibiscus leaves, piercing plant cells and drinking the nutrient-rich sap. This localized tissue damage causes speckled yellow stippling across the foliage.
Common hibiscus pests include spider mites, whiteflies, aphids, mealybugs, and thrips. As their colonies grow, entire leaves turn yellow, wilt, and drop.
- Spider mites leave faint yellow speckles along with delicate fine webbing near leaf axils, thriving in hot, dry conditions.
- Whiteflies congregate under leaves in fluttering clouds, leaving behind sticky honeydew that encourages black sooty mold.
- Aphids cluster on succulent new shoots and flower buds, causing distorted, yellowed leaves.
Wash the foliage thoroughly with a strong spray of water to dislodge pests, then treat the top and bottom surfaces of all leaves with insecticidal soap or pure cold-pressed neem oil once a week until the pests are gone.
Natural Seasonal Dormancy
As autumn approaches and day lengths shorten, hibiscus plants naturally slow down their metabolic activity. This seasonal transition is an innate survival mechanism designed to conserve resources during low-energy winter months.
During late autumn, you will notice scattered leaves turning yellow and falling from the base and interior of the plant. This is normal behavior and should not be confused with disease or pest damage.
For hardy perennial varieties planted in garden beds, the entire top growth will yellow, brown, and collapse in late fall. This is completely natural, as the plant stores all its energy safely in the underground root crown.
For tropical container varieties, reduce watering frequency and completely stop heavy fertilization during late autumn and winter to allow the plant its natural semi-dormant rest period.
Heavy Clay and Poor Drainage Soils
Soil structure directly dictates root health. Planting a hibiscus in dense garden clay or using an old, decomposed potting soil leads to poor drainage and severe root constriction.
Heavy clay soils retain excessive water and exclude atmospheric oxygen. In such compacted soil, hibiscus roots struggle to spread, leading to chronic root suffocation, poor nutrient uptake, and recurring yellow leaves.
When planting in the ground, amend heavy native soil with plenty of organic compost, aged pine bark fines, and coarse pumice to create a loose, well-aerated planting mound.
For potted plants, select a premium potting mix amended with perlite, coconut coir, and composted bark. Never use dense topsoil or garden soil directly in plant pots.
Soil pH Imbalances
The pH level of your soil determines whether plant roots can chemically absorb the minerals present in the dirt. Hibiscus plants prefer a slightly acidic to neutral soil pH ranging between 6.0 and 6.8.
When the soil pH climbs above 7.2 (alkaline conditions), essential micronutrients like iron, manganese, and zinc bind tightly to soil particles and become completely unavailable to the root system.
This phenomenon, known as nutrient lockout, results in severe interveinal chlorosis and yellowing foliage even if you regularly apply liquid plant food.
Test your soil pH using a simple digital meter or test kit. If your soil or water is too alkaline, lower the pH by amending with elemental sulfur or using an acidifying fertilizer formulated with ammonium sulfate.
Chemical Burn and Fertilizer Shock
Excessive enthusiasm with concentrated chemical fertilizers or improper pesticide applications can quickly scorch delicate root hairs and leaf tissues.
Applying high-salinity synthetic fertilizers to dry soil causes fertilizer burn. The high concentration of mineral salts draws moisture out of the root cells through reverse osmosis, turning leaf tips brown and the surrounding margins bright yellow.
Pesticide phytotoxicity occurs when insecticidal sprays, horticultural oils, or copper fungicides are applied in direct midday sunlight or when ambient temperatures exceed 85 degrees Fahrenheit (29 degrees Celsius).
Always flush the soil with generous amounts of fresh water if you suspect fertilizer over-application. When spraying any pest treatment, apply early in the morning or near dusk so the spray can dry safely without burning the foliage.
Root Bound Containers
A hibiscus that has occupied the same pot for several seasons will eventually fill the entire container with a dense, spiraling mass of woody roots.
When a plant becomes severely root bound, very little soil remains to hold moisture and soluble nutrients. As a result, the plant swings rapidly between waterlogged conditions right after watering and severe drought stress a few hours later.
This constant fluctuation triggers chronic stress, resulting in persistent leaf yellowing and premature bud drop.
Check for crowded roots by carefully sliding the plant out of its pot. If you see a solid mat of roots circling the root ball, it is time to repot into a container that is two to three inches wider in diameter, gently teasing apart the outer root mass before backfilling with fresh soil mix.
How to Prune and Clean Damaged Leaves
Once a hibiscus leaf has turned completely yellow, it cannot revert to its original green color. The internal cellular structure has already degraded, and the plant has cut off nutrient circulation to that specific leaf.
Leaving decaying yellow leaves on the plant or allowing them to accumulate on the soil surface invites fungal spores, bacterial spots, and hiding pests.
Removing yellowed foliage improves air circulation through the plant canopy and redirects vital energy into healthy new shoots and flower buds.
- Gently grasp the yellow leaf stem near the branch node and wiggle it downward; healthy shedding leaves will snap off easily without tearing.
- If the leaf stem resists, use clean, bypass pruning shears sanitized with seventy percent rubbing alcohol to snip the petiole cleanly near the main stem.
- Collect and discard all fallen leaves from the top of the soil mix rather than leaving them in the pot.
Long Term Care Routine for Vibrant Foliage

Maintaining healthy green foliage on your hibiscus requires a consistent care routine tailored to the plant seasonal rhythm. By creating stable growing conditions, you can prevent yellowing before it starts.
During active spring and summer growth, water thoroughly whenever the top inch of soil feels dry to the touch. Feed with a diluted, balanced liquid fertilizer every seven to fourteen days to support rapid foliage growth and continuous flower development.
Inspect the undersides of your leaves weekly for early signs of insect activity. Catching a small aphid or mite population early prevents widespread leaf damage and severe chlorosis.
As daylight wanes in the fall, taper back watering and withhold fertilizer to let your hibiscus rest. With proper seasonal adjustments, attentive hydration, and balanced nutrition, your hibiscus will reward you with deep emerald foliage and spectacular blooms year after year.
Hibiscus Yellow Leaf Diagnostic Assessment
Answer 5 quick questions to see your result