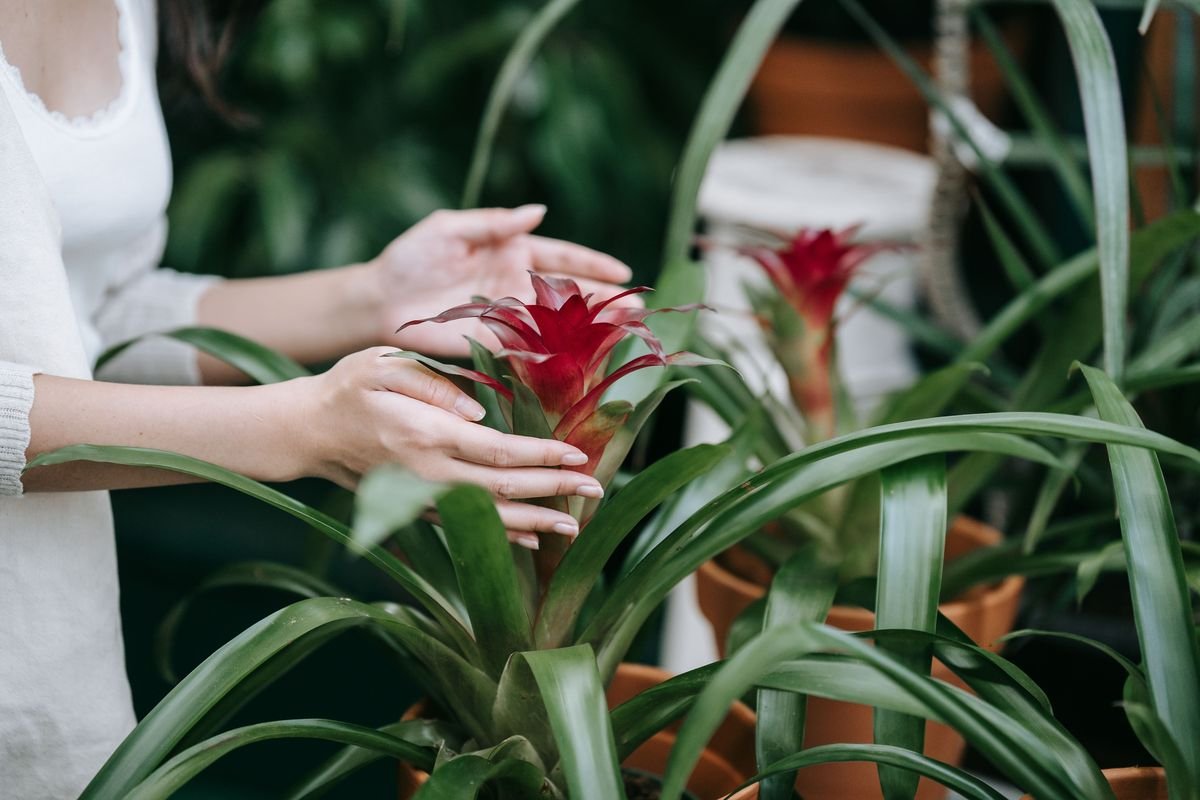
Bromeliads are beloved across the world for their striking foliage, bold architectural rosettes, and long-lasting tropical flowers.
When you bring one home from the garden center, it is usually at the peak of its beauty, displaying a vivid central bloom that turns heads in any living space.
Seeing your bromeliad slowly turn brown, drop its leaves, or wither can be alarming. Understanding whether your plant is suffering from poor growing conditions, catching a disease, or simply finishing its natural life cycle is key to taking the right action.
This comprehensive troubleshooting guide will help you diagnose the root cause of the decline and guide you on the exact steps needed to nurse your bromeliad back to health or raise its next generation.
Basic Requirements for Healthy Bromeliads
Before diagnosing serious problems, it helps to know what a healthy bromeliad expects from its indoor environment.
Bromeliaceae is a massive family with thousands of species, most originating from the tropical Americas.
While some grow directly in soil, many popular indoor varieties are epiphytes. Epiphytes naturally cling to trees, rocks, and branches rather than rooting deeply in dirt.
Because of this unique adaptation, bromeliads absorb much of their moisture and nutrients through their central cup and foliage rather than dense root networks.
Providing bright indirect sunlight, proper temperature ranges, light watering, and loose growing medium will keep most species thriving for months or years.
The Natural Bromeliad Life Cycle
The most common reason a bromeliad begins to decline has nothing to do with neglect or poor care.
The majority of bromeliad species are monocarpic. This means they grow, produce a single magnificent flower, and then naturally begin to die back.
While the colorful bracts and central blooms can last anywhere from three months to over a year, the mother plant will not produce new growth from its center once flowering finishes.
As the mother rosette spends its remaining energy, its outer foliage will fade, yellow, and eventually turn brown and crispy.
This process is completely normal and is simply nature preparing to hand over resources to the next generation.
How to Identify and Care for Pups
Before the mother plant dies completely, she typically produces miniature clones around the base known as offsets or pups.
Check closely between the lower leaves and near the soil line if your mature plant starts looking weary.
- Leave the pups attached to the mother plant until they are at least one-third to one-half the size of the parent plant.
- Keep the mother plant lightly watered while the pups mature so she can continue feeding them nutrients.
- Carefully cut away brown, unsightly parent leaves to allow maximum light and air to reach the developing offsets.
- When ready, slice the pup away near its base using a sterilized blade, ensuring it retains some small roots if possible.
- Pot the new offset in a small container with a loose, well-draining potting mixture designed for epiphytes.
Root Rot from Overwatering
Overwatering is by far the most dangerous cultural mistake indoor gardeners make with bromeliads.
Because epiphytic roots exist primarily to anchor the plant to surfaces, they cannot tolerate sitting in waterlogged soil.
When standard potting soil stays saturated, fungal pathogens quickly attack the root system, causing them to turn black, mushy, and foul-smelling.
Without functioning roots, the plant can no longer take up essential moisture, leading to paradoxical signs of dehydration such as wilted foliage and yellowing lower leaves.
Always allow the top several inches of potting mix to dry out thoroughly between waterings, and ensure the container has generous drainage holes.
Steps to Treat and Repot Root Rot
If you suspect root rot, immediate intervention is necessary to save the plant.
Remove the bromeliad gently from its pot and rinse away the old, waterlogged soil from the root ball.
Inspect the roots and use clean, sharp shears to trim away all black, limp, or decaying tissue back to healthy root zones.
Dust the trimmed areas with a copper-free fungicide or ground cinnamon, which possesses natural antifungal properties.
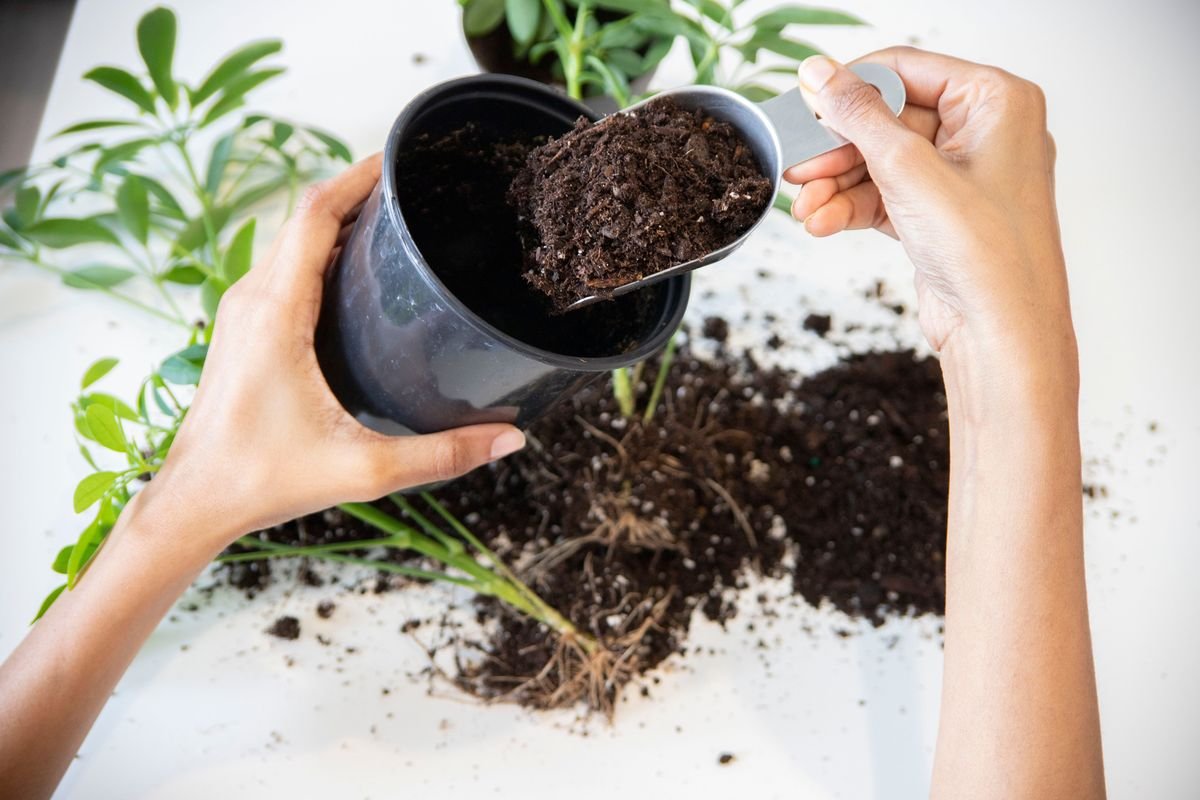
Repot the bromeliad into fresh, highly aerated media such as equal parts orchid bark, perlite, and coarse peat.
Refrain from heavy watering for the first week to allow severed roots to callous over and heal in their new airy environment.
Heart Rot and Crown Rot
Heart rot, also known as crown rot, occurs when fungal pathogens attack the central cup or growing tip of the bromeliad.
This condition is usually caused by stagnant, dirty water remaining trapped inside the center tank for extended periods without fresh air movement.
Symptoms appear quickly and are unmistakable.
The innermost leaves turn brown, black, and soggy, pulling away from the plant with the slightest tug while releasing an unpleasant odor.
Once crown rot destroys the central growing point, the mother rosette cannot recover, but healthy pups growing around the rim may still be salvaged if treated promptly.
Preventing Rot in the Central Urn
If your bromeliad is a tank species that holds water in its central rosette, managing that water reservoir is crucial.
Flush the central cup completely with fresh water every two to three weeks to remove dust, organic debris, and mineral salts.
Always use distilled water or clean rainwater if your tap water is hard or heavily chlorinated.
Fill the reservoir no more than one-quarter full when keeping the plant indoors in moderate light.
If the plant is placed in lower light or cooler temperatures, leave the central tank dry and hydrate the plant solely through light soil misting.
Fungal Leaf Spot Diseases
Fungal infections like Helminthosporium leaf spot frequently appear when foliage remains wet in stagnant air.
Fungal leaf spot presents as tiny brown, reddish, or dark purple spots across the leaves that gradually enlarge and form irregular dead patches.
These spots damage the plant’s ability to photosynthesize and can spread across neighboring foliage if unchecked.
Isolate any plant displaying spot symptoms from your other houseplants immediately to stop spores from drifting.
Prune away severely infected leaves using sterilized scissors, and avoid splashing water directly onto the upper leaf surfaces during routine care.
Incorrect Light Levels
Light quality directly influences the health, color intensity, and flowering ability of bromeliads.
Placing a bromeliad in intense, direct afternoon sunlight will scorch the foliage, leaving bleached or crisp brown burn marks on the leaves.
Conversely, insufficient light causes the foliage to lose its vibrant banding or bright colors, turning dull dark green and stretching into weak, floppy shapes.
Most varieties prefer generous amounts of bright, filtered sunlight throughout the day.
An east-facing window or a spot situated a few feet back from a south-facing window covered by sheer curtains provides ideal lighting conditions.
Temperature and Cold Damage
Being tropical and subtropical natives, bromeliads struggle when exposed to sustained chilly conditions.
The ideal temperature range for indoor bromeliads sits comfortably between 65 and 80 degrees Fahrenheit (18 to 27 degrees Celsius).
If temperatures drop below 50 degrees Fahrenheit (10 degrees Celsius), the cellular structure of the leaves breaks down.
Cold-damaged foliage often appears translucent, water-soaked, and limp before quickly turning dark brown or mushy.
Keep your plants safely away from drafty exterior doors, single-pane winter windows, and direct blasts from air conditioning vents.
Humidity and Dry Air Issues
Standard residential heating and cooling systems often drop indoor humidity levels far below what tropical plants prefer.
When the surrounding air is excessively dry, bromeliads develop crisp brown leaf tips and margins.
While tough terrestrial varieties like Dyckia tolerate dry air, popular epiphytic species like Guzmania, Vriesea, and Neoregelia thrive best with humidity levels above 50 percent.
Placing your pot on a pebble tray filled with water is an easy way to elevate localized moisture.
Make sure the base of the pot rests entirely above the waterline on top of the stones so the roots do not wick up moisture and rot.
Running a small cool-mist room humidifier nearby is another reliable solution during dry winter months.
Common Pests on Bromeliads
Bromeliads are generally hardy against infestations, but certain pests can take advantage of stressed plants.
- Mealybugs: These small, soft-bodied insects look like tiny bits of white cotton nestling deep within the leaf axils and crevices. They pierce the plant tissue and suck vital sap, weakening the foliage.
- Scale Insects: Scale appear as small, immobile brown bumps attached firmly to the undersides and tops of leaves. They form protective waxy shells that shield them from gentle contact sprays.
- Spider Mites: These microscopic pests thrive in warm, dry environments. They cause fine yellow stippling across the leaves and leave delicate webbing on the underside of foliage.
Because bromeliads are particularly sensitive to harsh chemical pesticides and copper compounds, manual pest removal is always the safest starting point.
Safe Pest Treatment Methods
To eliminate scale and mealybugs safely, dip a cotton swab in 70 percent isopropyl rubbing alcohol and dab the pests directly.
The alcohol dissolves their protective coating on contact without harming the waxy leaf cuticle.
For widespread infestations, gently wipe down the entire foliage with a soft cloth moistened with mild, diluted castile soap.
Rinse the plant thoroughly with clean lukewarm water afterward to avoid leaving soapy residue in the leaf axils.
Quarantine any treated plant for at least two to three weeks to confirm all newly hatched crawlers are eradicated before returning it to your collection.
Proper Air Circulation Indoors
In their native canopy habitats, bromeliads enjoy constant gentle breezes that dry out excess rainwater and deter fungal spores.
Stagnant, humid air inside a home creates an ideal breeding ground for bacterial infections, crown rot, and mildew.
Ensure your plants are not crowded tightly against walls or other dense houseplants.
Running a small oscillating fan on a low setting in the room keeps air circulating smoothly around the foliage without creating harsh drafts.
Healthy airflow strengthens leaf structure, balances evaporation, and prevents fungal pathogens from settling on the foliage.
Best Daily Practices for Bromeliad Care
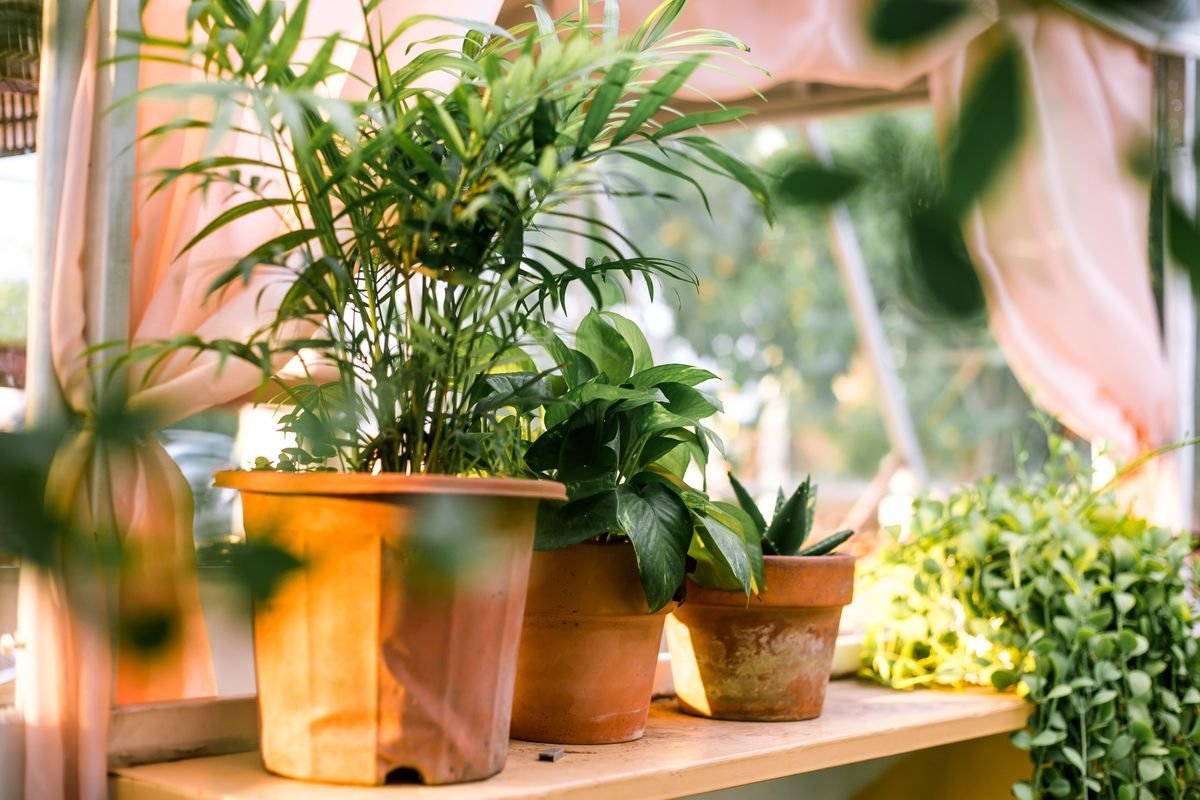
Keeping your bromeliads thriving long term comes down to maintaining a steady, low-stress routine.
Use a loose, specialty epiphytic or orchid potting mix that drains rapidly and never compacts around the root zone.
Provide bright, indirect sunlight for at least six to eight hours each day to support rich foliage colors.
Flush the central cup with fresh, soft water every few weeks, and allow the potting soil to dry out between waterings.
Feed the plant very sparingly during spring and summer by misting the foliage with a quarter-strength balanced liquid fertilizer.
Inspect the leaf axils regularly for early signs of pests, and promptly remove spent blooms to redirect energy toward vigorous pup production.
Is Your Bromeliad Sick or Just Finishing Its Life Cycle?
Answer 4 quick questions to see your result