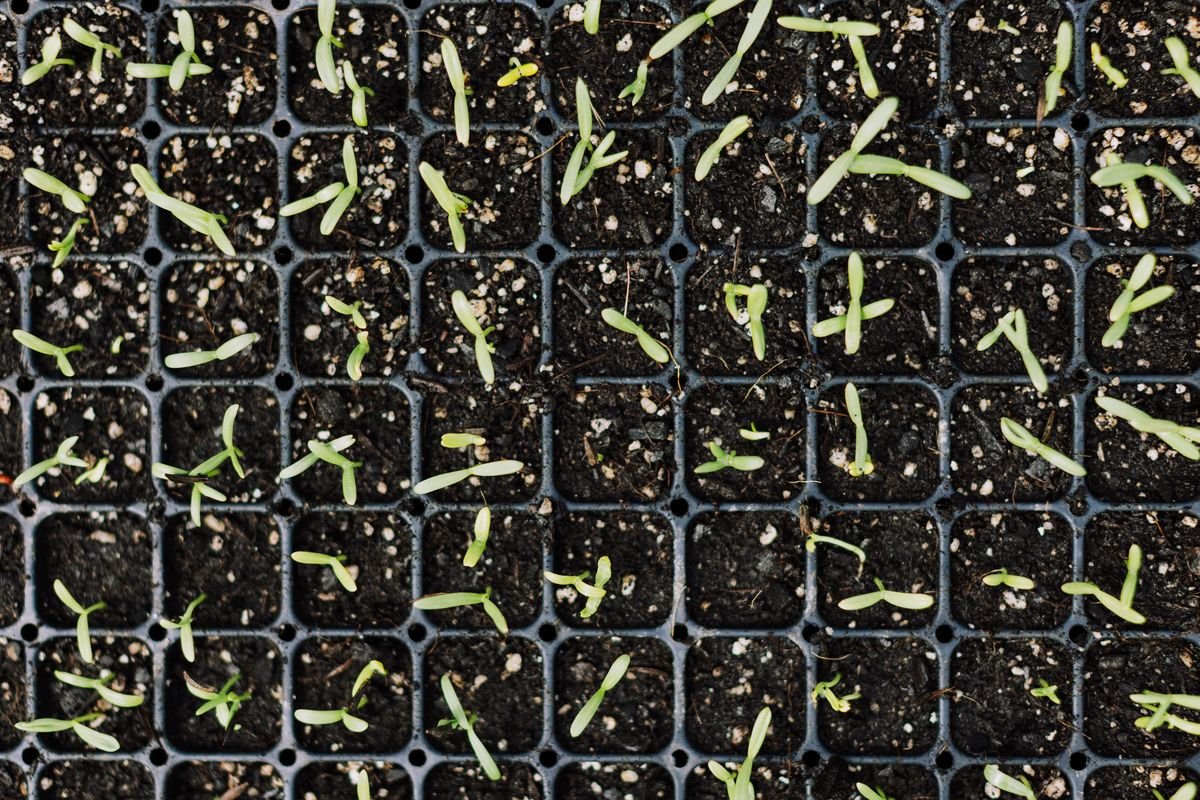
Starting seeds indoors gives your garden an incredible head start, but indoor seedlings live a pampered life. Under your care, they grow up without direct ultraviolet rays, sweeping wind gusts, or chilly nighttime temperatures.
Moving indoor seedlings straight into outdoor soil without preparation usually leads to severe transplant shock. Hardening off is the simple process of gradually acclimating tender seedlings to natural outdoor elements so they grow sturdy and thrive in your garden.
Understanding Why Seedlings Need Hardening Off
Indoor plants develop soft, thin leaf cuticles because they do not face harsh outdoor weather.
When you place tender seedlings directly under bright sun or strong wind, their delicate foliage quickly loses moisture through transpiration. The stems can buckle under breezes, and the leaves can easily scorch from intense ultraviolet radiation.
Hardening off stimulates plants to build thicker, waxy cuticles on their leaves. It also triggers structural changes in the stems, encouraging the production of lignin, which makes stems stiffer and far more resilient against outdoor weather conditions.
Knowing the Right Time to Start
You should begin the hardening off routine roughly one to two weeks before your target planting date.
Timing this correctly depends heavily on your local climate and average final spring frost date. Starting too early risks exposing your seedlings to freezing temperatures that stunt their growth or kill them entirely.
Check your long-range weather forecast before starting day one of the process. If unseasonable cold snaps are predicted, keep your plants indoors under grow lights for a few extra days until the forecast stabilizes.
Identifying True Leaves on Young Plants
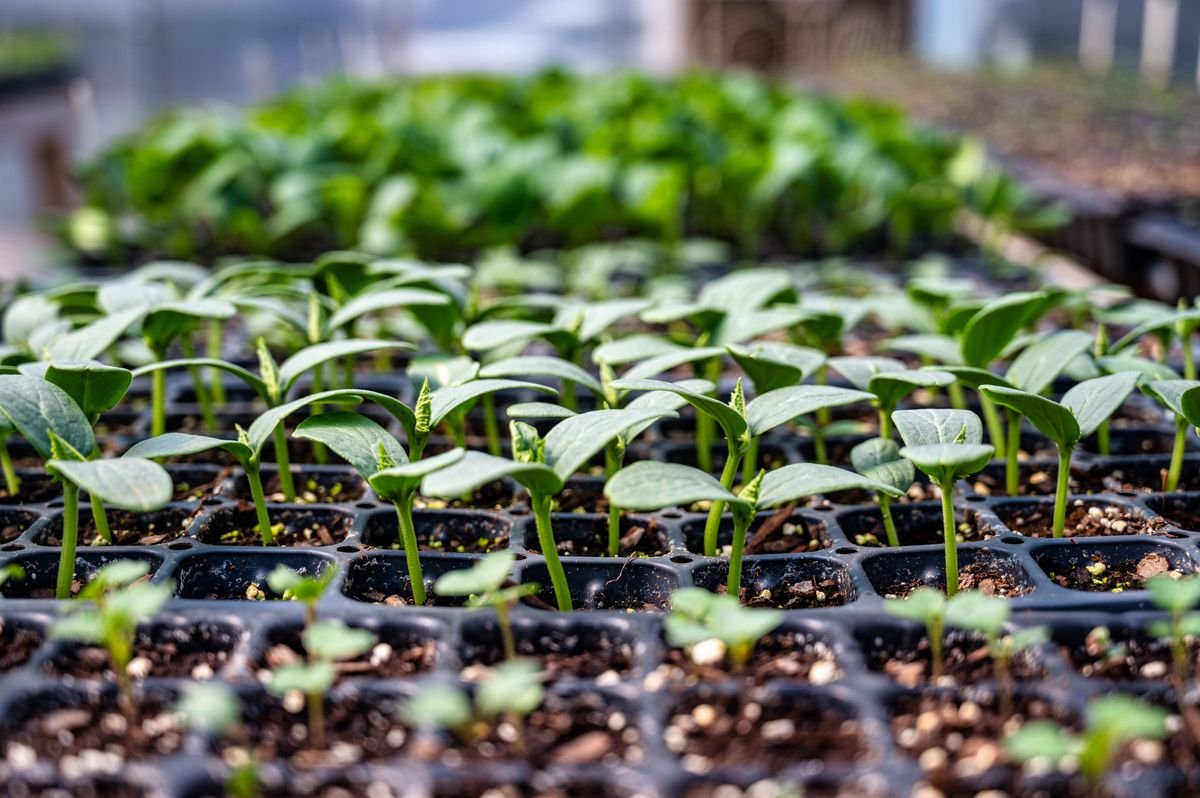
Never rush to harden off seedlings that have only just sprouted.
The very first set of leaves to emerge are called cotyledons, or seed leaves. These initial structures provide early nourishment stored within the seed, but they are not fully functional foliage.
Wait until your seedlings develop at least two sets of true leaves before starting outdoor exposure.
True leaves appear directly above the seed leaves and showcase the distinctive shape, texture, and veining pattern of the mature plant species. Once these true leaves are established, the seedling possesses sufficient energy reserves to handle the stress of adjusting to outdoor conditions.
Step by Step Seven Day Hardening Schedule
A gradual schedule allows plants to build natural defenses without getting overwhelmed.
Consistency is essential throughout this week of preparation. Moving plants outdoors at roughly the same time each day helps establish a smooth routine for both you and your young plants.
Moving into the Shade on Early Days
On day one, place your seedling trays in a fully shaded and protected spot for two to three hours.
A covered porch, the north side of a building, or underneath a dense garden tree works best. Early morning or late afternoon provides the gentlest introduction.
On days two and three, use the exact same protected location but extend the time outdoors by one additional hour each day. Always bring the trays back indoors before the evening chill sets in.
Introducing Filtered Sunlight and Morning Rays
On days four and five, shift your trays to an area that receives dappled or filtered sunlight.
Morning sun is much cooler and less harsh than midday radiation, making it an ideal choice for this stage. Let your plants enjoy three to four hours in this partial sunlight.
Watch closely for any signs of wilting or drooping during these intermediate days. If a seedling looks stressed, move it back into full shade and check the soil moisture level immediately.
Stepping into Direct Sun Exposure
Days six and seven introduce your seedlings to direct, unfiltered sunlight.
Start with two hours of direct sunlight in the morning on day six, avoiding the scorching midday hours between eleven in the morning and three in the afternoon. Increase to three or four hours of direct light on day seven.
By the end of day seven, your seedlings will feature darker green leaves and thicker stems, showing that they are adapting properly to full outdoor light.
Preparing Plants for Overnight Temperatures
Once daytime adaptation is complete, young plants need to experience the cool conditions and darkness of outdoor nights.
Nighttime exposure helps regulate plant respiration and balances their growth rate. Leave seedlings outside overnight only when night temperatures remain consistently above 50 degrees Fahrenheit (10 degrees Celsius).
If late spring temperatures drop below that threshold, bring your trays inside for the night and return them outdoors the following morning.
Watching Out for Wind and Heavy Rain
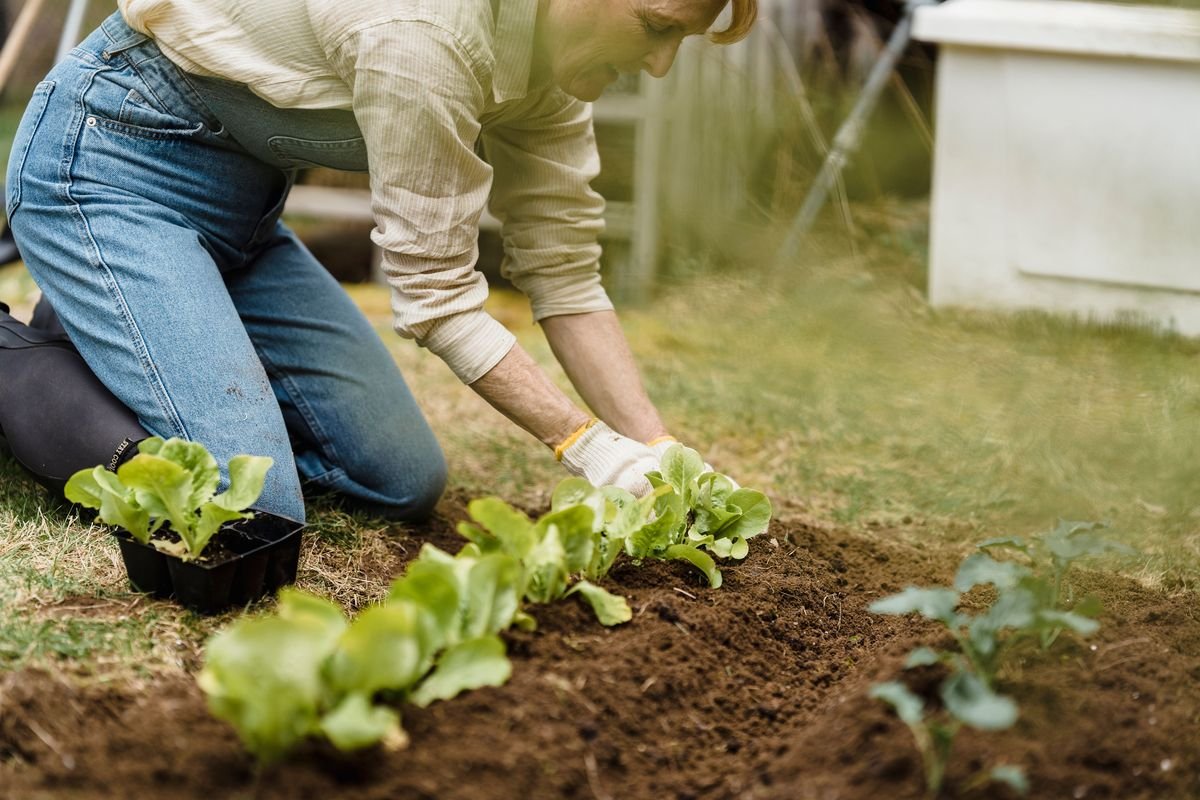
Gentle outdoor breezes strengthen plant stems, but fierce winds and pounding rainstorms cause immediate damage.
- Set trays near a windbreak such as a fence or garden shed during blustery days.
- Never leave young seedlings exposed to torrential downpours that can flatten delicate stems and wash out soil.
- Use an oscillating indoor fan on a low setting prior to hardening off to build initial stem strength.
Light, misty spring rain is beneficial and helps hydrate foliage naturally, but persistent storms require temporary shelter.
Checking Soil Moisture and Avoiding Dry Root Balls
Seedling cells and small nursery pots dry out much faster outdoors than indoors.
The combination of direct sun, outdoor airflow, and low ambient humidity quickly wicks moisture away from small soil volumes. A dry root ball can cause irreversible root damage within just a few hours.
Inspect the moisture of your seedling trays twice daily while hardening off. Water from the bottom or use a gentle watering can so you avoid disturbing delicate surface roots.
Measuring Garden Soil Temperature
Air temperature is only half the equation when moving plants into their permanent beds.
Soil temperature plays a massive role in root development and nutrient uptake. If you plant into cold, soggy soil, root growth halts and the plant becomes susceptible to fungal rot.
Insert a soil thermometer four to six inches into your garden bed before planting.
Warm season crops such as tomatoes, peppers, and cucumbers need soil temperatures between 65 and 70 degrees Fahrenheit (18 to 21 degrees Celsius). Cool season crops like kale, lettuce, and cabbage can handle soil temperatures starting around 50 degrees Fahrenheit (10 degrees Celsius).
Choosing the Best Weather for Planting Day
The ideal day to transplant your hardened seedlings into the ground is an overcast, calm day.
Cloud cover acts as a natural sun filter, allowing young roots to settle into the soil without facing intense moisture loss from the leaves. Late afternoon is the next best planting window because it gives the plant all night to recover before encountering direct sunlight.
Always water the planting hole thoroughly before setting the plant in place, and water again gently right after backfilling with soil.
Applying Mulch for Moisture and Thermal Protection
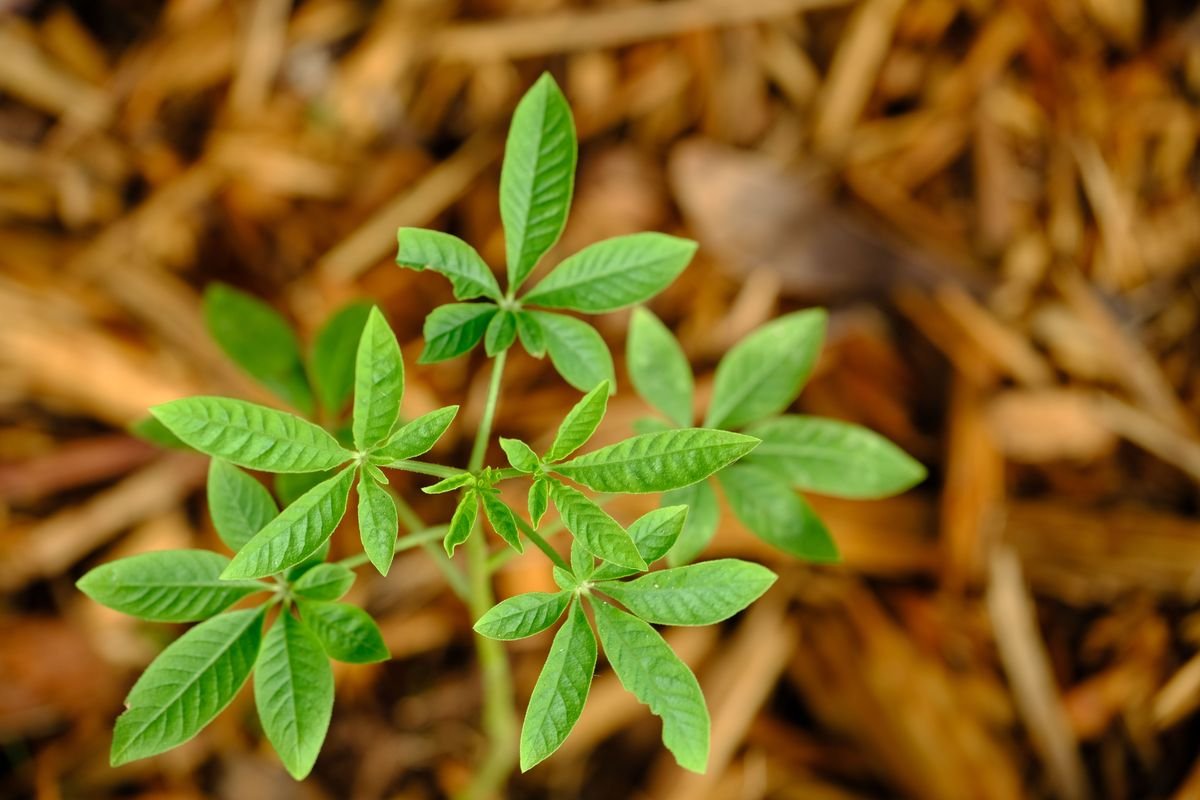
Finishing your planting with a good layer of organic mulch provides immediate support for newly placed seedlings.
Mulch helps conserve soil moisture, suppresses weed competition, and moderates root zone temperatures against unexpected heat spikes or cool nights.
Apply a layer of shredded bark, clean straw, or aged compost about two to three inches thick around your transplants. Keep the mulch an inch away from the base of the stem to maintain proper air circulation and prevent stem rot.
Is Your Seedling Ready for the Garden?
Answer 4 quick questions to see your result