Every dedicated gardener eventually notices a favorite planting bed losing its vigor. You water regularly, give your crops plenty of sunlight, and keep weeds at bay, yet your vegetables and flowers look stunted or tired. The culprit behind this slow decline is often worn out soil that has run out of essential minerals after seasons of productive growth.
Soil does not expire on a set calendar date, but its structure and nutrient reserves break down over time. Fortunately, you do not need to throw away spent dirt or haul expensive topsoil across your yard every single spring. With a few practical techniques, you can diagnose soil exhaustion, restore vital organic nutrients, and give old garden soil a productive second life.
What Makes Garden Soil Old
Gardeners often talk about old soil as if dirt has a fixed expiration date. In reality, the age of the earth in your yard does not matter anywhere near as much as its biological activity and mineral reserves.
Soil becomes tired when vigorous plants extract key nutrients faster than nature can replace them. Heavy feeding crops pull massive quantities of minerals out of the ground through their roots across a single growing season.
Vegetables like tomatoes, squash, corn, and peppers require vast amounts of nutrition to produce heavy harvests. Flowering perennials such as roses, peonies, and petunias also feed aggressively while setting buds and blooming.
When you harvest crops or cut back spent flowers, you remove that plant material from the ecosystem. If you do not actively return organic matter to the earth, the ground gradually turns into a lifeless medium that cannot hold moisture or feed root systems.
In addition to mineral depletion, old soil often suffers from compaction. Repeated watering, heavy foot traffic, and the natural breakdown of organic fibers cause soil particles to press together tightly. This compact environment prevents root systems from expanding and suffocates beneficial soil microbes that need oxygen to survive.
Common Signs of Depleted Dirt
- Slow or stalled plant growth despite proper sunlight and temperature
- Yellowing or pale foliage across heavy feeding plant varieties
- Crusty, hardened topsoil that causes water to run off the surface
- Lack of earthworms and beneficial insect activity when you dig down
- Weak root systems that remain shallow and fragile
How to Test Your Soil at Home
Before you spend money on amendments or chemical treatments, you should find out exactly what nutrients your soil is missing. Guessing can lead to over-fertilization, which damages delicate roots and disrupts soil biology.
Home soil test kits provide a straightforward and affordable way to analyze your ground. You do not need any scientific background to use these kits because modern versions rely on simple color comparison charts or digital meters.
To collect an accurate sample, scrape away the top inch of mulch and debris. Dig down roughly four to six inches into the root zone and collect a small scoop of dirt. Repeat this process in three or four spots around the planting bed and mix the samples together in a clean bucket.
Allow the blended sample to dry naturally on a paper towel. Once dry, place the measured amount into the test vials included with your kit, add distilled water, and introduce the testing reagent capsules.
Shake the vials thoroughly and allow the sediment to settle at the bottom. The liquid will change color according to the concentration of nitrogen, phosphorus, and potassium present in the dirt. Match the liquid against the provided color chart to see which elements your garden lacks.
Understanding Soil Acidity and PH
In addition to primary minerals, your soil test kit will indicate the pH level of your dirt. Soil pH measures the relative acidity or alkalinity on a scale from zero to fourteen, with seven representing neutral ground.
Most garden vegetables and ornamental plants perform best in a slightly acidic to neutral range between 6.0 and 7.0. Within this sweet spot, plant roots can absorb minerals with maximum efficiency.
When soil pH drops below 6.0, the ground becomes strongly acidic. In sour soil, vital nutrients like phosphorus, calcium, and magnesium get chemically locked away, making them inaccessible to plants even if they are physically present.
Conversely, highly alkaline soil with a pH above 7.5 can cause micronutrient deficiencies, particularly iron chlorosis. Testing the pH allows you to make precise adjustments with agricultural lime to raise pH, or elemental sulfur to lower it, restoring optimal nutrient uptake.
Adding Compost and Organic Matter
The most effective and sustainable way to restore exhausted garden soil is by working in generous layers of finished compost. Compost acts as a universal soil conditioner, improving texture, aeration, and biological vitality simultaneously.
Unlike synthetic fertilizers that only deliver isolated chemicals, organic compost introduces a diverse community of beneficial bacteria, fungi, and microscopic organisms. These microbes break down minerals and feed them directly to root hairs in plant-friendly forms.
Compost also transforms the physical structure of degraded soil. It loosens hard clay, allowing air and water to penetrate deep into the ground, while giving loose sandy soil the sponge-like capacity to retain vital moisture.
To replenish an open garden bed, spread a two to three inch layer of rich compost over the surface in early spring or late autumn. You can gently fork it into the top six inches of earth or leave it on top as a no-till topdressing, letting earthworms carry the nutrients downward.
Using Targeted Organic Amendments
If your soil test reveals that you are missing specific nutrients, targeted organic amendments can correct those deficiencies naturally without creating harsh chemical buildups. Each natural material provides concentrated amounts of particular minerals, giving you complete control over your soil restoration program.- Blood meal provides a rapid boost of natural nitrogen for leafy growth
- Bone meal delivers slow-release phosphorus and calcium to strengthen roots and blooms
- Kelp meal and seaweed extracts supply potassium along with essential trace minerals
- Agricultural limestone raises soil pH while infusing needed calcium into the ground
- Epsom salts dissolve quickly to correct magnesium shortages in fruiting vegetables
- Aged animal manure offers balanced, slow-release nutrition and improves soil humus
Applying Commercial Granular Fertilizers
When you need to restore nutrition quickly before planting a new crop, balanced commercial fertilizers provide an accessible and reliable solution.
These products display three prominent numbers on the label, known as the NPK ratio. The first number represents nitrogen for leaf development, the second shows phosphorus for root and fruit production, and the third indicates potassium for overall plant vigor and disease resistance.
For general soil rejuvenation, an all-purpose balanced formula such as 10-10-10 or 5-5-5 works exceptionally well. Slow-release granular products are ideal because they coat the nutrients in protective membranes that break down gradually over several months.
Measure the granules accurately based on your bed square footage. Scatter the fertilizer evenly across the dirt surface, scratch it lightly into the top layer of earth, and water the bed thoroughly to distribute the minerals downward.
Sterilizing Soil for Houseplant Use
- Scoop the old garden soil into a clean tub and sift out stones, twigs, and large root fragments.
- Moisten the dirt with tap water until it feels damp like a wrung-out sponge, but not muddy.
- Spread the damp soil across a shallow baking pan in an even layer roughly three inches deep.
- Cover the pan tightly with aluminum foil to trap moisture during the heating cycle.
- Insert an oven-safe meat thermometer through the foil directly into the center of the soil mass.
- Place the pan in an oven set to 180 degrees Fahrenheit and monitor the internal temperature.
- Once the thermometer reaches 180 degrees, bake the soil for exactly thirty minutes.
- Remove the pan from the oven and allow it to cool completely before using it in indoor pots.
Rejuvenating Container Soil with Cover Crops
If you grow crops in raised beds or large outdoor containers, you can revitalize worn out soil naturally between growing seasons by planting cover crops, also known as green manure.
Cover crops protect the soil surface from erosion caused by wind and heavy winter rains. Their fibrous root systems penetrate compacted layers, opening up fresh channels for air and beneficial organisms.
Legume cover crops, such as crimson clover, hairy vetch, and field peas, form symbiotic partnerships with soil bacteria. These specialized microbes capture nitrogen gas from the atmosphere and fix it into the soil in a form that future plants can consume.
Plant cover crop seeds in late summer or early fall after you clear away your warm-season harvest. Allow the plants to establish before freezing weather arrives.
In early spring, roughly three weeks before you plan to plant your next garden, cut down the cover crops and turn the tender green foliage directly into the soil. As the green material decomposes, it releases large amounts of organic nitrogen and valuable humus.
Growing Plants That Tolerate Poor Soil
If you have a large garden patch with exhausted dirt and you do not wish to spend time or money on extensive soil amending, you can simply adjust your plant selection.
Many attractive perennials, groundcovers, and herbs evolved in rocky, nutrient-depleted landscapes and actually perform best in lean, unamended soil. In fact, rich fertilized earth often causes these tough plants to grow floppy stems with weak fragrance.
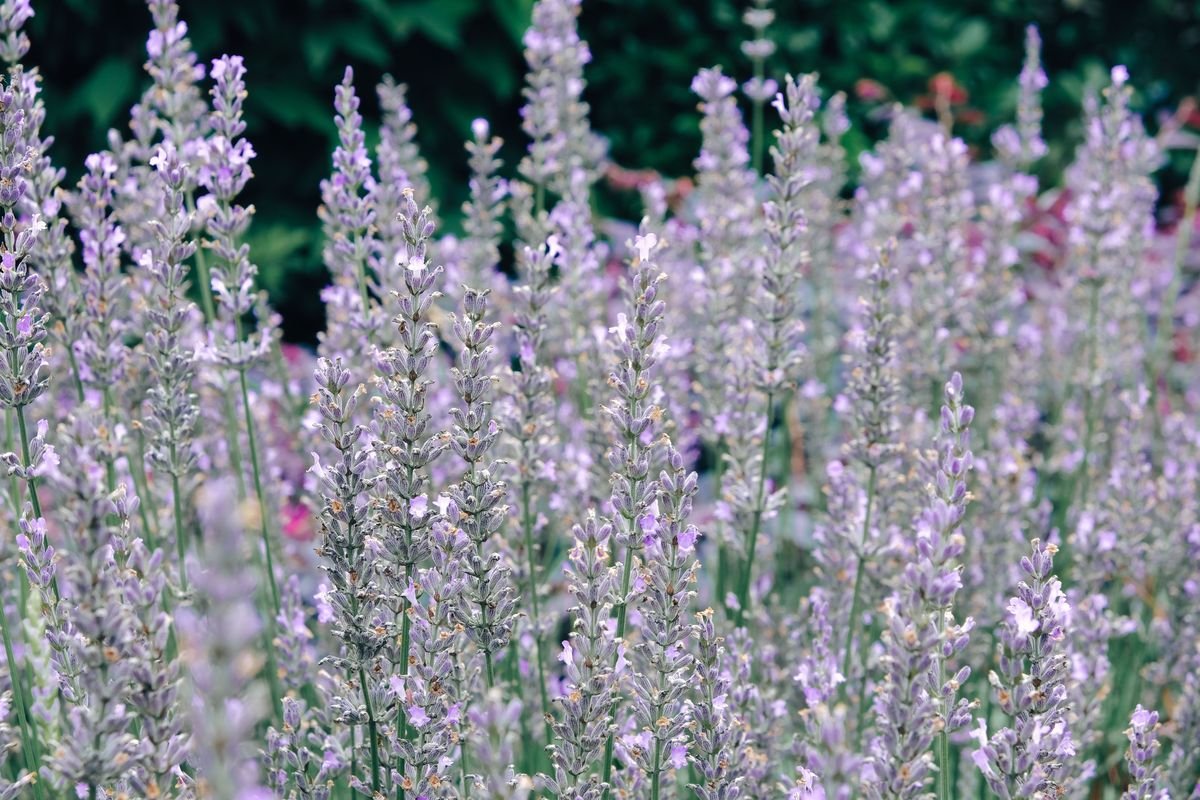
Mediterranean herbs such as rosemary, thyme, oregano, and lavender thrive in dry, nutrient-poor ground as long as the drainage is adequate. Their essential oil concentrations increase under modest stress, giving them stronger culinary flavors.
For ornamental beds, hardy native wildflowers like purple coneflower, black-eyed Susan, yarrow, and coreopsis flourish in tired dirt. Succulent groundcovers such as sedum and sempervivum can carpet depleted beds with evergreen color while demanding almost zero supplemental fertility.
Repurposing Spent Soil Around the Yard
Even if garden soil has lost its ability to support heavy vegetable production, you should never throw it away. Soil is a precious natural resource with dozens of practical landscape applications.
You can use old dirt as a leveling material to fill in low spots, tire ruts, and dog holes across your lawn. Simply broadcast the soil over uneven lawn patches and rake grass seed over the surface.
Spent garden dirt also makes an outstanding ingredient for building compost piles. Layering old earth between layers of fresh kitchen scraps, fallen leaves, and grass clippings introduces essential native microbes that accelerate the entire composting process.
Additionally, you can use old soil to build raised berms, backfill retaining walls, or create decorative rock gardens. By finding creative ways to recycle tired earth, you eliminate waste, protect your landscape budget, and keep your garden beds thriving year after year.
How Depleted Is Your Garden Soil?
Answer 4 quick questions to see your result