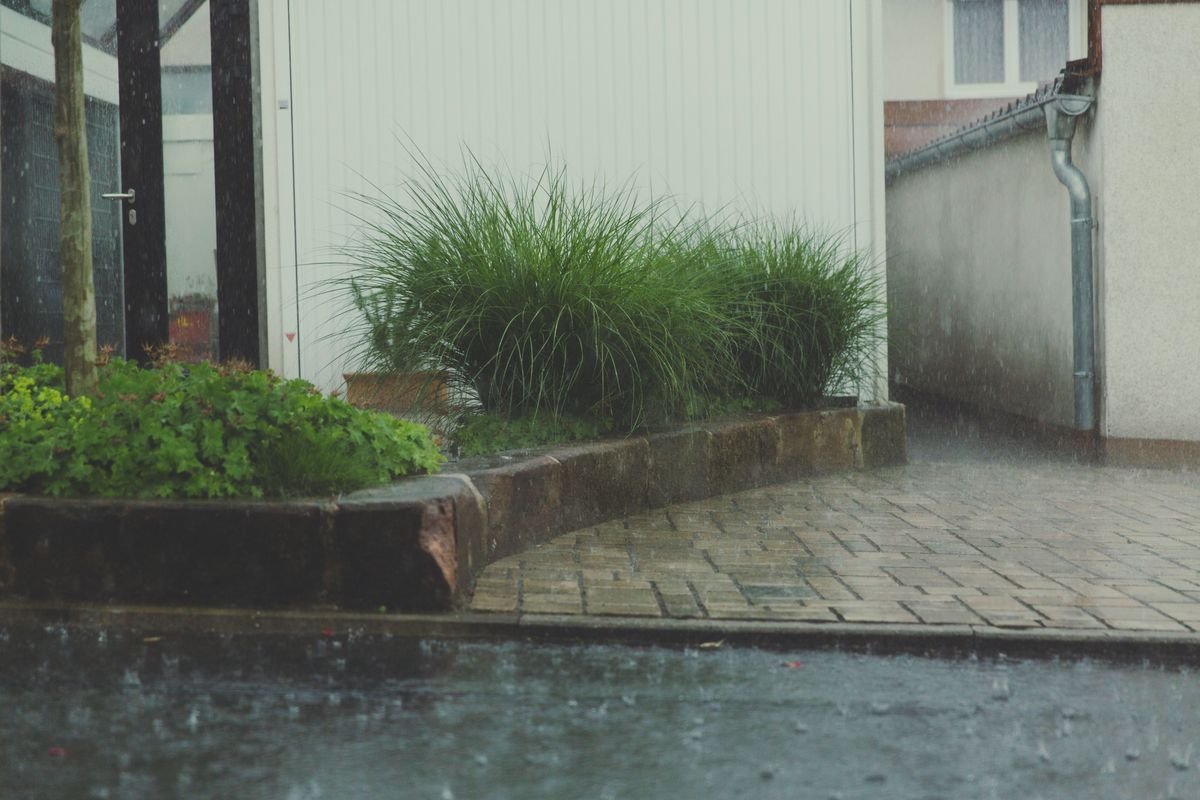
Every gardener knows the sinking feeling of opening a mid-summer municipal water bill. Keeping flower beds lush and vegetable patches productive during dry spells takes gallons of moisture, and city water is not getting any cheaper.
Collecting your own rainwater transforms a stormy afternoon into a season of free hydration for your yard. Over the years, setting up simple collection barrels has completely changed how I care for my plants, saving money while giving my garden the cleanest water possible.
The Benefits of Rainwater for Plants
Tap water is heavily treated to ensure it is safe for human consumption, but those same additives are not ideal for garden soil.
Municipal supplies often contain chlorine, fluoride, and dissolved mineral salts. Over time, these chemicals can accumulate in container soil and alter the delicate microbial balance around plant roots.
Rainwater is pure, soft, and naturally free of synthetic chemicals. It also has a slightly acidic pH, which helps unlock essential soil nutrients like iron, zinc, and phosphorus. Because collected rainwater sits outside at ambient temperature, it never delivers a cold temperature shock to sensitive root systems.
Choosing the Right Roof Surface
Your roof serves as the primary catchment zone, funneling moisture into your gutters and down to your storage barrels. Most modern roofing materials work well for harvesting non-potable garden water.
Metal roofs made of corrugated steel, aluminum, or standing seam panels are the absolute best choice. They shed water quickly, stay cool, and do not leach debris into the storage tank.
Standard asphalt fiberglass shingles, clay tiles, and slate roofs are also great for landscape irrigation. If you have asphalt shingles, let the first few minutes of a storm flush loose grit down the gutter before opening the valve to your barrel.
Roof Materials to Avoid
Not all roofing materials are safe for garden water collection.
You should never harvest water from wooden shake or cedar shingles. These wood products are routinely treated with toxic fungicides and flame retardants to prevent rot and fire hazard.
Avoid harvesting from roofs with old lead flashing, painted surfaces containing lead, or damaged asbestos tiles. These heavy metals and toxins will wash directly into your vegetable garden soil and linger in root tissue.
Calculating Your Water Yield
You might be surprised by how much water falls on a standard house during a single storm.
The basic formula is simple. One inch of rainfall on a one thousand square foot roof area yields approximately six hundred gallons of clean water.
To find your potential harvest, multiply your roof footprint in square feet by the average rainfall in inches, then multiply that total by 0.623. Even a modest summer shower dropping a quarter inch of rain on a small garage roof can easily fill a fifty-gallon barrel.
Essential Supplies for a Rain Barrel
Building your own collection system is an affordable weekend project that requires only basic hardware.
You will need a food-grade plastic barrel, preferably fifty to sixty gallons in size. Dark blue, green, or black containers are ideal because they block sunlight and prevent algae growth.
Pick up a three-quarter-inch brass spigot, a threaded bulkhead fitting with rubber gaskets, Teflon thread seal tape, a drill with hole saw attachments, and fine aluminum window screening.
Step by Step Rain Barrel Setup
Start by drilling a hole three inches above the bottom rim of your barrel. Placing the hole slightly above the base leaves room for settled sediment to rest without clogging your valve.
Install the bulkhead fitting into the hole, wrapping the threads with Teflon tape and tightening the gasket firmly against the plastic wall. Screw your brass spigot directly into the fitting.
Next, cut an opening in the top lid to match the width of your gutter downspout. Place a layer of fine mesh over the opening before securing the lid in place.
Finally, cut an overflow hole near the top rim on the side of the barrel. Install a barbed hose adapter so excess water can escape during heavy storms.
Preventing Mosquitoes and Debris
Standing water creates an ideal breeding ground for mosquitoes if your container is left open.
Tightly secure fine wire mesh across all entry points, including the downspout intake and overflow ports. Mosquitoes cannot lay eggs if they cannot touch the water surface.
If insects still manage to find a gap, drop a biological mosquito dunk containing Bacillus thuringiensis israelensis into the barrel. This natural bacterium kills mosquito larvae within hours without harming plants, pets, or beneficial garden insects.
Placement and Water Pressure Tips
Where you put your barrel makes a huge difference in convenience and water flow.
Gravity provides all the water pressure in a passive rain barrel setup. For every foot you elevate your barrel above the ground, you gain roughly 0.43 pounds per square inch of water pressure.
Build a stable, level base using solid concrete cinder blocks. Elevating the barrel two to three feet makes it easy to slide a watering can under the spigot and improves flow through a garden hose.
Position your barrel on the shady north or east side of your home when possible. Keeping the container out of direct afternoon sun keeps the water cool and reduces algae accumulation.
Handling Overflow Safely
A sudden summer thunderstorm can dump fifty gallons of water in fifteen minutes flat.
When your barrel fills up, thousands of pounds of water will spill out. If that excess water dumps right against your foundation, it can flood your basement or erode topsoil.
Attach a standard garden hose or flexible sump pump tube to your top overflow outlet. Route the drainage hose at least six to ten feet away from your foundation wall, directing the surplus into a rain garden, swale, or heavily planted shrub border.
You can also link several barrels together using connector hoses, creating a daisy chain system that stores hundreds of gallons across a single gutter run.
Understanding Local Rainwater Laws
Before assembling your system, take a few minutes to check regional guidelines.
In the vast majority of places across North America, collecting water for personal landscape use is entirely legal and actively encouraged. Many municipalities even offer cash rebates or discounted barrels to help reduce stormwater runoff into city sewers.
A few western states have historical water rights frameworks based on prior appropriation laws. States like Colorado and Utah have specific volume limits on residential storage, while others like Washington have distinct basin rules.
As long as you use the stored moisture on your own property for outdoor plants and lawns, you are usually well within standard legal limits.
Maintaining Your System Long Term
A well-built rain barrel requires very little seasonal maintenance.
Clean your gutters twice a year to prevent decaying leaves and pine needles from washing into your storage tank. Once a year, drain the barrel completely and rinse the interior sediment out through the bottom valve with a high-pressure hose.
If you live in an area with freezing winters, always disconnect and drain your barrel before the first hard freeze. Expanding ice will crack plastic fittings and rupture valves, ruining your setup before spring arrives.
How Ready Is Your Garden for Rainwater Harvesting?
Answer 4 quick questions to see your result