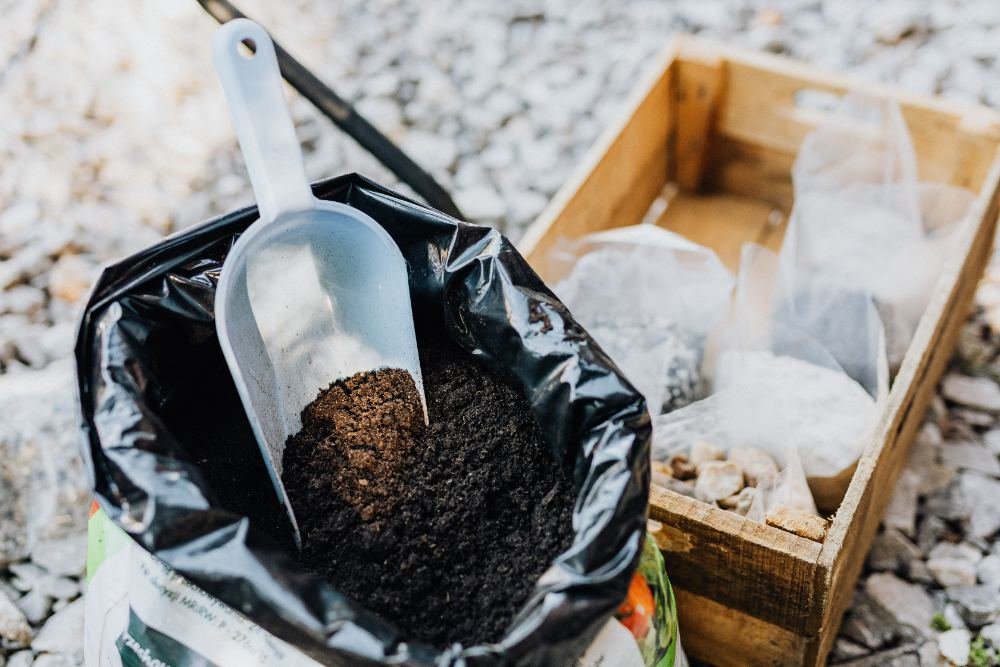
Mulch is one of the most valuable additions you can bring to a landscape. It moderates soil temperature, locks in vital moisture, suppresses weeds, and breaks down over time to enrich garden beds with essential organic matter.
Yet every gardener knows the frustration of watching carefully spread mulch wash down the driveway after a heavy summer downpour or scatter across the lawn on a windy afternoon. Sloping terrain, severe weather, and active pets can quickly undo hours of hard work.
Keeping your mulch anchored does not require complicated engineering. By choosing the right materials, refining your application techniques, and putting smart physical barriers in place, you can secure your mulch through every season.
Choosing the Right Mulch for Your Yard
Not all mulch materials behave the same way once they meet wind and water. The texture, weight, and density of your mulch directly dictate how well it stays put under tough conditions.
Lightweight mulches such as loose pine straw, cocoa bean hulls, or dry leaf mold tend to float easily during heavy rainfall and drift across the yard during strong gusts. While these light materials have wonderful aeration properties, they are poorly suited for exposed zones or steep ground.
Coarser materials with irregular edges naturally interlock as they settle. Shredded hardwood, cedar bark, and heavy wood chips weave together to form a cohesive mat that resists displacement much better than uniform nuggets or rounded chips.
Heavy Organic Mulches That Resist Washing Away
When dealing with rainfall runoff or flat beds exposed to breezy weather, heavy shredded organic mulches are your best line of defense.
Triple-shredded hardwood mulch is widely considered the gold standard for staying in place. The finely shredded strands cling tightly to one another, creating a fibrous web across the soil surface. Once wetted, this mat settles firmly and resists both water flow and wind.
Pine bark mini-nuggets, by contrast, contain air pockets and float readily in standing water. If you prefer pine products, opt for shredded pine bark instead of nuggets.
Shredded cedar and cypress bark also perform admirably because their long, stringy fibers lock together immediately upon application.
Inorganic Mulches for High Wind Areas
In wind-swept areas where organic wood mulches continually blow away, inorganic alternatives provide an ultra-durable solution.
Crushed stone, river pebbles, gravel, and lava rock have the physical mass needed to withstand gale-force winds without moving an inch. These materials work exceptionally well in desert landscapes, modern rockeries, and narrow breezeways between homes.
Keep in mind that inorganic mulches do not break down or feed the soil. Dark stones can also absorb and radiate solar heat, which may stress delicate plant roots during hot summer months. Use stone mulches around hardy shrubs, perennials, and heat-tolerant plants rather than sensitive annuals.
Proper Techniques to Apply and Layer Mulch

Even the best mulch material will migrate if it is dumped haphazardly into a garden bed. How you prepare the bed and layer the material plays a major role in its stability.
Before spreading fresh mulch, clear away debris, dead weed stems, and large stones. Smooth the underlying soil with a hard rake so there are no strange humps or hollows that could create artificial drainage channels.
Always distribute the mulch in an even, continuous layer. Piles and mounds create high spots where water accelerates as it runs down the sides, carving out gullies and carrying mulch away with it.
Setting the Right Mulch Depth
Applying the correct depth prevents both mulch erosion and plant suffocation.
For finely shredded mulches, maintain a depth of 2 to 3 inches. Coarser wood chips, shredded bark, and rock mulches perform best at a depth of 3 to 4 inches.
If you apply mulch too thinly, it will not have enough weight to form an interlocking mat, allowing water to wash it away easily. If you apply it too thickly, you risk creating water-repellent crusts and suffocating plant root zones. Keep mulch pulled back 2 to 3 inches from the base of plant stems and tree trunks to prevent moisture buildup and pest damage.
Tamping and Compacting Organic Material
A simple step that many gardeners overlook is settling the mulch immediately after spreading.
Once you have raked your mulch to a uniform depth, use the flat back of a garden rake or your boots to tamp it down gently. Firming the surface eliminates loose pockets of air and encourages the fibers to hook together.
Follow up immediately with a thorough soaking from a garden hose. Water helps settle the mulch particles into the soil surface and activates natural beneficial fungi. Over the following few days, these microscopic fungal threads bind the shredded wood particles into a single, resilient mat.
Installing Garden Edging to Contain Mulch
Physical edging creates a raised lip that stops mulch from spilling over onto walkways, patios, and turf grass during routine maintenance or storms.
Without a clear boundary, lawnmowers and string trimmers inevitably catch the edge of the mulch bed, throwing fragments everywhere. Edging also keeps vigorous lawn grasses from encroaching into your planting areas.
Ensure your edging sits at least 2 to 3 inches higher than the finished mulch level. This vertical clearance ensures that shifting mulch hits a barrier rather than tumbling straight into your grass.
Trench Edging for a Natural Barrier
Trench edging, often called Victorian or spade edging, is a cost-effective, natural way to lock mulch inside garden beds without buying synthetic materials.
To create a trench edge, use a sharp spade or half-moon edging tool to cut a 90-degree vertical wall about 4 to 6 inches deep along the perimeter of the lawn. From the garden bed side, shave the soil down toward the base of that vertical cut at a 45-degree angle, creating a small V-shaped ditch.
When you spread your mulch, taper it down into the ditch. Any mulch that shifts during rain will collect in the trench instead of spilling onto your lawn. You can easily clean out and recut this trench once a year in early spring.
Hard Edging Materials for Long Lasting Borders
If you want a permanent, zero-maintenance border, rigid hardscaping materials offer superior durability.
- Steel and Aluminum Strips: Metal edging creates clean, crisp lines that look modern and can be bent into graceful curves. It installs flush with the soil and stands up to string trimmers without cracking.
- Concrete Pavers and Bricks: A mortared or sand-set brick border provides a wide, stable barrier that doubles as a mower strip, allowing your mower wheels to roll smoothly along the bed edge.
- Poured Concrete Curbing: Custom concrete curbing gives a solid, uninterrupted perimeter that stops heavy mulch runoff completely.
- Heavy-Duty Commercial Plastic: Thick poly edging with a round top bead is flexible, budget-friendly, and simple to pin down with landscape stakes.
Using Mulch Tackifiers and Organic Adhesives
Mulch tackifiers are liquid bonding agents designed to glue loose mulch particles together without harming plants, pets, or soil microbes.
These adhesives are commonly made from natural plant extracts, such as guar gum, or biodegradable water-based polymers. They are sold as concentrates that you mix with water and apply using an ordinary garden pump sprayer.
Spray the tackifier evenly over newly spread mulch on a warm, dry day. As the compound cures, it creates an invisible, porous crust. Rainwater and liquid fertilizers can still soak through easily into the soil, but wind and surface water flow cannot lift the individual wood chips.
Preventing Mulch Loss on Hills and Slopes
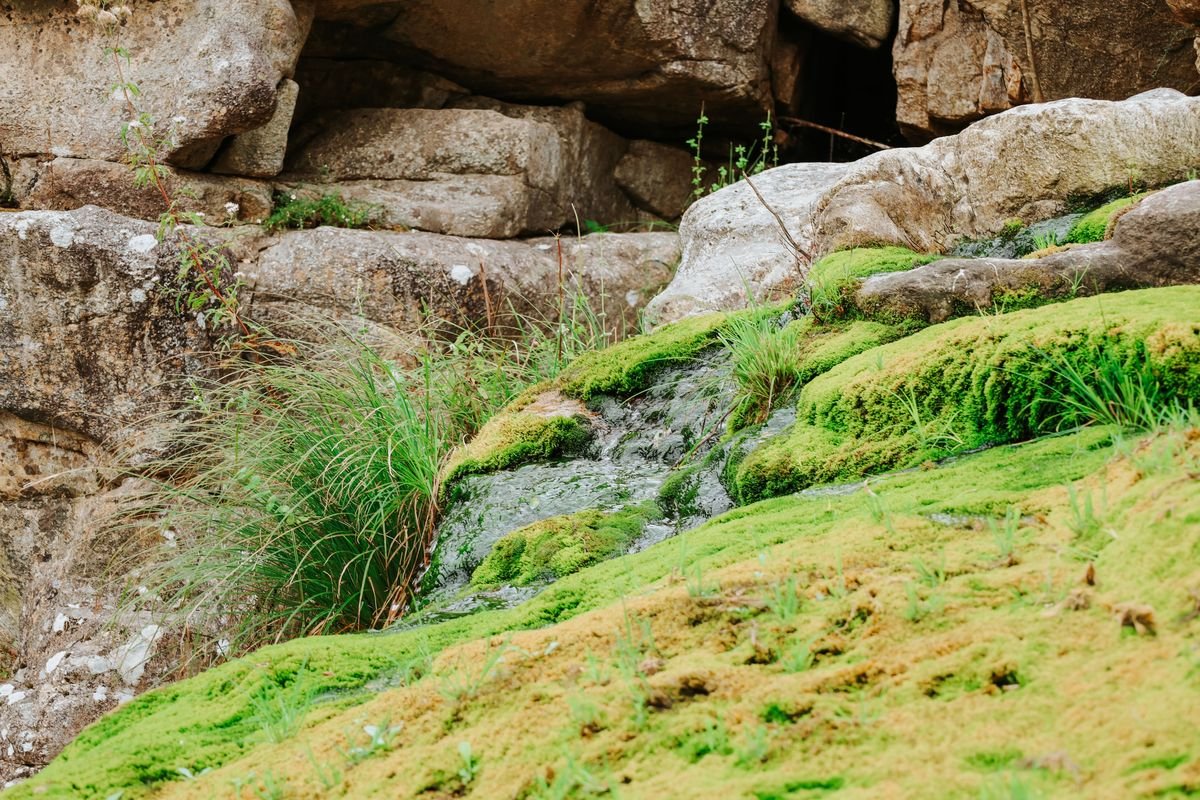
Slopes present the greatest challenge for mulching because gravity and descending water work together to pull loose materials downhill.
Water naturally gathers speed as it moves down an incline, dislodging unanchored mulch and triggering soil erosion. Standard round wood nuggets and light bark will almost always fail on slopes steeper than a gentle gradient.
To keep mulch where it belongs on hillsides, you must combine interlocking mulch types with physical reinforcement methods that disrupt the downhill path of water.
Using Netting and Erosion Blankets
Mulch netting and biodegradable erosion blankets provide immediate mechanical support for steep banks and slopes.
Open-mesh jute netting or coconut coir blankets can be rolled out across the slope and pinned down using heavy steel landscape staples placed every 2 to 3 feet. Once the netting is anchored, you can spread shredded hardwood mulch directly over and into the weave.
Over the course of one to two seasons, the organic netting will safely decompose while plant root systems grow to take over the job of stabilizing the soil and mulch layer.
Building Swales and Berms for Water Management
Earthworks allow you to alter the flow of runoff before it has a chance to wash away your landscaping.
A swale is a shallow, wide ditch built along the natural contour of a slope. Instead of letting water rush straight downhill, the swale captures runoff, slows it down, and gives it time to soak gently into the ground. A berm is a compacted mound of soil positioned directly behind or downhill from the swale.
By terracing a hill into mini-benches with swales and berms, you turn one long, steep slope into several manageable flat steps. Mulch placed on these level steps stays put effortlessly, while the swales direct heavy downpours safely away from your plants.
Planting Living Mulch as Ground Cover
One of the most sustainable, low-maintenance strategies for keeping ground protected is replacing loose material with living mulch.
Living mulch refers to dense, low-growing ground cover plants whose roots anchor the soil while their foliage carpets the earth. Unlike wood mulch, living ground covers grow stronger each year and never blow away in high winds.
- Creeping Thyme: A sun-loving, fragrant ground cover that forms a tight mat and produces colorful blooms in summer.
- Ajuga (Bugleweed): Perfect for shady or sloped beds, ajuga spreads via stolons to create an impenetrable, weed-suppressing carpet.
- Sedum (Stonecrop): Excellent for hot, dry, and rocky slopes where wood mulch tends to dry out and drift.
- Pachysandra: An evergreen choice for woodland gardens and beneath shade trees where fallen leaves blend seamlessly.
Setting Up Windbreaks in Exposed Areas
If your landscape sits in an open corridor or coastal zone, high winds can scour garden beds bare in a single afternoon.
Installing strategic windbreaks slows down wind velocity before it reaches your mulch beds. Solid walls or privacy fences can create turbulence on their leeward side, causing air to curl and dump force straight down. Semi-permeable windbreaks are much more effective because they filter and diffuse the air stream.
Consider planting evergreen hedges such as arborvitae, boxwood, or cherry laurel along the prevailing wind edge. Alternatively, decorative lattice panels, trellis screens covered in climbing vines, or ornamental grasses can filter wind currents and shield your mulch beds.
Protecting Mulch from Pets and Foot Traffic
Active dogs and regular foot traffic can scatter even the best-laid mulch in a matter of seconds.
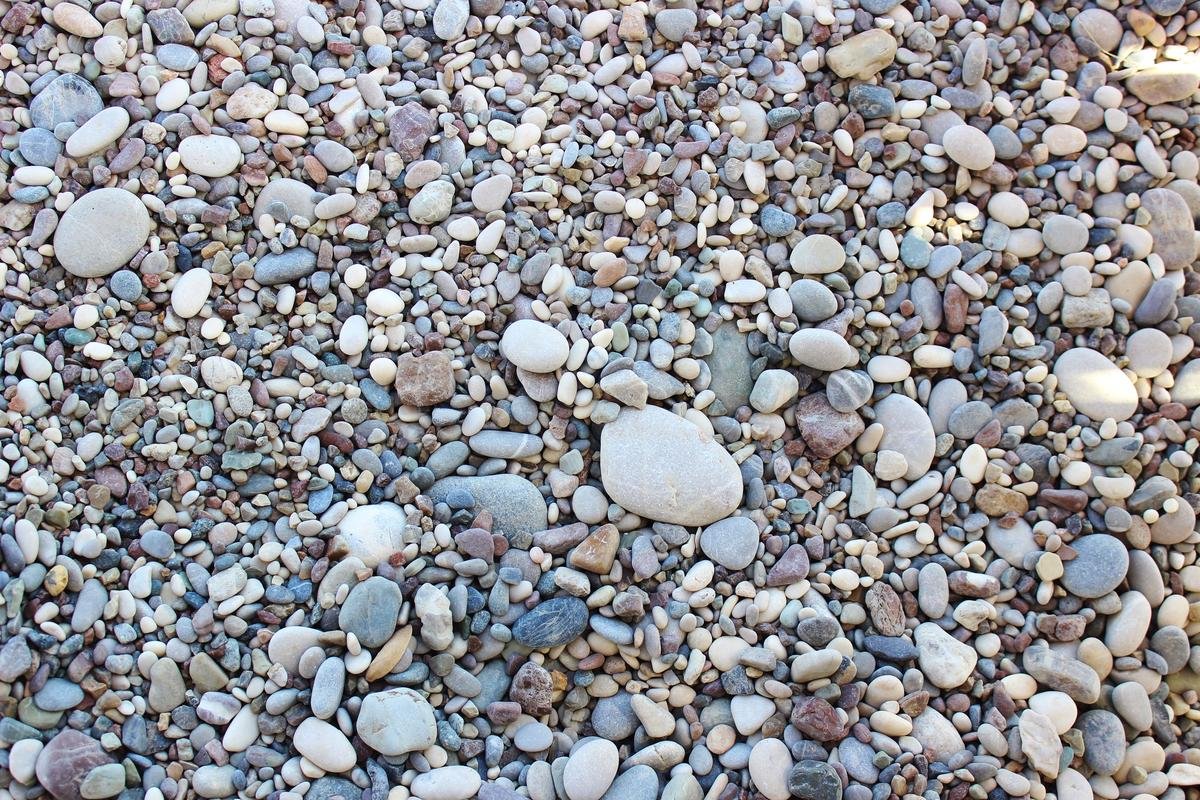
Dogs love running along perimeter fence lines and kicking up loose wood chips as they play. If your pet has a favorite running track, working against their natural habits rarely succeeds. Consider converting high-traffic dog runs into packed pea gravel, flagstone, or durable turf rather than trying to maintain wood mulch in those specific spots.
For garden beds that you want to protect, install temporary or permanent decorative borders, such as low wire hoop fencing or border hurdles. Combined with basic boundary training, these visual and physical cues teach pets to stay on designated paths and out of the mulched beds.
How at Risk Is Your Garden Mulch to Washing Away?
Answer 4 quick questions to see your result